Why Roofers Reuse Old Flashing on a Re-Roof (And Shouldn't)
In this article
TL;DR: Flashing is the metal that seals every joint, valley, and penetration on your roof, and it takes more of a beating than the field material around it. On a proper re-roof, old flashing comes off with the old roof and new flashing goes on with the new one. Anyone offering to "save you money" by reusing it is setting you up for a leak in a few years, not saving you anything.
I've been doing roofs in South Florida since 2005, and if there's one corner I see cut more than any other, it's flashing. A crew tears off shingles or tiles, slaps new material down, and leaves the old flashing right where it was because pulling it out and replacing it takes extra time and extra material. It looks fine on the invoice. It does not look fine three summers later when that flashing has rusted through or worked loose and water is running down into your soffit.
I've walked into jobs where the previous contractor charged full re-roof prices, and when I pulled back the new shingles at the chimney I found original 1987 flashing still caulked in place with three layers of dried sealant stacked on top of each other like geological strata. The homeowner had no idea. That's not a rare horror story, that's Tuesday in this business.
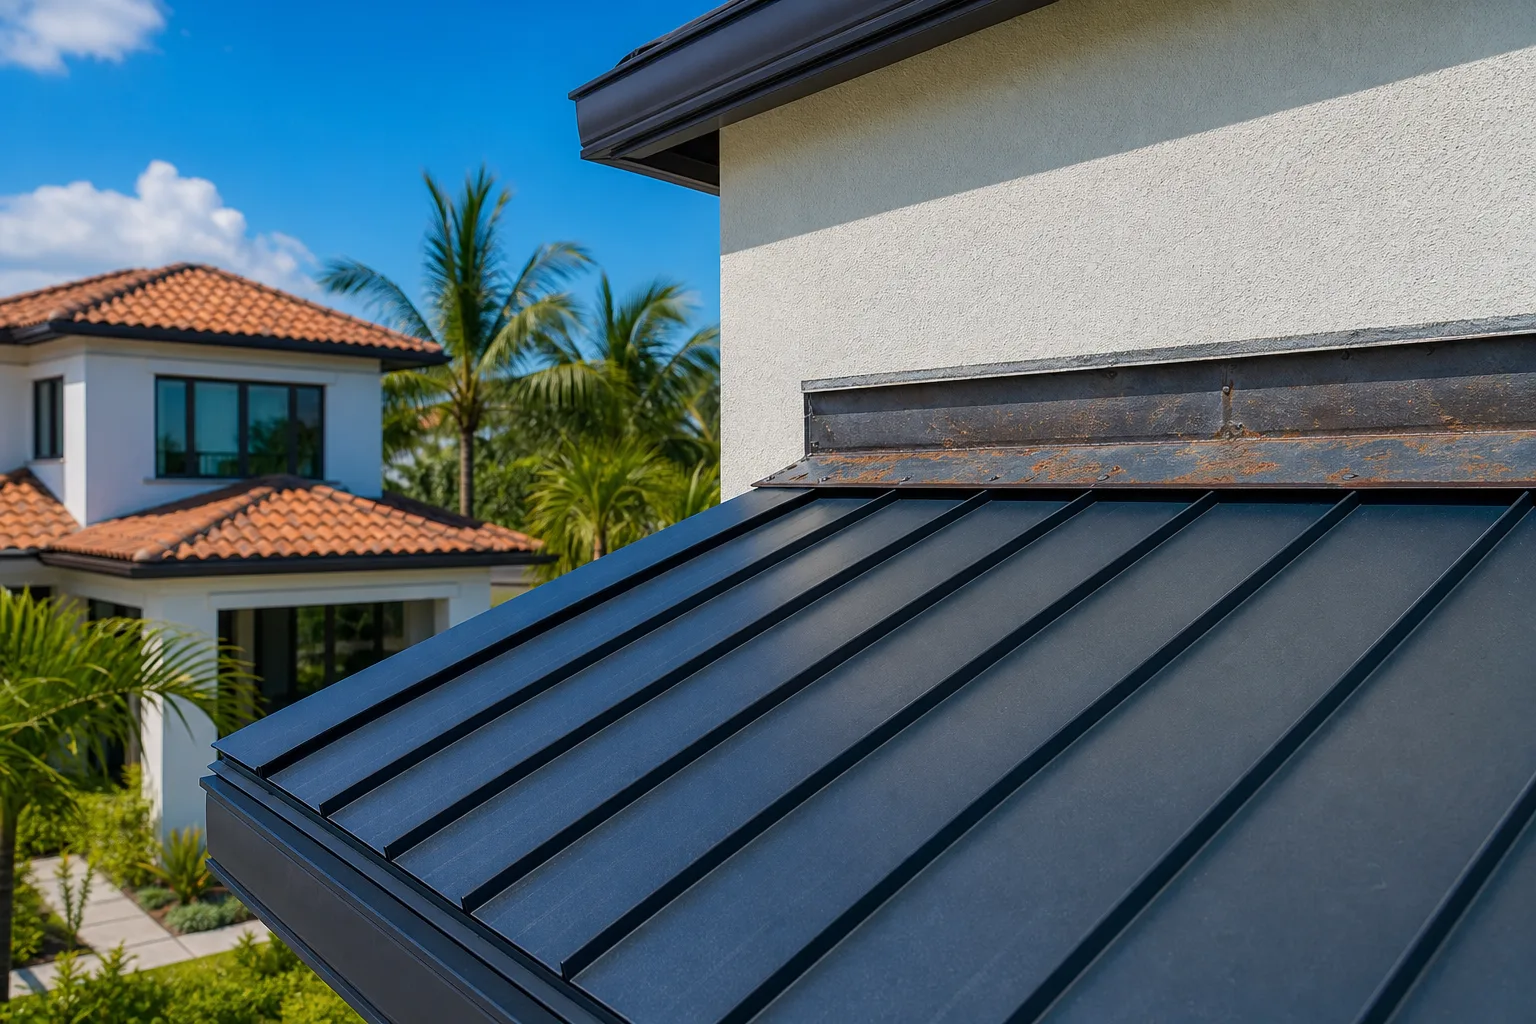
Flashing isn't a finishing touch. It's the part of the roof doing the hardest job, sealing every place where the roof plane changes, like valleys, walls, chimneys, skylights, and pipe boots. Shingles and tile shed water on a flat run. Flashing is what keeps water out where the roof isn't flat anymore. The physics are simple: water follows gravity and finds every gap. At a wall-to-roof transition, at a chimney base, at a skylight curb, the only thing standing between moving water and your interior is correctly installed, correctly sized, non-corroded metal. If you're paying for a full roof replacement, the flashing needs to be part of that replacement, full stop.
The reason contractors skip it isn't malice most of the time, it's economics. On a 2,500-square-foot hip roof with two dormers, a chimney, and six pipe boots, full flashing replacement adds real labor time and real material cost. A crew trying to hit a price point will look for somewhere to shave, and flashing is invisible once the new shingles are down. Nobody on the ground is going to notice until water does.
What you need
Before we get into the steps, here's what a legitimate flashing replacement involves:
- New step flashing at every wall-to-roof transition, individual interlocking pieces, not one continuous strip bent around a corner
- New valley flashing (open metal valleys or woven, depending on your roof type and local code)
- New counter-flashing or reglet flashing where the roof meets stucco or a masonry wall
- New pipe boots for every plumbing vent, including the rubber collar, which degrades faster than the metal base
- New flashing around chimneys, skylights, and any roof-mounted equipment like HVAC curbs or solar conduit penetrations
- Matching underlayment tie-in at every flashing point, layered in the correct shingle-style water-shedding order
- Fasteners and sealant rated for the material, aluminum with aluminum, galvanized with galvanized, copper with copper, because mixing metals creates galvanic corrosion that eats through faster than weather alone
- A written scope from your contractor that explicitly lists flashing replacement by location, not just "reroof per code"
That last point deserves emphasis. "Reroof per code" sounds thorough and it is legally meaningless as a scope of work. Florida Building Code requires that flashing be installed correctly, but a contractor can argue that reusing existing flashing that still passes visual inspection is code-compliant. You want a line item that says "replace all step flashing at north and south dormers," "replace chimney flashing assembly including counter-flashing," and so on. If your quote doesn't spell out flashing work by name and location, ask why. A vague scope is how homeowners end up with 90% of a new roof and 10% of a fifteen-year-old rusted problem hiding under it, with no paper trail to hold the contractor accountable.
Step 1: Tear off everything down to the deck, flashing included
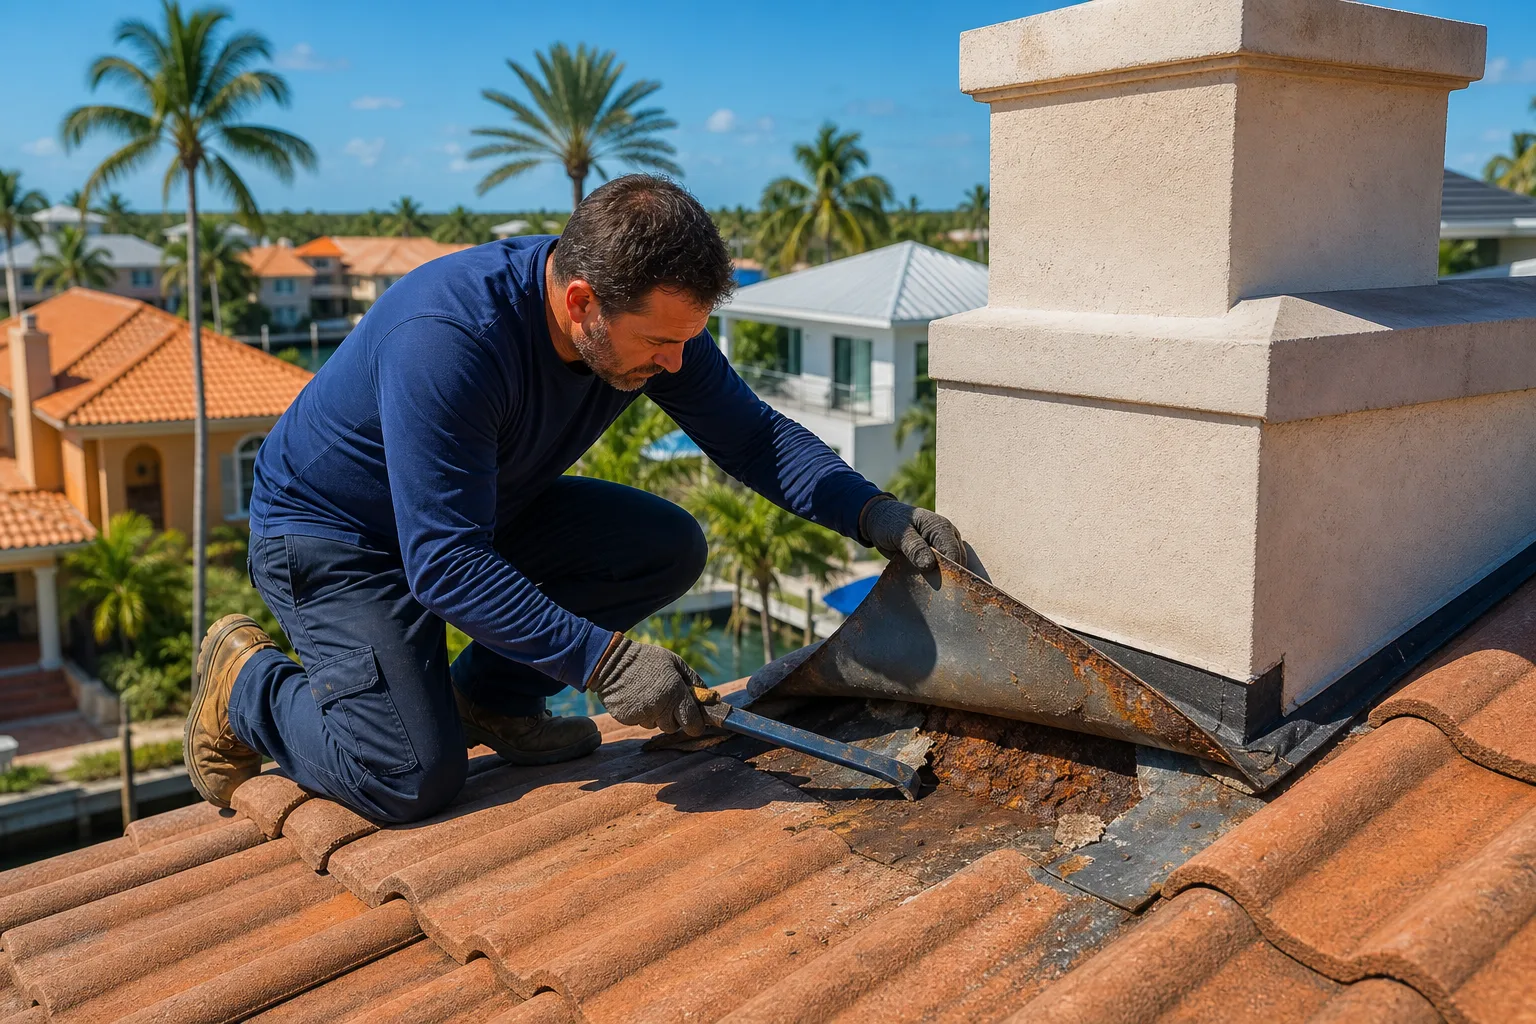
A real tear-off means the old flashing comes off along with the old shingles or tile. There's no way to properly inspect the deck, the underlayment, or the flashing condition if it's staying in place. I've pulled flashing off roofs that looked okay from the ground and found the back side eaten through with rust, or nail holes so enlarged from years of thermal movement that the metal was basically just resting there, held by friction and old caulk.
In South Florida, thermal cycling is brutal. Daytime summer temperatures on a dark shingle roof surface can exceed 170 degrees Fahrenheit. At night it drops forty degrees. That daily expansion and contraction works every fastener hole larger over time and eventually turns a tight mechanical connection into a loose one. From the top, the flashing looks intact. From the back, the nail hole is oblong, the metal around it is thinned, and it's been leaking at a rate too slow to stain your ceiling but fast enough to rot the top plate of your wall framing.
This is also when you find out if there's deck damage underneath a valley or a wall flashing, which is common. Wood that's been sitting under a slow, hidden leak for years doesn't announce itself until the old flashing is gone. On a job last spring in Pembroke Pines, we pulled the valley flashing on a gable-end addition and found six linear feet of completely rotten OSB decking. New flashing going over that would have failed within a season. Catching it at tear-off added one afternoon of deck repair to the schedule and probably saved the homeowner a five-figure interior water damage claim.
Step 2: Inspect and repair the deck before anything goes back down
Once the deck is exposed, a decent crew checks it board by board around every penetration and transition. Soft spots, delamination, or rot near a valley or chimney get cut out and replaced with new plywood or OSB, not patched over with roofing cement. This step matters more than people realize because new flashing fastened into compromised wood will fail early no matter how good the metal is. A ring-shank nail driven into punky wood is just decorative.
For chimneys specifically, it's worth having a mason look at the mortar joints and crown while the flashing is off. A deteriorated chimney crown is one of the top sources of water intrusion in older Florida homes, and you can't see it properly with flashing in the way. Doing the masonry repair and the flashing replacement at the same time costs less than doing them separately and prevents the new flashing from being compromised by cracked mortar before it's even a year old.
Want to know what your roof actually needs? Get a free estimate
Step 3: Install new underlayment with flashing integration built in
Underlayment and flashing work together, they're not separate systems that happen to be near each other. At valleys, walls, and penetrations, the underlayment needs to be layered correctly with the new flashing, usually with the flashing lapped over or under the underlayment in a specific order depending on the location, so water is always directed downhill and away from the seam. Get this sequence backwards and you've built a funnel instead of a barrier.
In Miami-Dade and Broward counties, the code requirements for underlayment are stricter than most of the country because of our wind and rain exposure. A single layer of 30-pound felt is not sufficient here. A proper South Florida install uses a self-adhering modified bitumen base sheet at a minimum, sometimes two layers, with all laps and transitions sealed. When a contractor skips the flashing and reuses old metal, they usually also shortcut the underlayment tie-in at those locations, which compounds the problem. You get old metal and a sloppy integration point at the exact spots that take the most water load.
Step 4: Install new valley flashing
Valleys carry more water volume than any other part of the roof, they're basically a small river during a heavy South Florida downpour, and we get plenty of those from June through November. New valley metal, sized and fastened correctly for your roof pitch and material type, is non-negotiable. The standard minimum for open metal valleys here is 24-inch-wide coil stock, pre-painted or galvanized, with a centered rib to split water flow and prevent it from shooting across the valley under high wind-driven rain conditions.
Old valley flashing is almost always measurably thinner from corrosion by the time a re-roof happens. You can see it if you look at the cut edge, new 26-gauge galvanized has a clean, consistent cross-section. Ten-year-old valley metal from a roof that's been under standing water after every storm has surface pitting, edge rust, and sometimes pinhole corrosion you can only see when you hold it up to light. That material is not going to perform for another fifteen years under new shingles, and it is one of the most common places I find hidden rot when I inspect a roof that's leaking despite having been replaced only a few years prior.
Woven valleys, where shingles from each slope interlock across the valley line without exposed metal, are a common alternative on three-tab and architectural shingle roofs. They look clean and they can perform well, but they require even more attention to the underlayment beneath them because there's no metal to redirect water if the shingles shift. If your contractor is proposing woven valleys, make sure they're running a self-adhering strip down the valley centerline under the shingles, not just standard underlayment.
Step 5: Install step flashing and counter-flashing at every wall transition
Step flashing is the one that separates contractors who know what they're doing from ones who've watched a few videos. Correct step flashing is individual L-shaped pieces of metal, one per shingle course, that interlock up the wall. Each piece tucks under the shingle above it and over the shingle below it, so water can never get behind the metal regardless of how much volume hits the joint. The pieces are face-nailed to the roof deck, never to the wall, so they can move with thermal expansion without pulling away.
What I see on reused flashing jobs is either one long continuous piece bent around the transition, which creates a dam at the bottom and a lift point for wind, or the original step flashing left in place with new caulk run over it. Caulk is not a substitute for correct metal geometry. Caulk fails. It shrinks, it cracks, it pulls away from stucco. I tell homeowners: if your flashing depends on caulk to stay watertight, it's not correctly installed. Caulk on flashing is a secondary seal, not the primary one.
Counter-flashing goes over the top of the step flashing and is embedded into the wall or reglet. On stucco homes, it's typically surface-mounted with sealant above the flashing line. On block or brick, it should be cut into a reglet with a grinder and secured with lead anchors. If your contractor is proposing to just caulk the counter-flashing to the face of your stucco without any mechanical embed, that joint will open within three to five years as the stucco expands and contracts.
The bottom line on reused flashing
Every contractor who reuses flashing will tell you the old flashing is in good shape, that it's still got years of life in it, that it would be a waste to throw away perfectly good metal. Sometimes they believe it. More often, they haven't actually looked at the back side, the fastener holes, or the seal at the wall. They're telling you what makes the job easier to sell.
A complete flashing replacement on a typical South Florida single-family home adds cost to a re-roof job. It adds it in labor, in material, and in schedule time. It is also the only way to warranty the work honestly, because a new roof over old flashing is a system waiting to fail at its weakest link. When that link goes, and it will, the damage won't stop at the flashing. It'll be in your decking, your wall framing, your insulation, and your drywall before you see a water stain on the ceiling.
Ask your contractor to walk you through the flashing scope line by line before you sign anything. If they can't tell you what's getting replaced, where, and with what material, you don't have a complete scope. You have a shingle job with a flashing problem scheduled for three years from now.
Want to know what your roof actually needs?
Millennium Makeover has been roofing South Florida homes and businesses since 2005. Get a straight, no-pressure estimate from a licensed local crew (CCC1326328).
Frequently asked questions
Can flashing just be repaired instead of fully replaced during a re-roof?
On some minor repairs, patching a section of flashing makes sense, and we cover that under roof repairs. But during a full re-roof, the old flashing has already lived through the same years of sun and storms as the roof coming off, so it's on borrowed time. Reusing it just moves the failure point closer.
How much does replacing flashing add to a re-roof cost?
It varies by how many valleys, walls, and penetrations your roof has, and we don't like guessing at numbers without seeing the roof. The best way to get a real figure is a free instant estimate or a full quote based on your specific roof.
What metal is best for roof flashing in South Florida?
Aluminum and galvanized steel are both common, and each has tradeoffs with coastal salt air and corrosion resistance. Copper holds up longest but costs more. Whatever metal is used, it needs to match the fasteners and adjacent metals so you don't get galvanic corrosion.
Will my roofer tell me if they're planning to reuse old flashing?
A straight contractor will spell it out in the written scope. If the estimate just says "reroof" without naming flashing replacement, ask directly. This is exactly the kind of shortcut storm-chaser crews and lowball bids rely on to hit a cheaper number.
How do I know if my current flashing is already failing?
Rust streaks below a valley or wall, gaps where metal has pulled away from a wall, or a leak that shows up specifically during wind-driven rain are all signs. If you're not sure, it's worth having it looked at before you're mid-storm-season, and our Hurricane Storm Center has more on prepping ahead of a storm.
Does flashing replacement apply to tile roofs too, not just shingles?
Yes, tile roofs rely on flashing just as much, especially at valleys, walls, and around any roof penetrations. We handle this as standard practice on every tile roof re-roof we do.