How to Spot Poor Workmanship After a Roof Replacement

In this article
TL;DR
After a roof replacement, walk the property before final payment and check flashing, fastener patterns, ventilation, drip edges, and debris cleanup. Bad work usually shows up as crooked lines, missing flashing pieces, nails left in the yard, or a roofer who rushes you off the ladder. If something looks off, get a second opinion before you release the final check.
What you need
- Binoculars or a phone camera with zoom (stay off the roof yourself, especially tile)
- Access to the attic with a flashlight
- A copy of your signed contract and permit
- A ladder to check eye level at the eaves and gutters
- 20 to 30 minutes of daylight, ideally a clear day, not right after rain
You don't need to be a roofer to catch most of the obvious stuff. You just need to know where to look.
Step 1: Check the roof from the ground first
Stand back from the house, far enough to see the whole slope. Look for:
- Wavy or uneven rooflines, especially on shingles. Straight lines mean the courses were laid with a chalk line, not eyeballed.
- Tiles that sit at different heights or angles next to each other. On a tile roof, consistent spacing and alignment matter for both looks and water flow.
- Color or texture mismatches where repairs meet original material, if this was a partial replacement.
- Shingle tabs or tile edges that look lifted, curled, or not fully seated.
This is a quick visual pass. It won't catch everything, but a roof that looks messy from the street is rarely clean up close.
Want to know what your roof actually needs? Get a free estimate
Step 2: Inspect flashing and penetrations
Flashing is where most roof failures start, and it's also where rushed crews cut corners because it's slow, fiddly work. From a ladder (not the roof), look at:
- Chimney flashing: should be stepped and tucked under the counterflashing, not just caulked over.
- Vent pipe boots: should be snug, not cracked, with no visible gaps or excess sealant smeared around the base.
- Valley flashing: should run as one continuous piece or properly overlapped sections, not patched with tar.
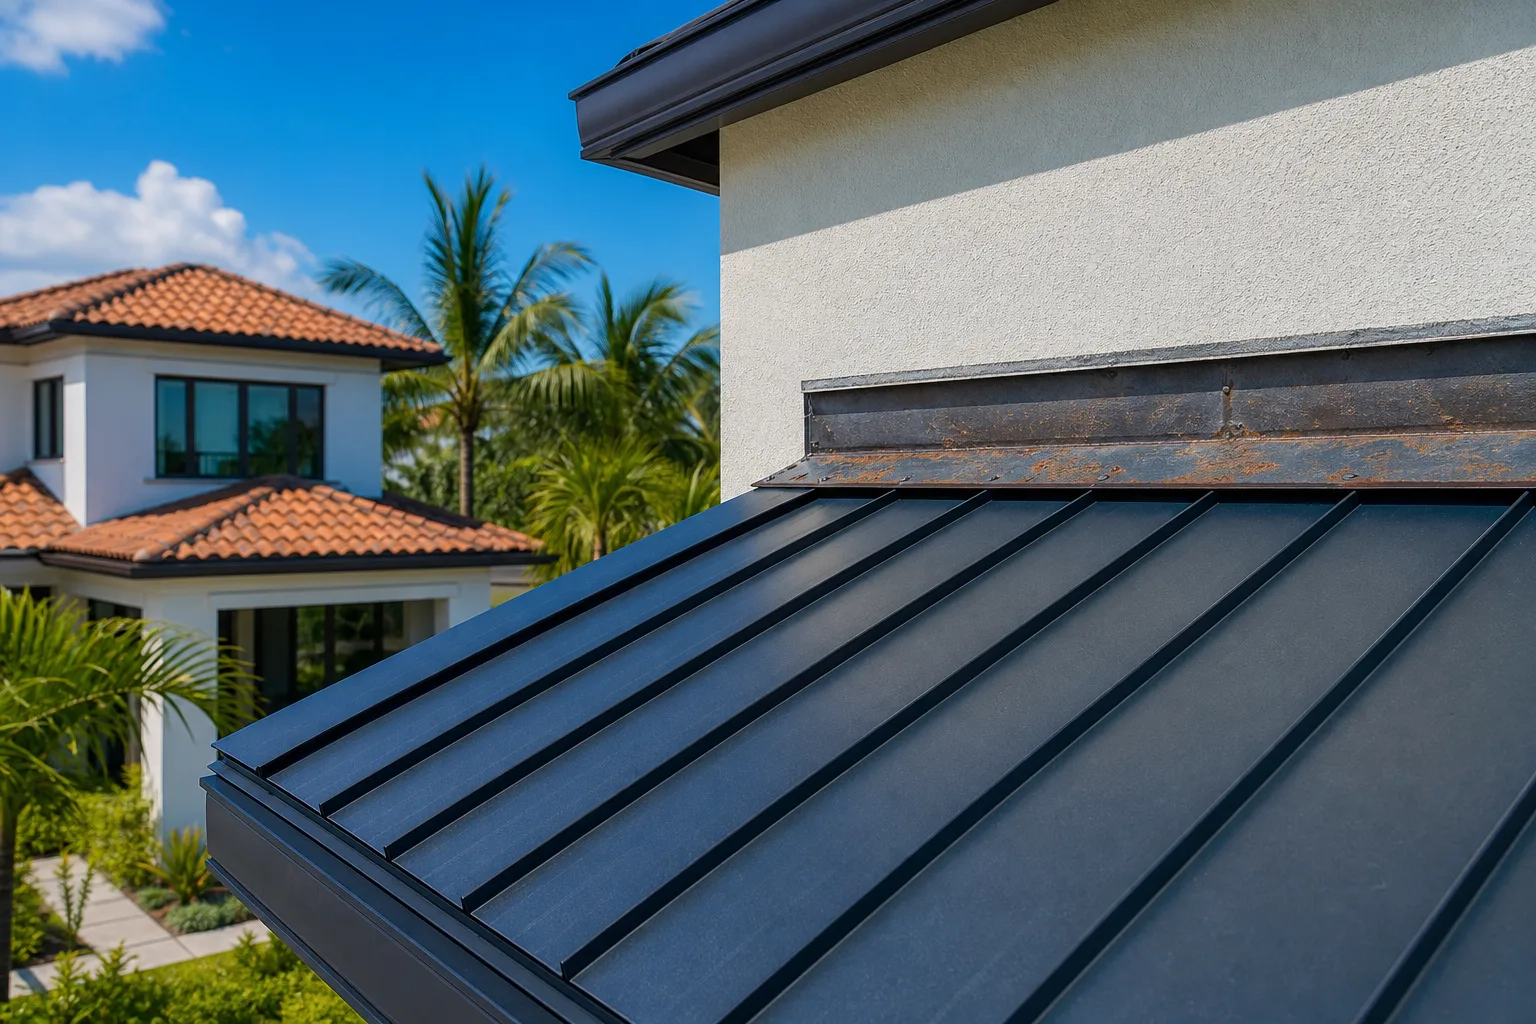
- Any wall-to-roof transitions, like where a second story meets a lower roof.
If you see caulk or roofing cement used as the main seal instead of proper metal flashing, that's a shortcut, not a fix. Sealant degrades fast in Florida heat and sun. It's a band-aid, not a flashing system.
Step 3: Check drip edges and fascia
The drip edge is the metal strip along the roof's edges that directs water into the gutters instead of behind the fascia board. Look for:
- A continuous metal edge along all eaves and rakes, not just the front of the house.
- Edges that are nailed tight, not flapping or loose.
- No gaps where water could get behind the fascia and into the soffit.
If your home has gutters, check that they're still securely hung and pitched correctly after the roof work. Roofers sometimes knock gutters loose during tear-off and don't bother reattaching them properly. See our gutters page if yours look sagging or disconnected.
Step 4: Get in the attic
This step catches issues a ground inspection never will. Bring a flashlight and look for:
- Daylight coming through anywhere it shouldn't.
- Nail points poking through the decking. Nails should be flush, not protruding an inch into the attic space.
- New water stains on the decking or rafters, which can mean a leak started during or right after install.
- Proper ventilation. Ridge vents, soffit vents, or attic fans should be installed and not blocked by insulation or debris.
- Decking that looks original versus sections that were replaced, if rotten wood was supposed to be swapped out per your contract.
If your contract called for decking replacement and you can't see any new plywood in the attic, ask for proof. A reputable contractor should have photos from during the job, especially of anything that gets covered up like decking or underlayment.
Step 5: Check fastener patterns and material consistency
Good installers follow manufacturer-specified nailing or fastening patterns for wind resistance. You can spot some of this without climbing up:
- Shingles should have consistent nail placement, generally four to six nails per shingle depending on the product and wind zone, visible in close-up photos if your contractor provided them.
- Tile roofs should show consistent fastener or foam adhesive patterns, not random placement.
- Metal roofing panels should have even, consistent screw spacing with no missing or over-driven fasteners.
If you're unsure what the correct pattern should be for your material and wind zone, ask your contractor to walk you through it. A straight answer with specifics is a good sign. A vague
Want to know what your roof actually needs?
Millennium Makeover has been roofing South Florida homes and businesses since 2005. Get a straight, no-pressure estimate from a licensed local crew (CCC1326328).
Frequently asked questions
Should I pay the final invoice before or after inspecting the roof?
Inspect first if at all possible. Most contracts allow a final payment upon substantial completion, so walk the property, check the attic, and ask for photo documentation before you sign off. If you've already paid in full, you still have recourse through your warranty and contract terms.
What's the difference between a cosmetic flaw and a structural problem?
Cosmetic issues, like a slightly uneven tile line, affect looks but not function. Structural or water-management issues, like missing flashing, exposed nails, or blocked ventilation, can lead to leaks and decking damage over time. When in doubt, treat anything involving flashing, fasteners, or ventilation as worth a professional second look.
Can I inspect a tile roof myself by walking on it?
We don't recommend walking tile roofs yourself. Tiles crack underfoot in ways that aren't always visible, and you can create a leak point that wasn't there before. Use binoculars, a zoom camera, or have a licensed roofer do the walk-through.
What should I do if I find problems after the crew has already left?
Document everything with photos and contact the contractor in writing, referencing your contract. A licensed, established contractor should come back to address legitimate warranty or workmanship issues. If you're getting pushback or no response, it may be worth getting a second opinion from another licensed roofer before pursuing other options.