What the Flashing Around a Skylight Actually Looks Like Up Close
In this article
TL;DR: Skylight flashing is not a single piece of metal. It is a sequence of overlapping components, each handling a specific water path. Knowing what healthy flashing looks like makes it easier to spot early failure and decide whether you need a quick repair or a full re-flash.
What you need
Before going up on the roof or reviewing photos from a roofer, it helps to have a mental picture of the parts involved:
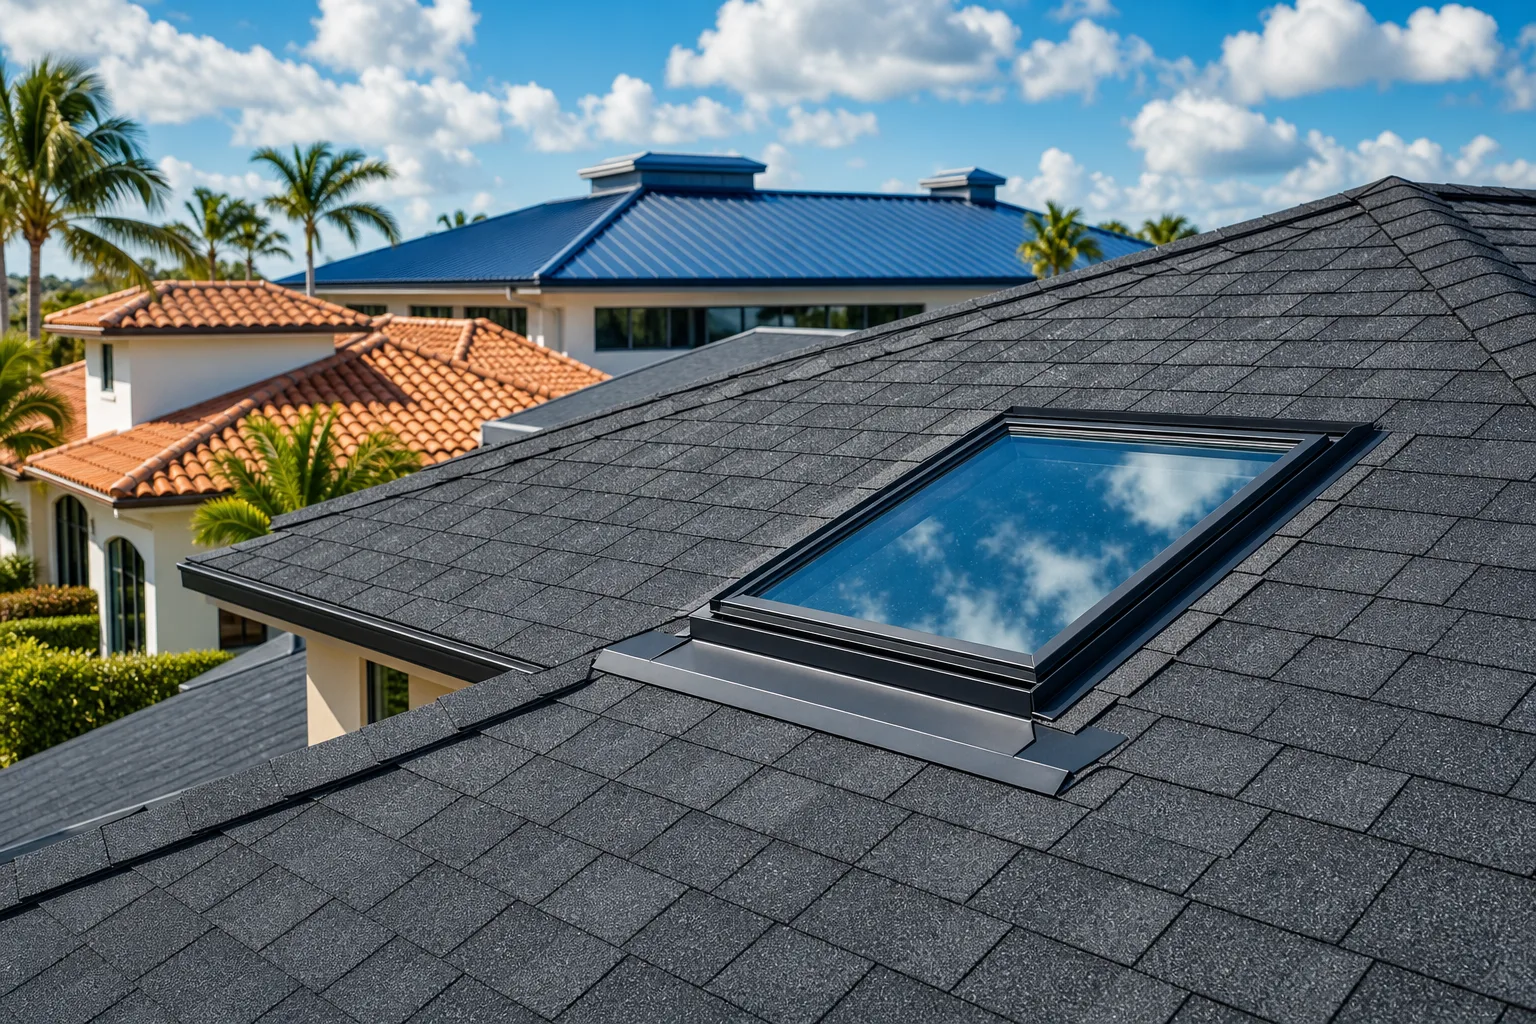
- The curb. A raised wooden or metal frame, usually 4 to 6 inches tall, that the skylight unit sits on. Most residential skylights are curb-mounted.
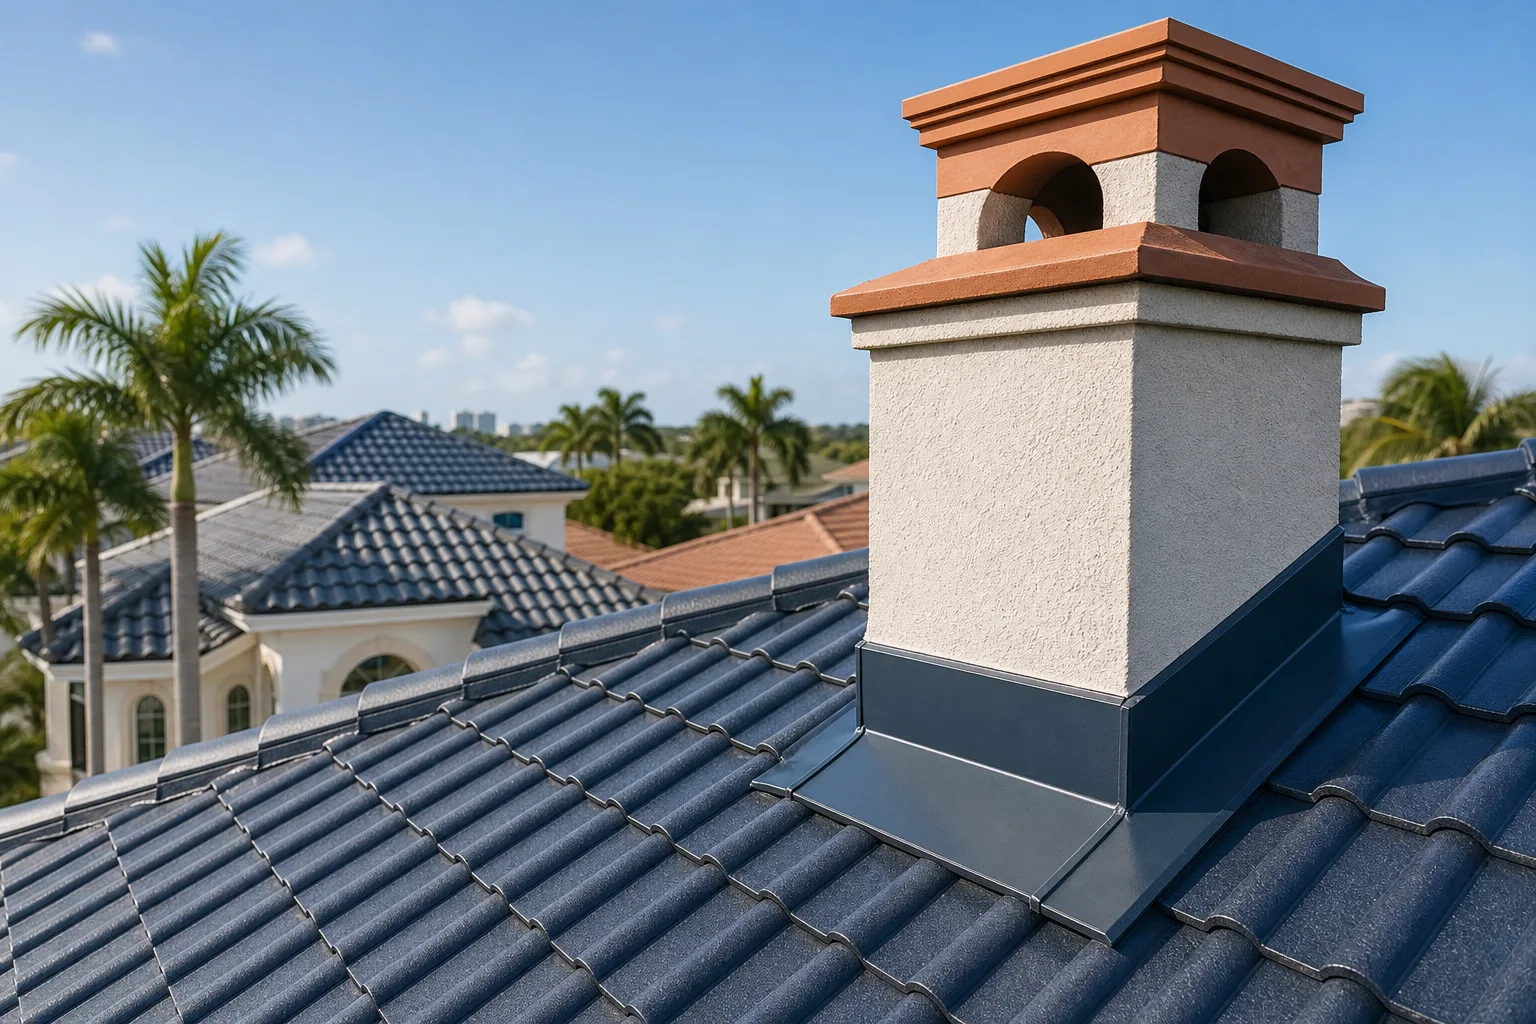
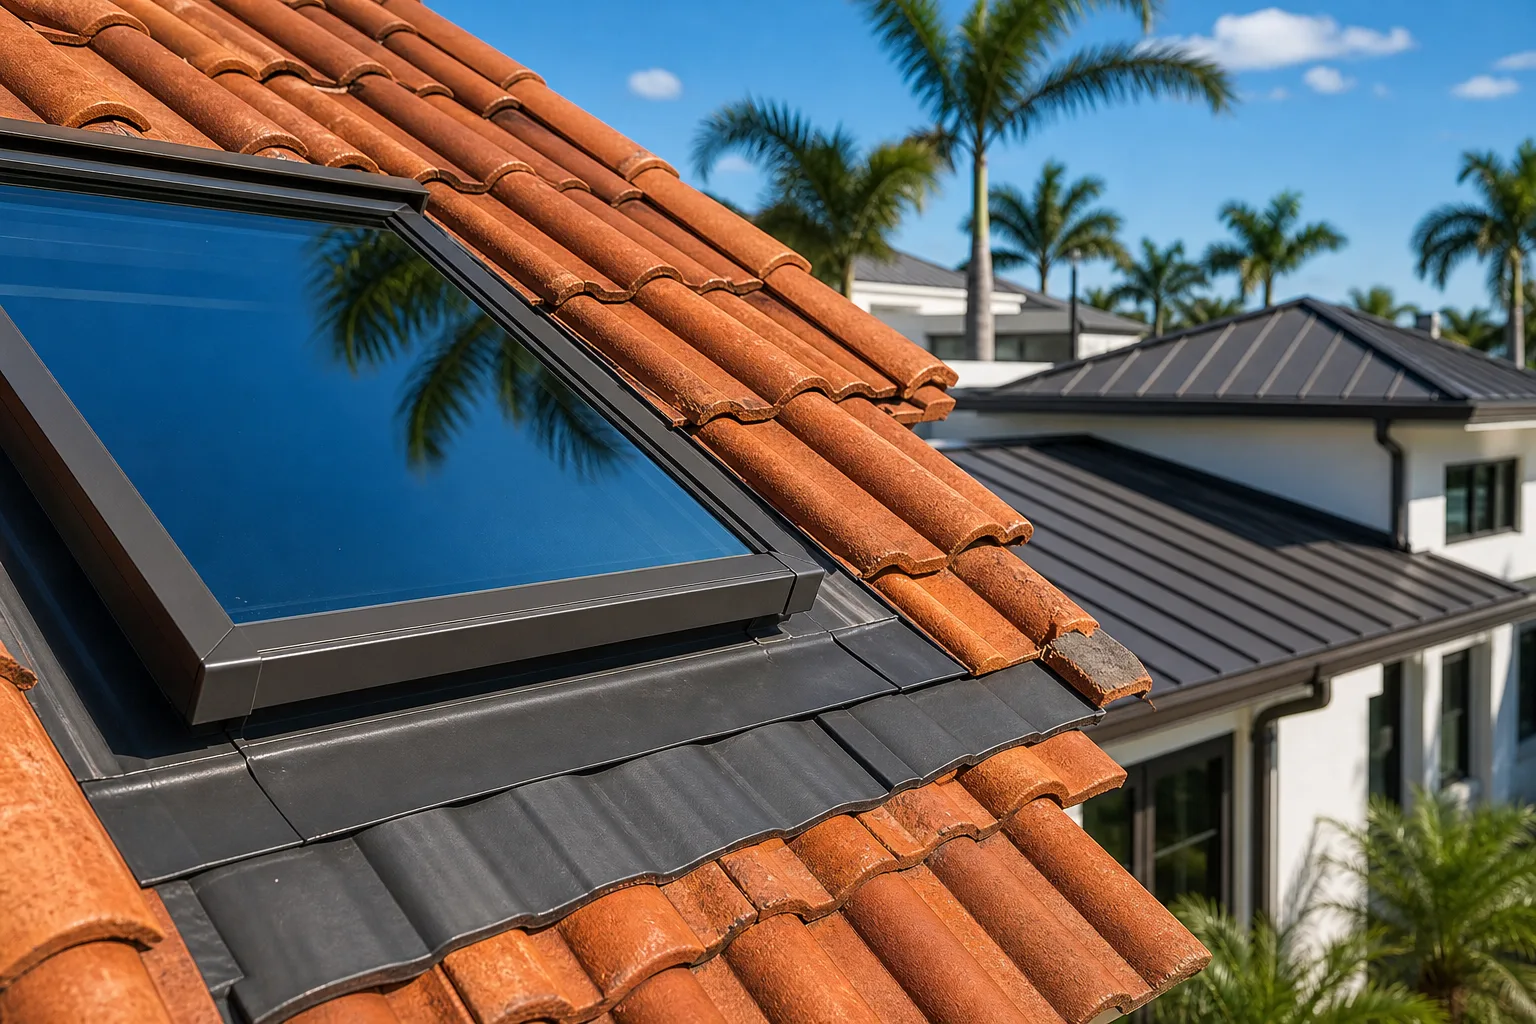
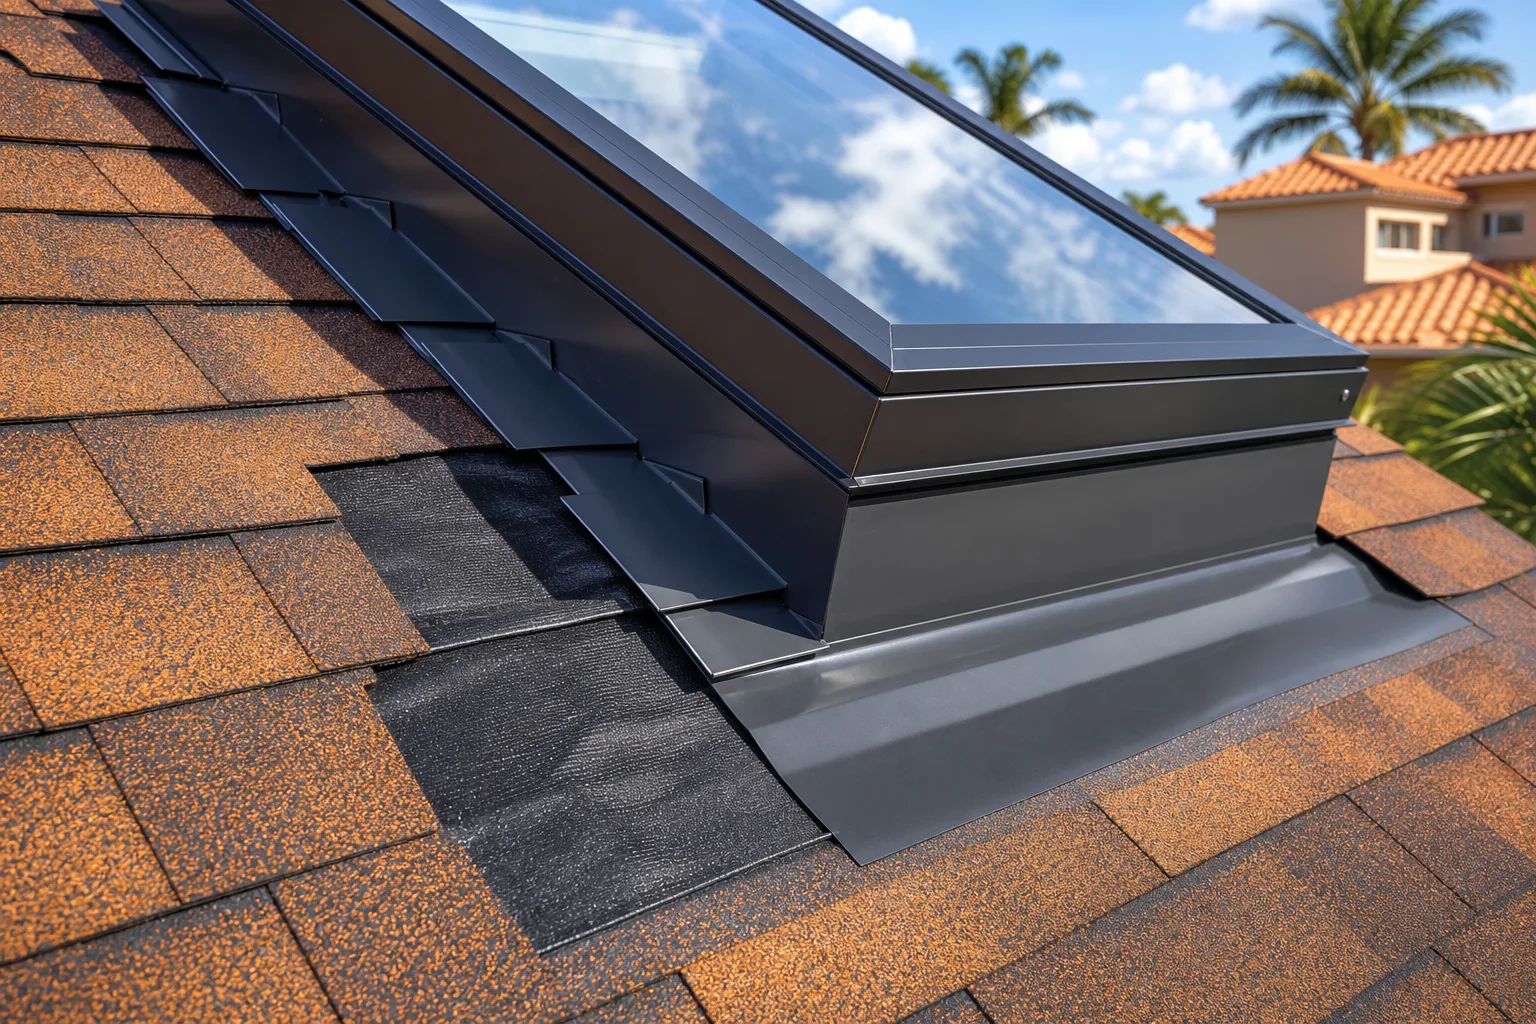
- Pan flashing (or base pan). A factory-shaped piece of metal that wraps under the low-side curb and kicks water away from the opening.
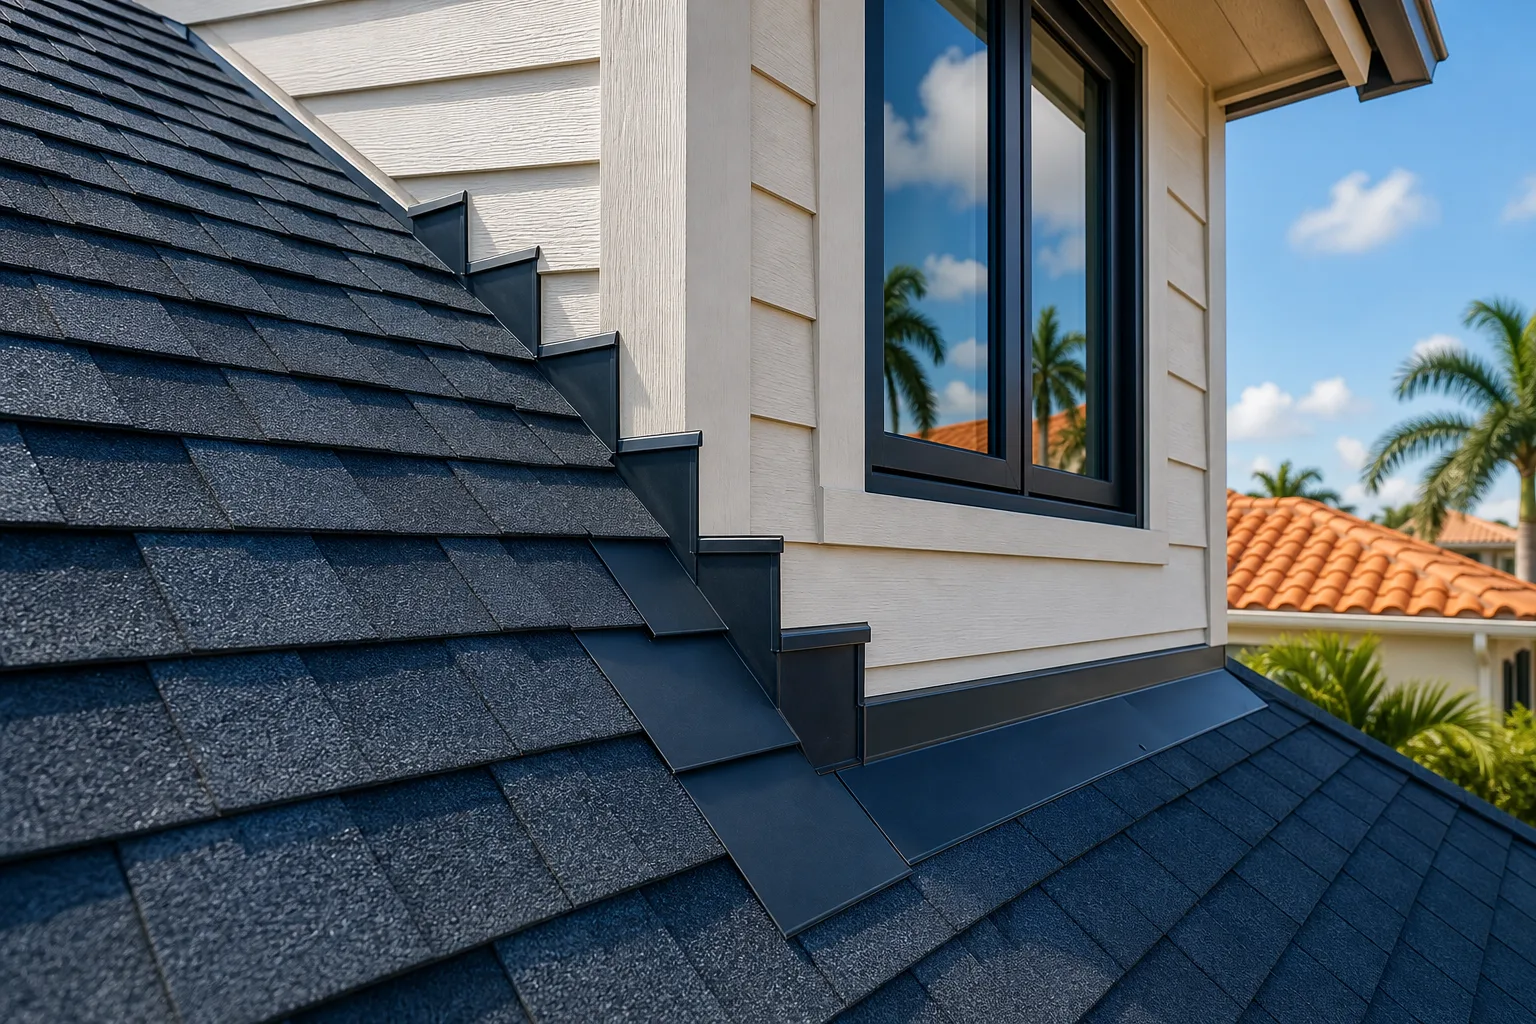
- Step flashing. Individual L-shaped pieces woven with shingles or tile on the two side walls of the curb.
- Head flashing (saddle or cap). A single piece at the uphill edge that channels water around and past the skylight.
- Counterflashing or apron. A second layer that laps over the top edge of the step or pan flashing to close the gap against the curb.
- Self-adhering membrane underlayment. A rubberized sheet layer installed under the metal pieces as a redundant water barrier.
- Sealant. Used sparingly at termination points, never as the primary waterproofing.
If a roofer quotes you on skylight work and cannot name most of these, that is worth noting.
Step 1: Look at the curb condition first
Stand at the edge of the opening or look at close-up photos before focusing on the metal. The curb should be square, solid, and sitting flat on the deck. Any rot, crushing, or out-of-square corners means water has already been getting in somewhere nearby, and no amount of new flashing will hold long-term on a compromised curb.
A healthy curb looks clean on its top edge, where the skylight frame seats. The wood should have no dark staining, soft spots, or separation from the deck.
Step 2: Check the pan flashing at the low side
The pan flashing sits at the downhill end of the skylight. It should:
- Extend at least 4 inches out from the curb face onto the roof deck
- Have a back dam, a small upturned lip on the inside edge that prevents water pooling from wicking under the curb
- Lie flat with no lifting at the corners
- Show no rust streaking, pinholes, or cracks at the bends
On a shingle roof, the pan tucks under the first course of shingles below the skylight. On a tile roof, the pan often extends further and feeds into a lead or copper apron shaped to fit under the tile profile. If you see bare caulk where metal should be, that is a shortcut that will fail.
Step 3: Trace the step flashing on each side
The two side walls are where most skylight leaks actually start, because step flashing requires the most pieces and the most precise weaving with the roof material.
Each step piece should:
- Be individual, not one continuous bent strip
- Overlap the piece below it by at least 2 inches
- Bend tightly against the curb face without gaps
- Be covered by the counterflashing or apron above it, so water running down the curb cannot get behind the step pieces
Look for step flashing that has separated from the curb face, rusted through at the bend, or been covered entirely with caulk. A bead of caulk running the full length of the side wall almost always means the step flashing underneath was not installed correctly and someone tried to compensate.
Spotted a leak or missing tiles? Schedule a repair visit
Step 4: Inspect the head flashing at the uphill edge
The head flashing handles the water that would otherwise run straight into the top of the skylight opening. It is sometimes called a cricket or saddle when the skylight is wide enough to need a small peaked diverter built behind it.
For narrower skylights, a simple L-shaped head flashing that laps over the uphill curb face and extends 6 or more inches onto the deck is standard. It should be covered by roofing material above it, not exposed to open sky.
A skylight wider than 24 to 30 inches typically needs a cricket, a small triangular raised diverter behind the curb that sheds water to the sides instead of letting it pool at the uphill face. If your skylight is wide and there is no cricket, ask why.
Step 5: Look at the membrane underlayment
On a good installation, you will see a strip of self-adhering rubberized membrane under and around each metal component. It is usually dark gray or black and sticky on one side. Its job is to handle any water that gets past the metal.
If you can see the bare wood deck between the metal pieces and the curb, the underlayment layer is missing. This does not mean the flashing will immediately leak, but it removes the safety net.
Step 6: Evaluate the sealant use
Sealant should be a small, neat bead at metal termination points only, such as where counterflashing ends or where a metal edge meets a vertical surface. It should not be:
- Globbed over entire sections of flashing
- The only thing holding a piece in place
- Cracked, lifted at the edges, or discolored
Excessive sealant is a diagnostic signal. It usually means previous repairs were made without pulling the flashing back and doing the work properly.
Common mistakes
Using one-piece continuous side flashing. A single bent strip instead of individual step pieces cannot flex with the roof and curb independently. It cracks at the bends over time.
Skipping the back dam on the pan. Without that upturned lip, water can sit against the low-side curb and wick under by capillary action, especially on low-slope roofs.
Caulking instead of counterflashing. Counterflashing is a physical overlap that sheds water mechanically. Caulk is a supplement, not a substitute.
Not installing a cricket on wide skylights. Florida's heavy rain events move a lot of water fast. A wide skylight without a cricket creates a dam that fills and overflows at the uphill face.
Reusing old flashing during a reroof. Flashing metal fatigues over time. When a roof system is replaced, the skylight flashing should be replaced with it, not left in place.
Bottom line
Healthy skylight flashing has distinct, identifiable layers: a solid curb, a pan with a back dam, individual step flashing pieces woven with the roofing material, a head flashing or cricket at the top, rubberized membrane underneath, and minimal sealant only at termination points. If any of these are missing or substituted with caulk, that is where your next leak will come from.
If you are seeing staining on your ceiling near a skylight or have photos from a recent inspection that do not look like what is described here, request a repair assessment or get a free instant estimate so a licensed contractor can confirm what is actually there before you decide on next steps.
Spotted a leak or missing tiles?
Small problems get expensive fast in the Florida sun. Get it looked at by a local crew before the next storm.
Frequently asked questions
Can I re-seal skylight flashing myself with roof caulk to stop a leak?
Caulk can temporarily slow a leak at a small termination-point gap, but it will not fix improperly installed or missing flashing components. If the step flashing is not woven correctly or the pan is missing a back dam, caulk over the top will buy weeks at best. A proper repair means pulling back the roofing material and resetting the flashing layers.
How long should skylight flashing last on a Florida roof?
Properly installed aluminum or galvanized flashing on a well-maintained roof can last 15 to 20 years or more, but Florida's UV exposure and thermal cycling accelerate metal fatigue. Flashing installed with a new roof should generally be replaced when the roof system is replaced, not left over from a previous installation.
What is a skylight cricket and when is it required?
A cricket is a small raised diverter built on the uphill side of a wide skylight to channel rainwater around the curb rather than letting it pool there. Many local codes and manufacturer guidelines require a cricket for skylights wider than roughly 24 to 30 inches. Without one, standing water at the uphill face is one of the most common sources of skylight leaks.
Does homeowners insurance cover skylight flashing failure?
Coverage depends on the cause. Storm-related damage is often covered, while wear-and-tear or improper installation typically is not. If you experienced a named storm or high-wind event in South Florida, document the damage and contact your insurer before making repairs. You can also visit our Hurricane Storm Center for guidance on storm-related roof claims.