How Roofing Contractors Waterproof Around Chimneys in South Florida
In this article
TL;DR: Proper chimney waterproofing uses two layers of interlocking metal flashing, step flashing woven into the roofing material and counter flashing set into the masonry. Caulk is a finishing detail, not a waterproofing method. When a contractor skips either layer, leaks are a matter of when, not if.
What You Need
Before any work starts, a contractor should have the following on hand:
- Galvanized, aluminum, or copper step flashing pieces cut to fit the roofing material (tile, shingle, or metal)
- Pre-bent counter flashing or reglet-cut counter flashing stock
- Self-adhering modified bitumen underlayment (minimum 4-inch overlap at all chimney faces)
- Urethane or polyurethane roofing sealant (for counter flashing joints only)
- Roofing screws or masonry anchors appropriate to the chimney material
- A chalk line, tin snips, and a grinder or oscillating tool for cutting reglet channels
If a contractor shows up with a tube of caulk and some aluminum tape as the primary waterproofing plan, that is a red flag worth acting on.
Step 1: Strip the Area Down to the Deck
Good chimney waterproofing starts with a clean look at what is actually there. The roofer removes existing flashing, roofing material for at least 12 to 18 inches around all four chimney faces, and any dried caulk or old mastic.
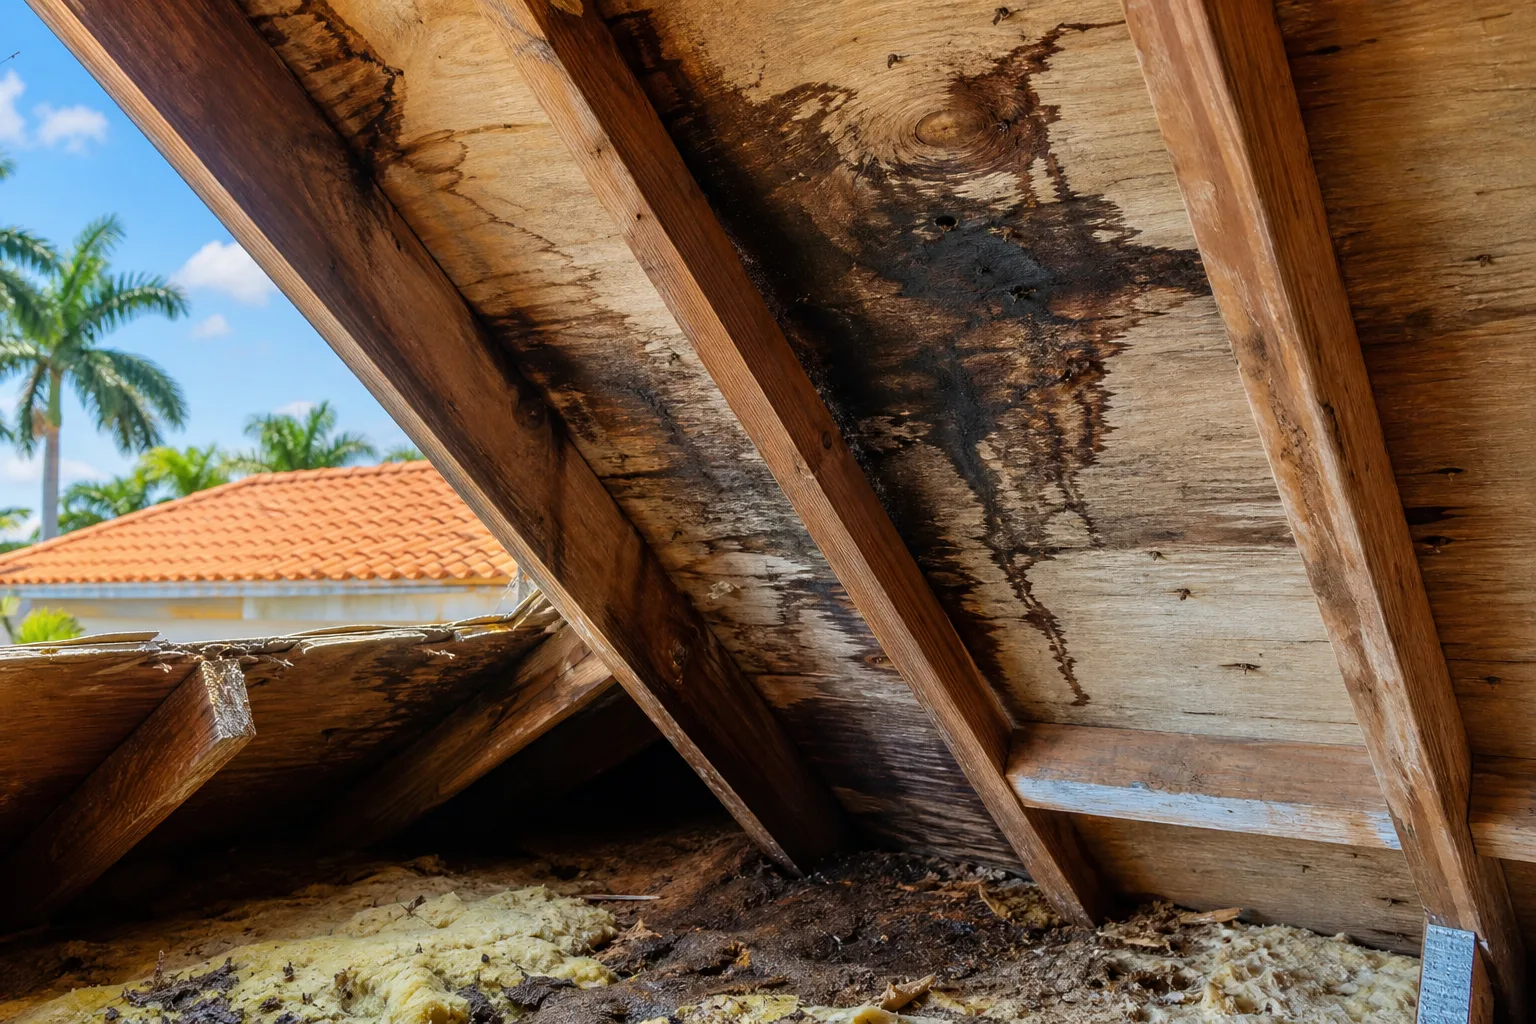
What they are looking for: rotted deck sheathing, previous moisture damage in the framing, and whether the chimney is plumb. A chimney that has shifted or settled changes how water runs off it and affects the flashing geometry.
If the deck is soft or the chimney crown is cracked, those problems get fixed before flashing goes on. Putting new flashing over damaged materials is how you end up with the same leak in two years.
Step 2: Lay the Underlayment Transition
Before any metal goes on, the modified bitumen underlayment needs to run up the chimney face by at least four inches on the sides and six inches on the uphill face. On the downhill face, the underlayment extends from the deck and laps over the lower flashing.
In South Florida, Florida Building Code may require a secondary water barrier on qualifying re-roofing work , confirm the specific requirements with your licensed contractor or local building department. That self-adhering underlayment at the chimney is part of that system, not just a precaution. It has to be fully adhered, no air pockets or lifted edges.
See how to prepare your roof for Florida's rainy season for more on why underlayment quality matters across the whole roof.
Step 3: Install Step Flashing on the Sides
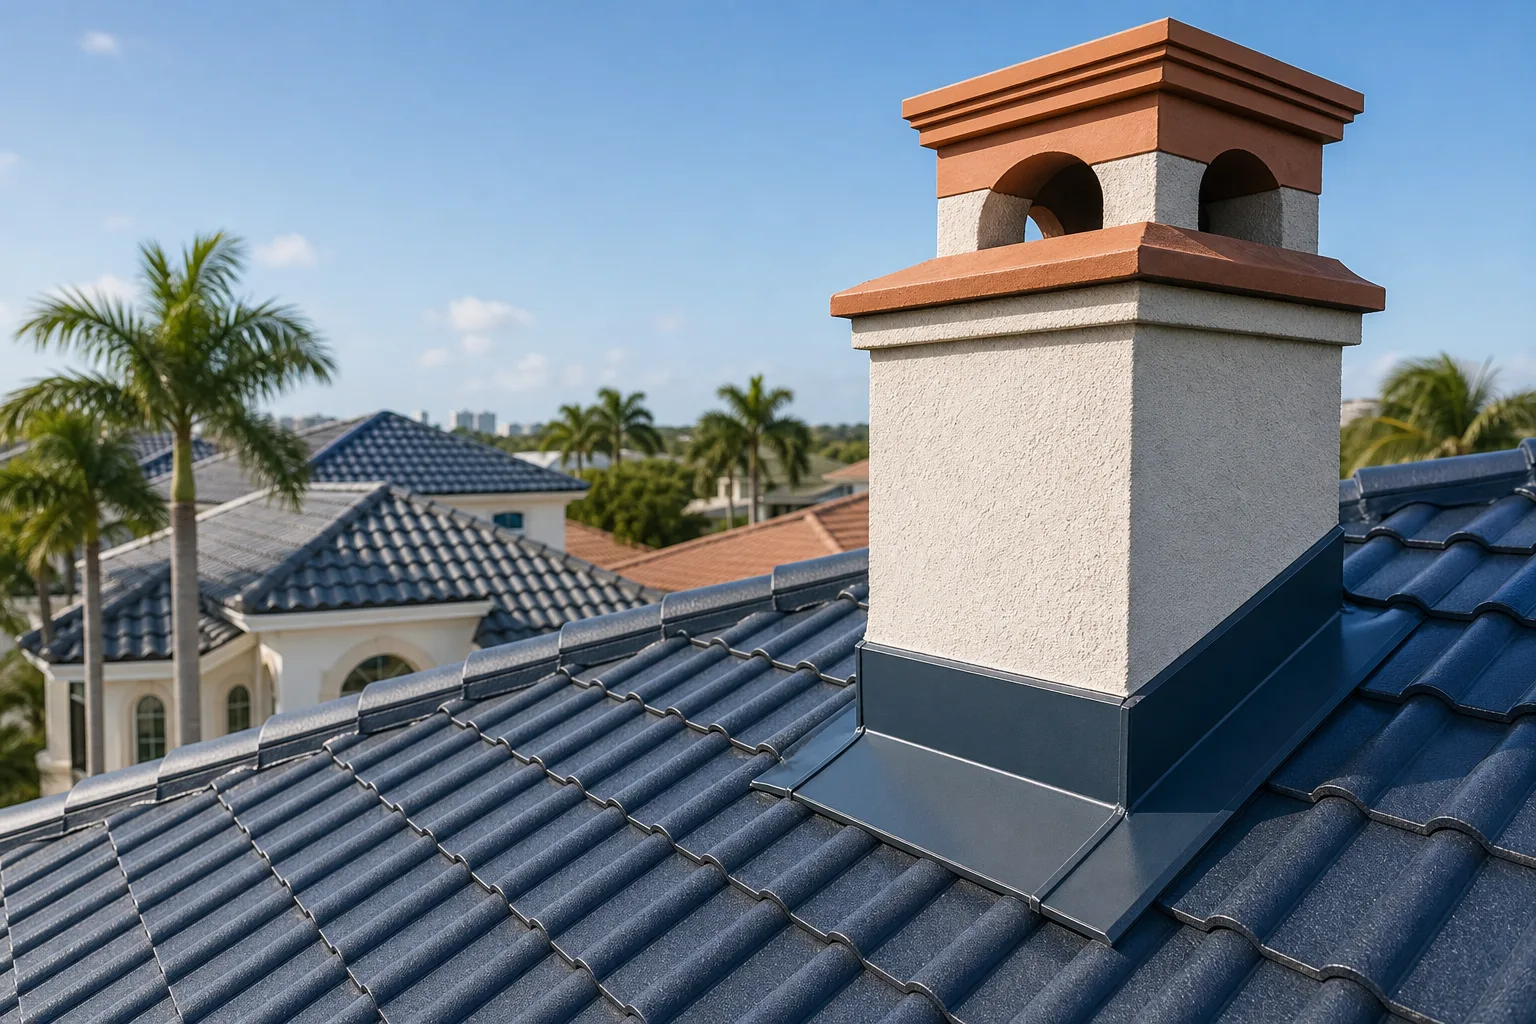
Step flashing is a series of individual L-shaped metal pieces, each one overlapping the piece below it and woven in with each course of roofing material. It is not one continuous strip bent around the corner.
Each piece should be:
- At least 4 inches wide on the roof deck and 4 inches tall against the chimney face
- Overlapping the piece below by the width of one roofing course (about 2 inches on most shingle jobs, more on tile)
- Nailed through the deck side only, not through the chimney face
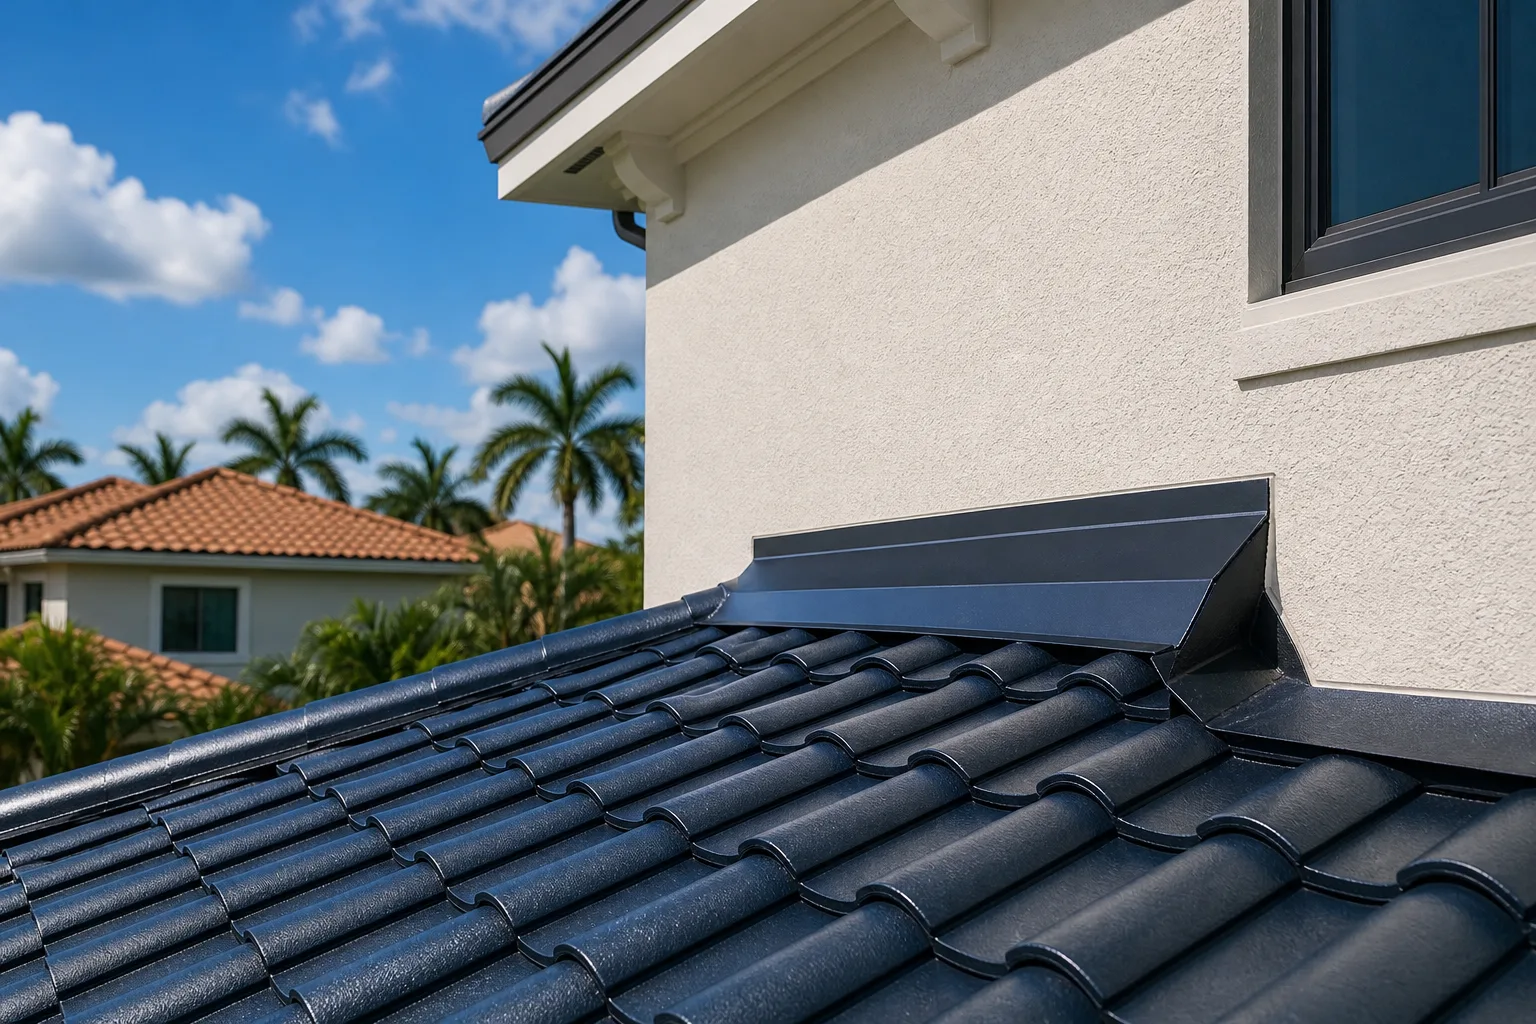
On tile roofs, step flashing pieces are often wider because the tile profile adds height. The flashing has to redirect water under the tile and onto the deck, not into the gap between tile and chimney. This is one reason chimney work on tile is more involved than on shingle. Tile roof systems have their own flashing geometry.
Step 4: Install the Apron (Front) Flashing
The apron flashing covers the downhill face of the chimney. It sits on top of the roofing course below it and runs up the chimney face. Water coming off the chimney drains onto the apron and then onto the roof, not into the joint.
The apron should extend at least 4 inches onto the roof and 4 inches up the chimney. On wider chimneys, a saddle or cricket is built behind the chimney to divert water around it rather than letting it pond against the back face.
Spotted a leak or missing tiles? Schedule a repair visit
Step 5: Build a Cricket If the Chimney Is Wide
A cricket is a small peaked structure built on the uphill side of the chimney. Per the applicable building code , based on the IRC as adopted by Florida , a cricket is typically required on chimneys wider than 30 inches, but confirm the specific requirement with your local building department. Even on narrower chimneys, a cricket is better practice because it eliminates the valley that forms between the chimney back and the roof slope.
Without a cricket, debris accumulates behind the chimney, holds moisture, and accelerates deterioration of the flashing and roofing material. In a heavy storm, that pocket can back up water under the roofing system entirely.
The cricket itself is flashed with its own step flashing and counter flashing, same principles as the chimney sides.
Step 6: Set the Counter Flashing
Counter flashing is the cap layer that holds the top edge of the step flashing against the chimney and keeps water from getting behind it. It overlaps the step flashing by at least 3 inches and is either:
- Embedded in a reglet cut: A horizontal groove cut into the mortar joint or masonry, the counter flashing leg is bent into the groove and sealed with urethane sealant. This is the more durable method.
- Surface-applied: The counter flashing is fastened directly to the chimney face with masonry anchors and sealed at the top edge. Acceptable, but the seal eventually needs maintenance.
The reglet method holds up better in South Florida conditions because it is mechanical, not just adhesive. Caulk will eventually fail in UV exposure and thermal cycling. The reglet gives the flashing a physical lock.
Step 7: Seal Joints, Not Surfaces
Urethane sealant goes at specific joints: the top edge of surface-applied counter flashing, reglet channels, and any penetration point where a fastener goes through metal. That is it.
It does not go as a substitute for step flashing. It does not go as a wide bead covering the entire flashing-to-chimney joint. Roofing caulk applied as a primary seal is what storm-chaser contractors do when they want a fast job that will look fine for six months and then fail.
Sealant is maintenance. Metal is waterproofing.
Common Mistakes
Using caulk as the primary seal. No caulk product holds up to South Florida UV, heat cycling, and driving rain over the long term. It is a joint filler, not a waterproofing layer.
Skipping the cricket on wide chimneys. Any chimney wider than 30 inches without a cricket is accumulating debris and moisture on the uphill face. That is a slow leak waiting to start.
Nailing through the chimney side of step flashing. Step flashing needs to move slightly with thermal expansion. Nailing it to the chimney prevents that and eventually causes the metal to crack or pull loose.
Reusing old counter flashing. Old counter flashing is often corroded at the reglet, bent out of shape, or cracked at the corners. Reusing it saves 20 minutes and costs a callback. Contractors who reuse it without your knowledge are cutting corners.
Relying on surface-bonded counter flashing alone without mechanical fasteners. In South Florida wind events, adhesive-only counter flashing can lift and allow bulk water entry. See why roof valleys are vulnerable in storms for how bulk water intrusion works across multiple penetration types.
Bottom Line
Chimney waterproofing is a layered system. Underlayment, step flashing, counter flashing, and a cricket on wider chimneys each do a different job. Any contractor who simplifies this to a caulk application is setting you up for a repeat repair call.
If you have a chimney that has leaked before or you are replacing your roof and want the flashing done right the first time, the roof repair team at Millennium Makeover works on chimneys across Boynton Beach, Delray Beach, Boca Raton, and the surrounding South Florida area. You can also get an instant estimate to start the conversation.
Spotted a leak or missing tiles?
Small problems get expensive fast in the Florida sun. Get it looked at by a local crew before the next storm.
Frequently asked questions
How often does chimney flashing need to be replaced in South Florida?
Metal flashing can last 20 to 30 years if installed correctly and the sealant joints are maintained. In South Florida, UV exposure and thermal cycling accelerate sealant degradation, so the caulked joints should be inspected every few years even if the metal itself is in good shape. If you see rust staining, lifted edges, or any separation between the flashing and chimney face, have a roofer evaluate it before the next rainy season.
Can I waterproof my chimney myself, or is this a job for a licensed contractor?
The underlayment and metal flashing work requires understanding of roofing system sequencing and Florida Building Code requirements. Surface-level caulk touch-ups on an otherwise intact system are manageable for a careful homeowner, but installing or replacing step flashing and counter flashing is a job for a licensed contractor. Mistakes here are not obvious from the ground and tend to show up as water damage inside the house months later.
What is a chimney cricket and does my chimney need one?
A cricket is a peaked structure built on the uphill side of a chimney to divert water and debris around it rather than letting it collect behind the chimney. Per the applicable building code , based on the IRC as adopted by Florida , a cricket is typically required on chimneys wider than 30 inches, but confirm the specific requirement with your local building department or licensed contractor. Many roofers install them on narrower chimneys as well because the protection is worth it. If your chimney does not have one and you are re-roofing, ask your contractor whether one should be added.
Does chimney flashing work the same way on tile roofs as on shingle roofs?
The principles are the same but the execution is different. Tile profiles are thicker and more varied than shingles, so step flashing pieces need to be wider and sometimes custom-bent to fit the tile profile. Counter flashing on tile also needs to account for the additional height the tile adds at the chimney face. This is one reason chimney work on tile roofs takes more time and should not be priced the same as a basic shingle chimney repair.