How Roofers Waterproof the Transition Between a Flat Roof and a Pitched Roof

In this article
TL;DR: The junction between a flat and pitched roof fails when flashing and membrane layers are not properly integrated. Correct waterproofing uses base flashing, step or L-flashing, a membrane tie-in, and counterflashing locked into the wall or parapet. Skipping any layer creates a pathway for water that South Florida rain will find almost immediately.
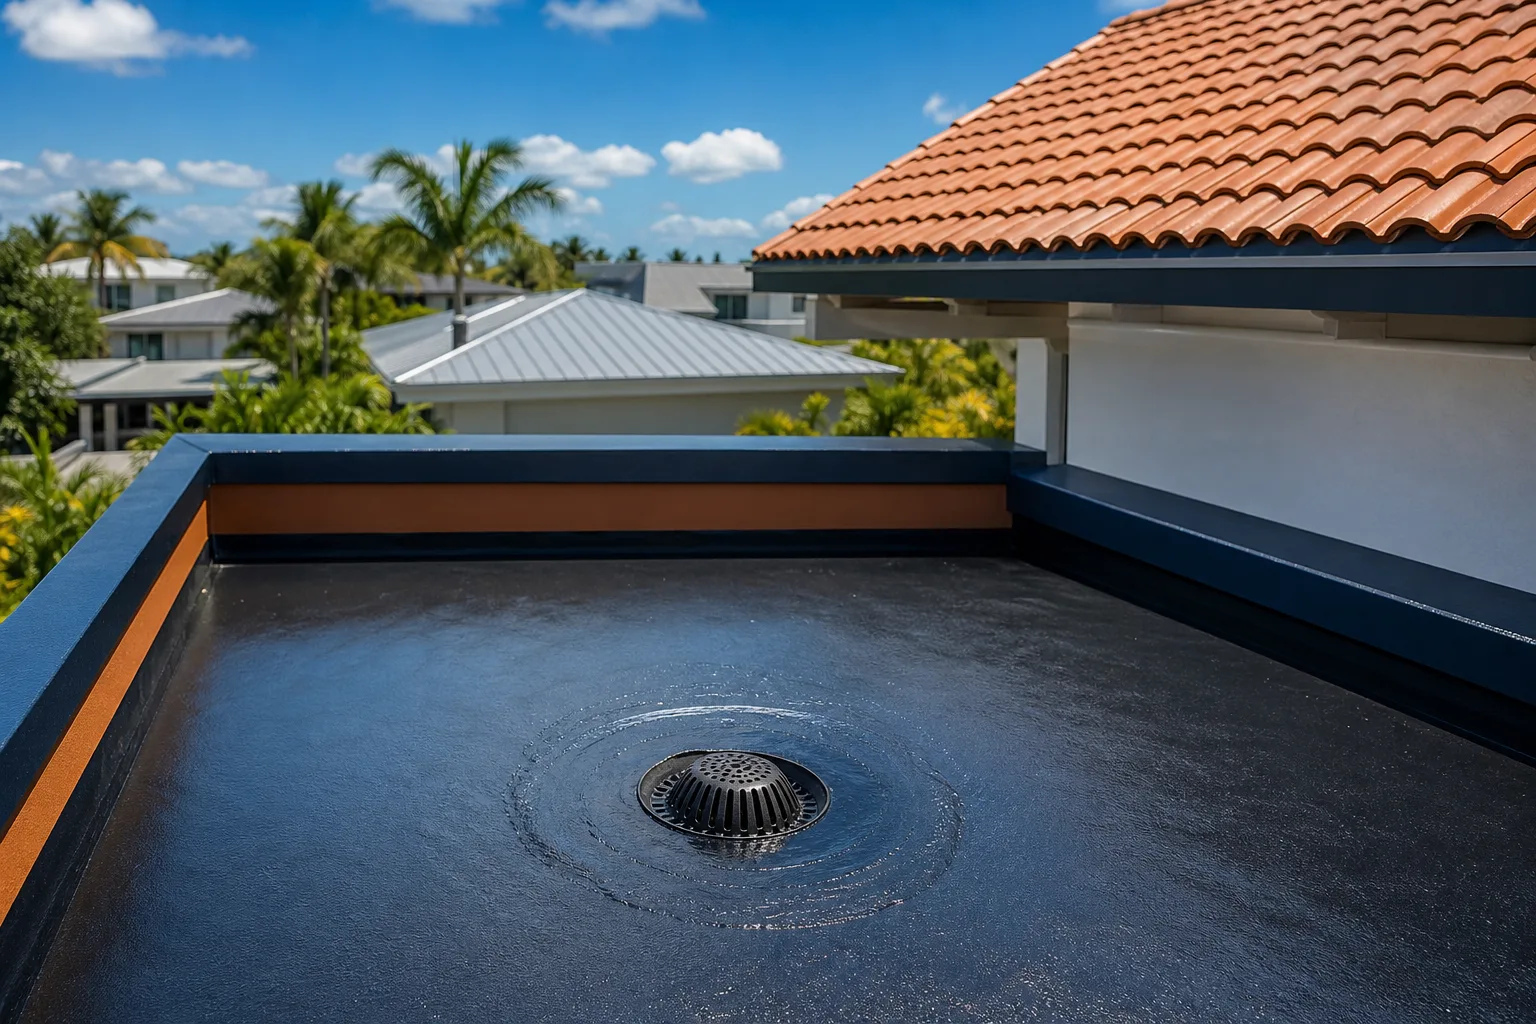
What You Need
Before a crew starts, these materials and conditions should be in place:
- Roofing membrane matching the flat section (modified bitumen, TPO, or EPDM)
- Pre-formed or site-bent metal flashing (galvanized, aluminum, or copper, depending on the system)
- Step flashing or continuous L-flashing sized to the pitch angle
- Roofing cement or compatible sealant rated for the membrane type
- Counterflashing or reglet channel for the wall or parapet
- Caulk rated for UV and thermal movement in South Florida conditions
- A clean, dry substrate, ideally with no rain in the 24-hour forecast
Note that Florida Building Code roofing provisions (commonly referenced under FBC Chapter 15, verify the current code cycle) and the local High-Velocity Hurricane Zone (HVHZ) provisions in Miami-Dade and Broward counties impose specific attachment and overlap requirements for flashing. Even in Palm Beach County, which follows the standard FBC, wind-driven rain uplift standards affect how flashing is fastened and lapped.
Step 1: Prepare the Substrate at the Transition Point
The crew removes any existing flashing, old sealant, and deteriorated roofing material at the junction. The goal is a clean, solid deck surface on both the flat side and the first few courses of the pitched side.
Any rotted sheathing or damaged fascia discovered here must be replaced before flashing is set. Water that has already migrated under old flashing often causes hidden wood decay at this exact point. See why the fascia board matters for what to check on adjacent framing.
The slope change itself creates a geometry problem: water running down the pitched section accelerates and hits the flat roof at a point of direction change. That concentration of flow is why the transition needs more layers than either roof section alone.
Step 2: Install Base Flashing Along the Vertical Face
Base flashing is the first metal layer. It runs up the vertical surface (wall, parapet, or the rake of the pitched roof) and extends out onto the flat roof deck a minimum of 4 inches, though 6 inches is common in South Florida practice to account for wind-driven rain.
The base flashing is set into roofing cement on the flat deck side. Fasteners are driven into solid framing, not just sheathing, and spaced to meet the wind-uplift schedule in the project permit.
If the transition is at a wall (common in additions where a flat porch meets a pitched main roof), the base flashing must also be integrated with the wall's water-resistive barrier before the next layer goes on.
Step 3: Tie In the Flat Roof Membrane
The flat roof membrane, whether modified bitumen, TPO, or another system, gets lapped up and over the base flashing. The exact overlap distance depends on the membrane manufacturer's specification, but 3 to 4 inches over the flashing face is typical.
For torch-applied modified bitumen (common in South Florida), the membrane is heat-welded to the flashing metal after a compatible primer is applied. For TPO or EPDM, a bonding adhesive or heat-welded seam is used at the lap.
This step is where many failures originate. If the membrane only butts up to the base flashing rather than lapping over it, any water that gets under the flashing has a direct path into the building. The lap creates redundancy.
Spotted a leak or missing tiles? Schedule a repair visit
Step 4: Install Step Flashing or L-Flashing on the Pitched Side
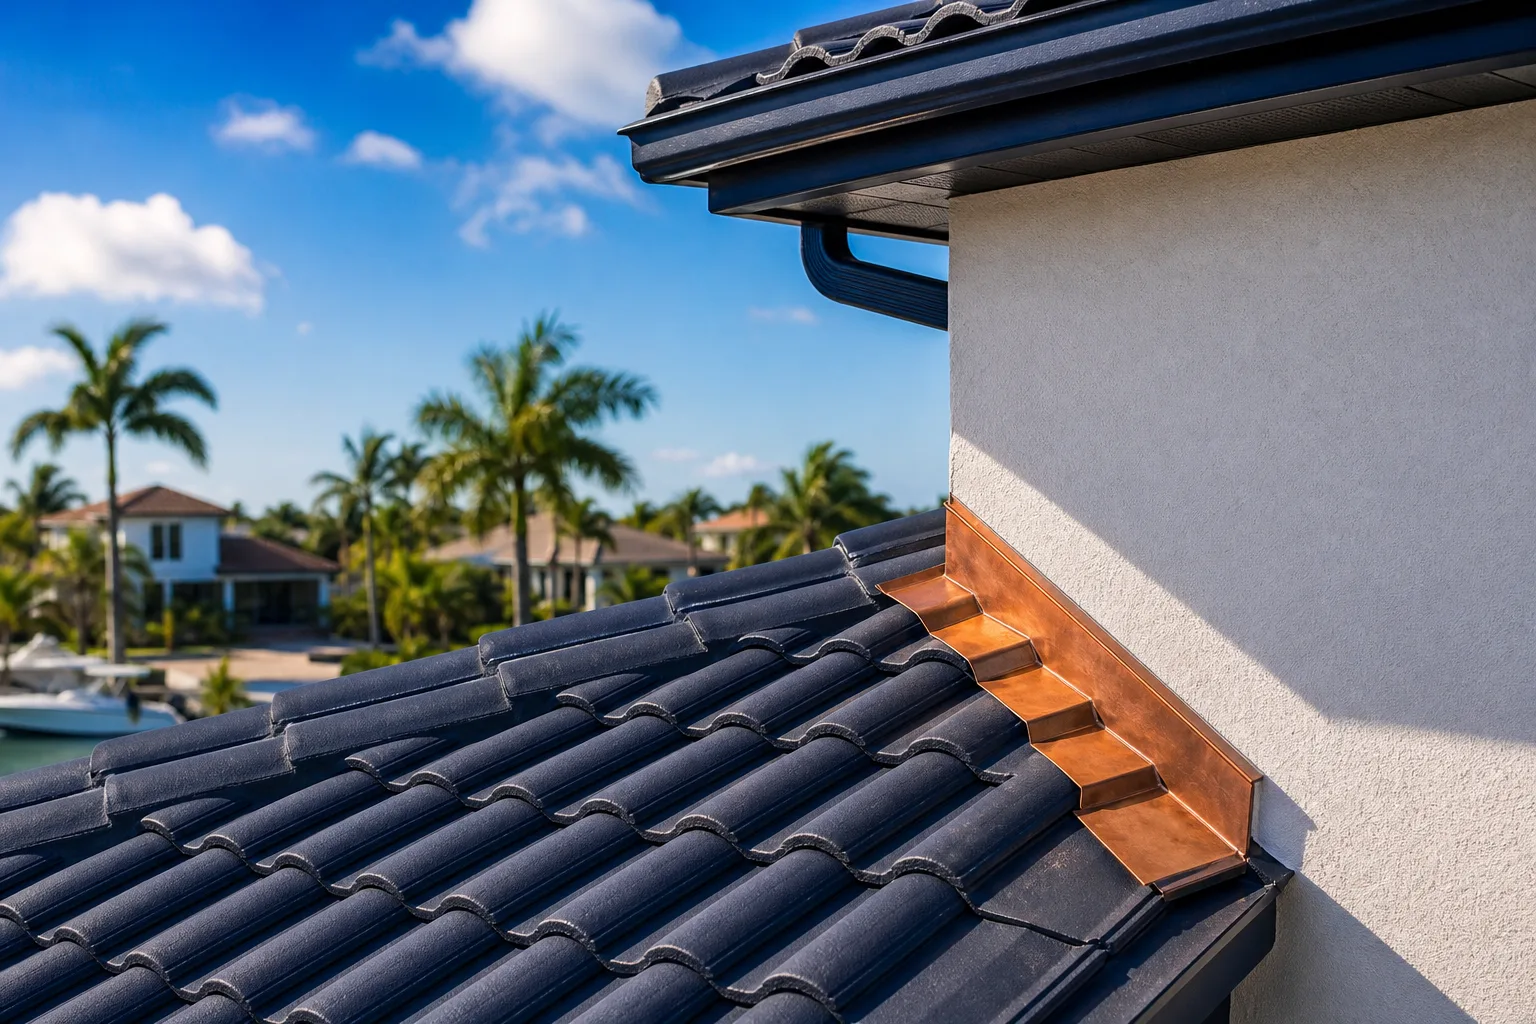
On the pitched roof side of the transition, individual step flashings (or a continuous bent piece for simpler geometry) are woven into the roofing material course by course.
For shingle roofs meeting a flat section:
- Each step flashing piece overlaps the one below it by at least 2 inches
- Each piece is nailed to the deck, not to the shingle above it, so thermal movement does not crack the flashing
- The shingle course laps over the flashing, keeping the nail head out of the water plane
For tile roofs, the geometry is more complex because tile profiles create voids. Roofers use wider step flashing or a formed mortar bed alongside the flashing to eliminate gaps where wind can drive water horizontally. South Florida's wind loads make this detail critical.
For metal roofs, the transition flashing is typically custom-formed to mate with the panel profile and is fastened through butyl tape to the panel, not through an exposed hole in the flat zone.
Step 5: Install Counterflashing or Cap Flashing
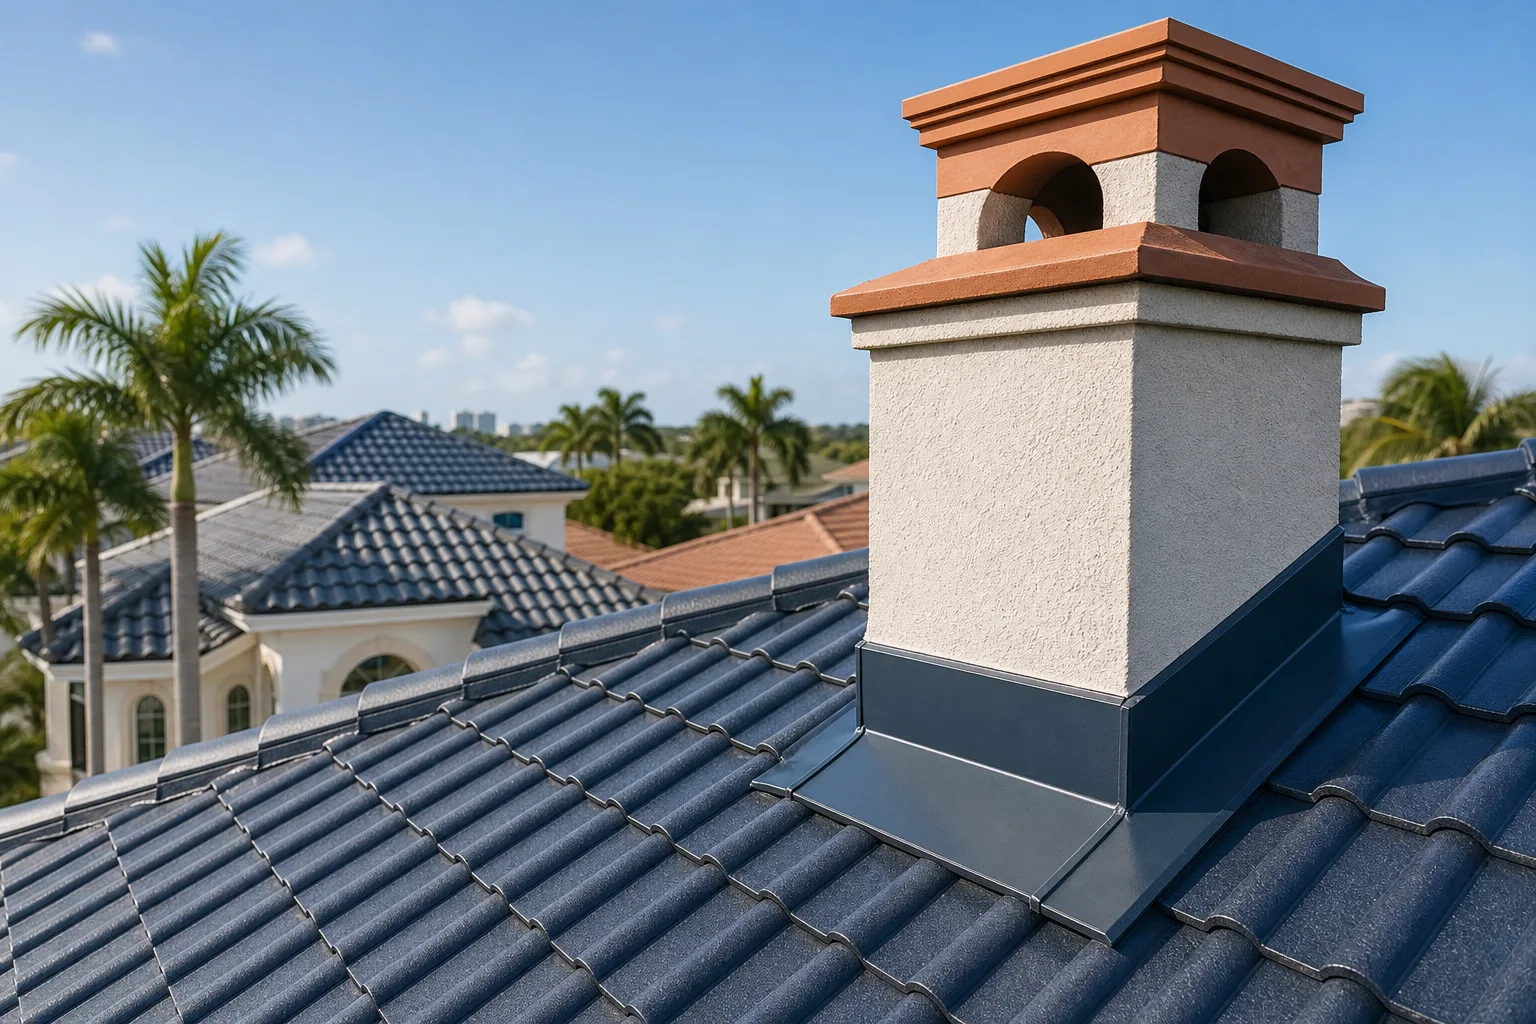
Counterflashing is the outer cap that covers the top edge of the base flashing and prevents water from running behind it. It is either:
- Embedded in a reglet cut into masonry or stucco, then sealed with polyurethane sealant
- Surface-mounted with a continuous cleat and sealant bead at the top, used when cutting a reglet is not practical
Embedded counterflashing is more durable in South Florida's thermal cycling and hurricane-wind-driven rain. Surface mounting is acceptable but requires inspection every few years because the sealant joint at the top is exposed to UV and heat.
The counterflashing must lap the base flashing by a minimum of 4 inches vertically. That overlap is what makes the assembly shed water even when wind pushes it laterally.
Step 6: Seal Penetrations and Apply Final Inspection
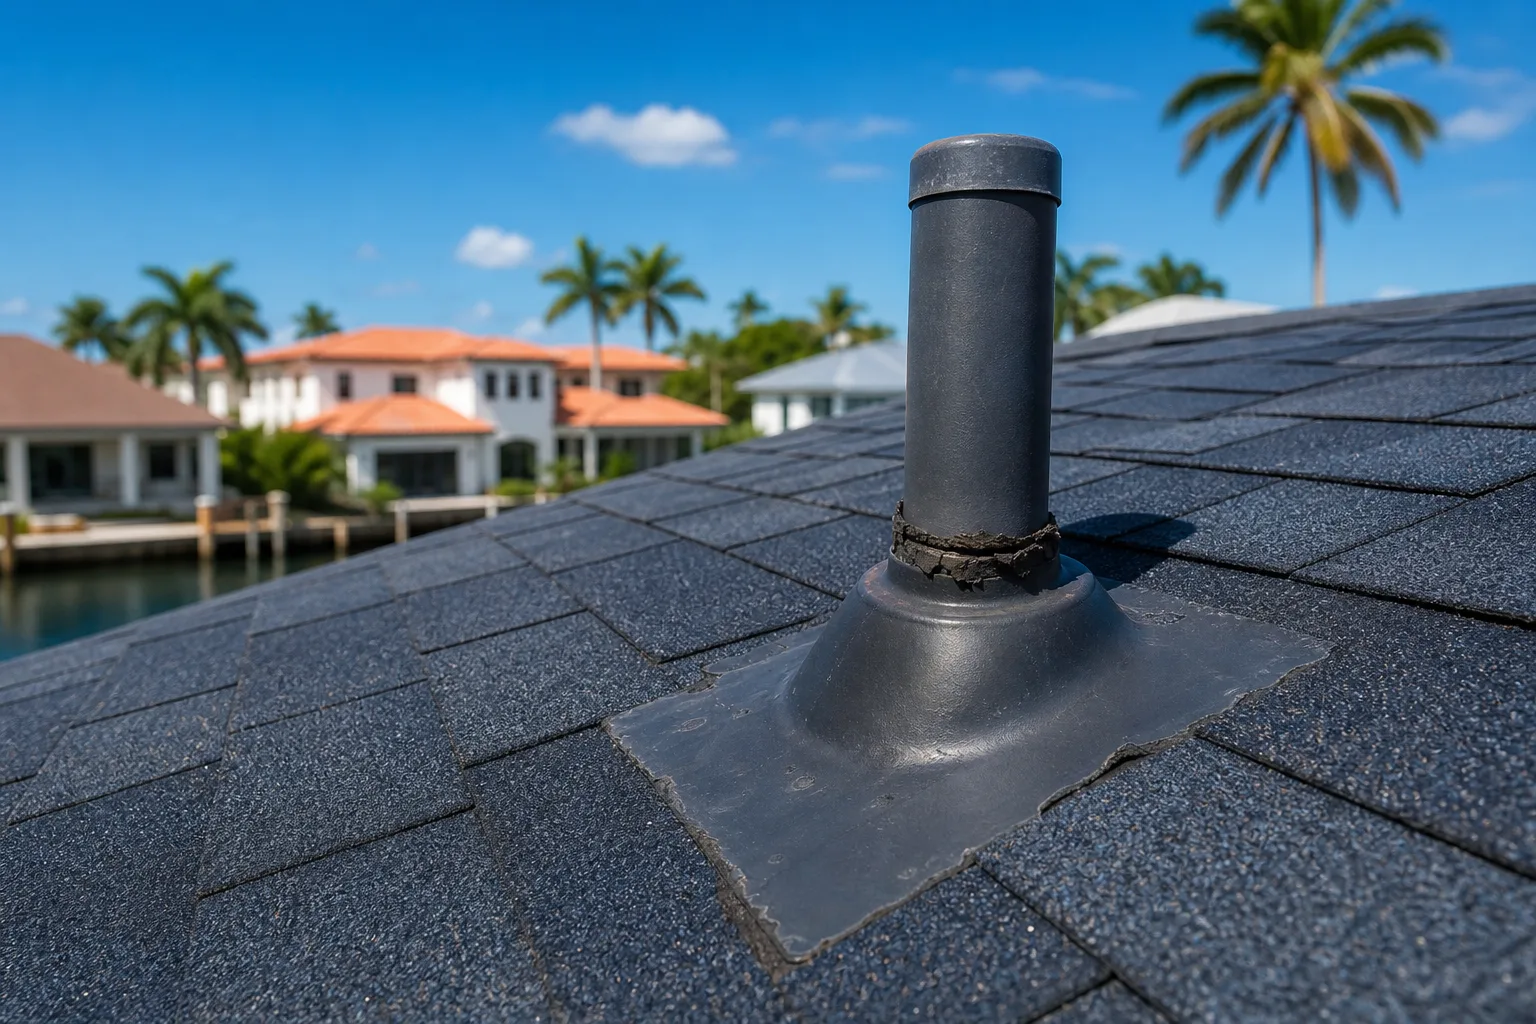
Every fastener head in the transition zone gets a dab of compatible sealant. Any penetrations (pipe boots, conduit) within 12 inches of the transition are re-flashed at the same time, because disturbing the membrane near a transition can compromise adjacent details.
Before the crew leaves, a water-test or close visual check of every lap and seam confirms no bridging, fishmouths, or exposed metal edges remain. In permitted work, the building inspector will also check flashing integration as part of the final roofing inspection.
Common Mistakes
Relying on sealant alone. Caulk and roofing cement are secondary seals, not primary waterproofing. A transition built only with sealant will fail within a few South Florida rainy seasons.
Undersized base flashing. A 2-inch base flashing is rarely adequate. Wind-driven rain in a tropical storm or Cat 1 event pushes water upward against any short flashing edge.
Not priming before membrane adhesion. TPO and modified bitumen both require a compatible primer on metal before the lap is bonded. Skipping primer causes adhesion failure within months.
Mismatching membrane and flashing materials. Some sealants and adhesives are not compatible across membrane types. Using a TPO bonding adhesive on EPDM, for instance, will fail. Always check the manufacturer's compatibility chart.
Skipping the counterflashing. Some repairs just re-seal the base flashing top edge with caulk. That joint is UV-exposed and moves with thermal cycling. It will open. Counterflashing is the correct permanent solution.
Ignoring the pitched-side first course. If the lowest course of shingles or tile on the pitched section does not properly overlap the transition flashing, water rolls under the roofing material and finds the flat-pitched junction directly.
Bottom Line
Waterproofing a flat-to-pitched transition is a layered assembly, not a single product. Base flashing, membrane tie-in, step flashing, and counterflashing each handle a different failure mode. In South Florida, where wind-driven rain is measured in inches per hour and hurricane season runs six months, every layer matters.
If you can see daylight, rust stains, or lifted flashing at your transition, that joint needs attention before the next heavy rain. Our roof repair team handles transition flashing on both residential and commercial roofs across Boynton Beach, Delray Beach, Boca Raton, and the wider Palm Beach area. Get a free instant estimate or visit the Hurricane Storm Center if you are prepping ahead of the season.
Spotted a leak or missing tiles?
Small problems get expensive fast in the Florida sun. Get it looked at by a local crew before the next storm.
Frequently asked questions
How long does a properly installed flat-to-pitched transition flashing last?
A well-installed metal flashing assembly with embedded counterflashing typically lasts 20 or more years, though the sealant joints should be inspected every 3 to 5 years. In South Florida, UV exposure and thermal cycling shorten sealant life more than in cooler climates, so periodic inspection is more important than in northern states.
Can I seal a leaking flat-to-pitched transition myself with caulk?
Caulk can stop a minor seep temporarily, but it is not a reliable long-term fix for a flashing transition. If water is already getting past the counterflashing or membrane lap, the underlying layers need to be re-done correctly. A temporary sealant repair buys time but often masks deterioration that worsens before the next inspection.
Does Florida Building Code require a specific flashing overlap at this transition?
Florida Building Code roofing provisions (commonly referenced under FBC Chapter 15, verify the current code cycle) set minimum flashing dimensions, and High-Velocity Hurricane Zone provisions add stricter requirements for Miami-Dade and Broward counties. Palm Beach County follows the standard FBC, but wind-uplift schedules still govern fastener spacing and flashing dimensions. A licensed contractor pulls permits and meets inspection requirements for any transition re-flashing job.
What is the most common cause of leaks at a flat-to-pitched roof junction?
The most common cause is base flashing that is too short or not properly integrated with the flat roof membrane, so water driven horizontally by wind gets behind the flashing. The second most common cause is counterflashing that was surface-sealed with caulk rather than embedded, and that sealant joint eventually opens from UV and heat cycling.