How Roofers Waterproof a Flat Roof Drain That Keeps Backing Up
In this article
TL;DR: A recurring backed-up flat roof drain almost always points to a failed drain collar seal, a sunken or damaged sump, or debris buildup combined with a compromised membrane edge. Clearing the strainer is step one, but waterproofing the drain assembly is what stops the leak. A licensed roofer addresses the membrane, the clamping ring, and the overflow system together.
What You Need
- Access to the roof (safely, with proper footwear)
- A stiff brush or wet/dry vac for strainer cleaning
- Flashlight to inspect the sump basin
- A licensed flat-roof contractor for anything involving membrane cuts, clamping rings, or sealant around the drain body
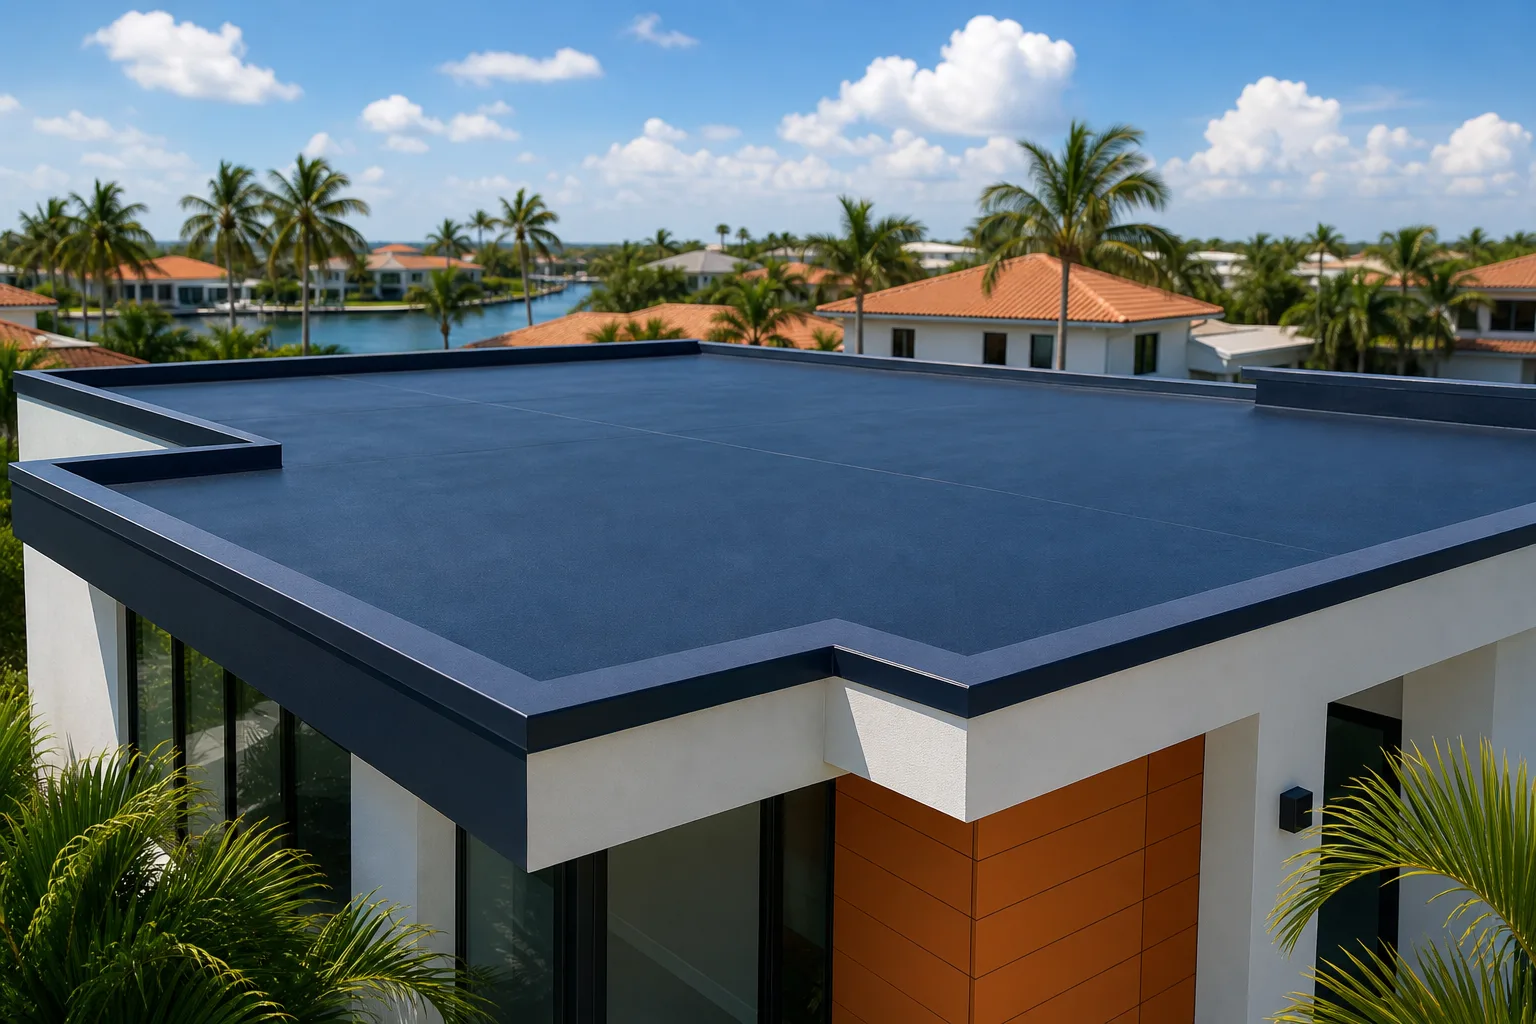
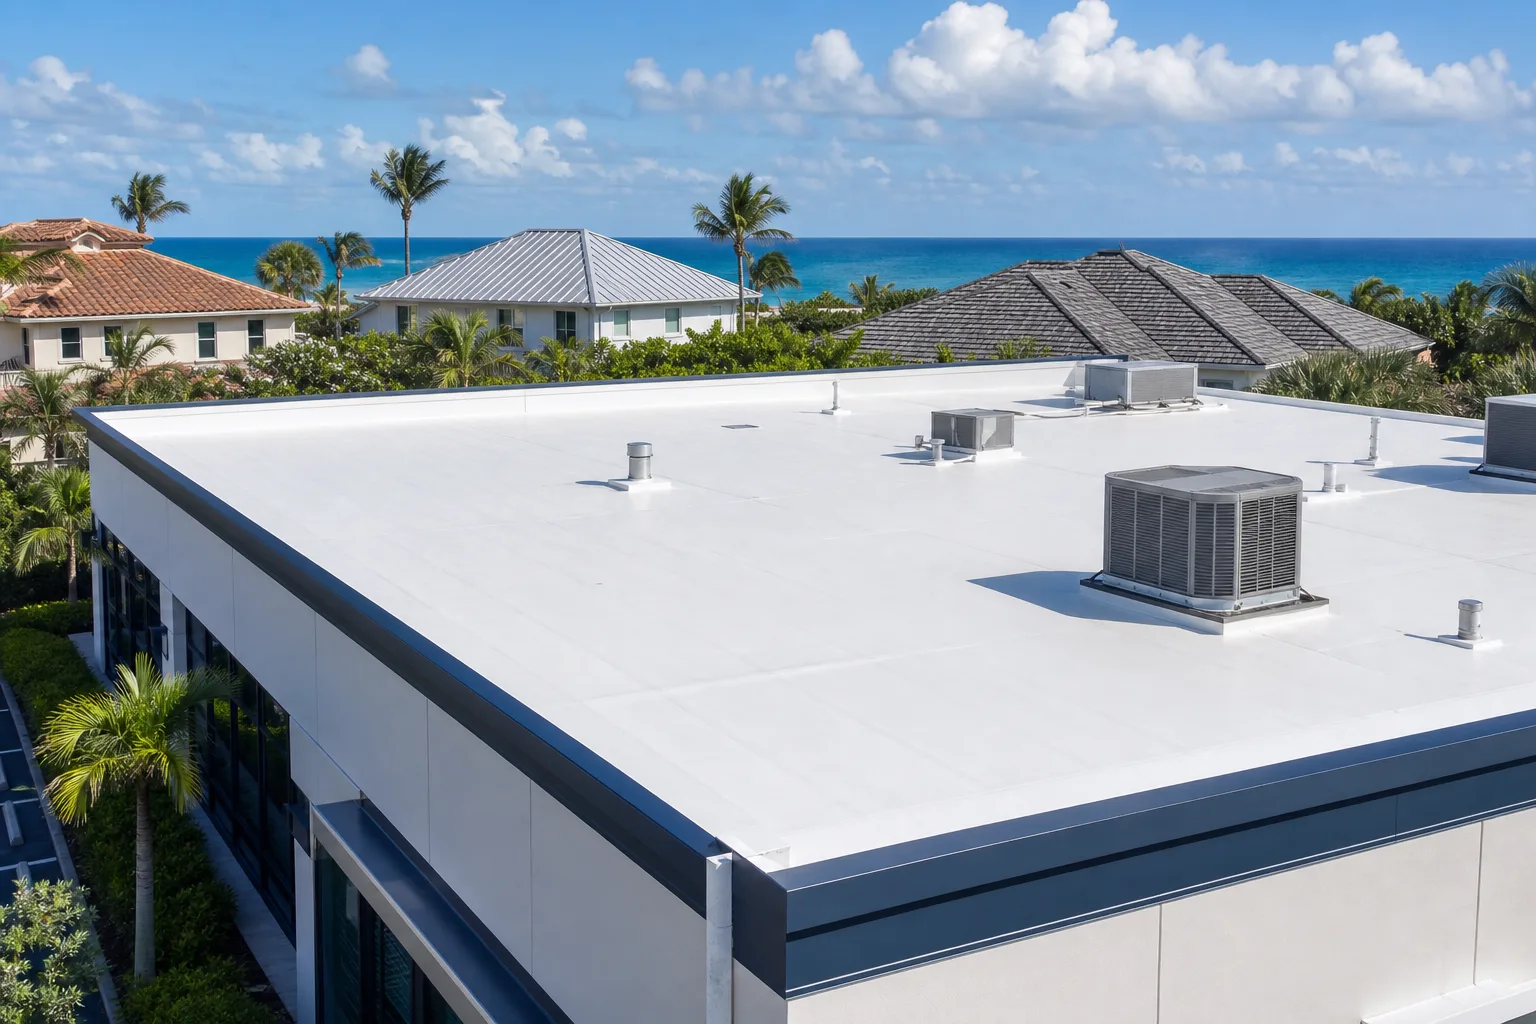
Flat roofs on commercial buildings, older Florida homes, and low-slope additions are common here in South Florida. The drain assembly on these roofs takes a beating: summer heat, heavy rain events, and foot traffic from HVAC techs all degrade the seals over time.
Step 1: Clear the Strainer and Check the Sump Basin
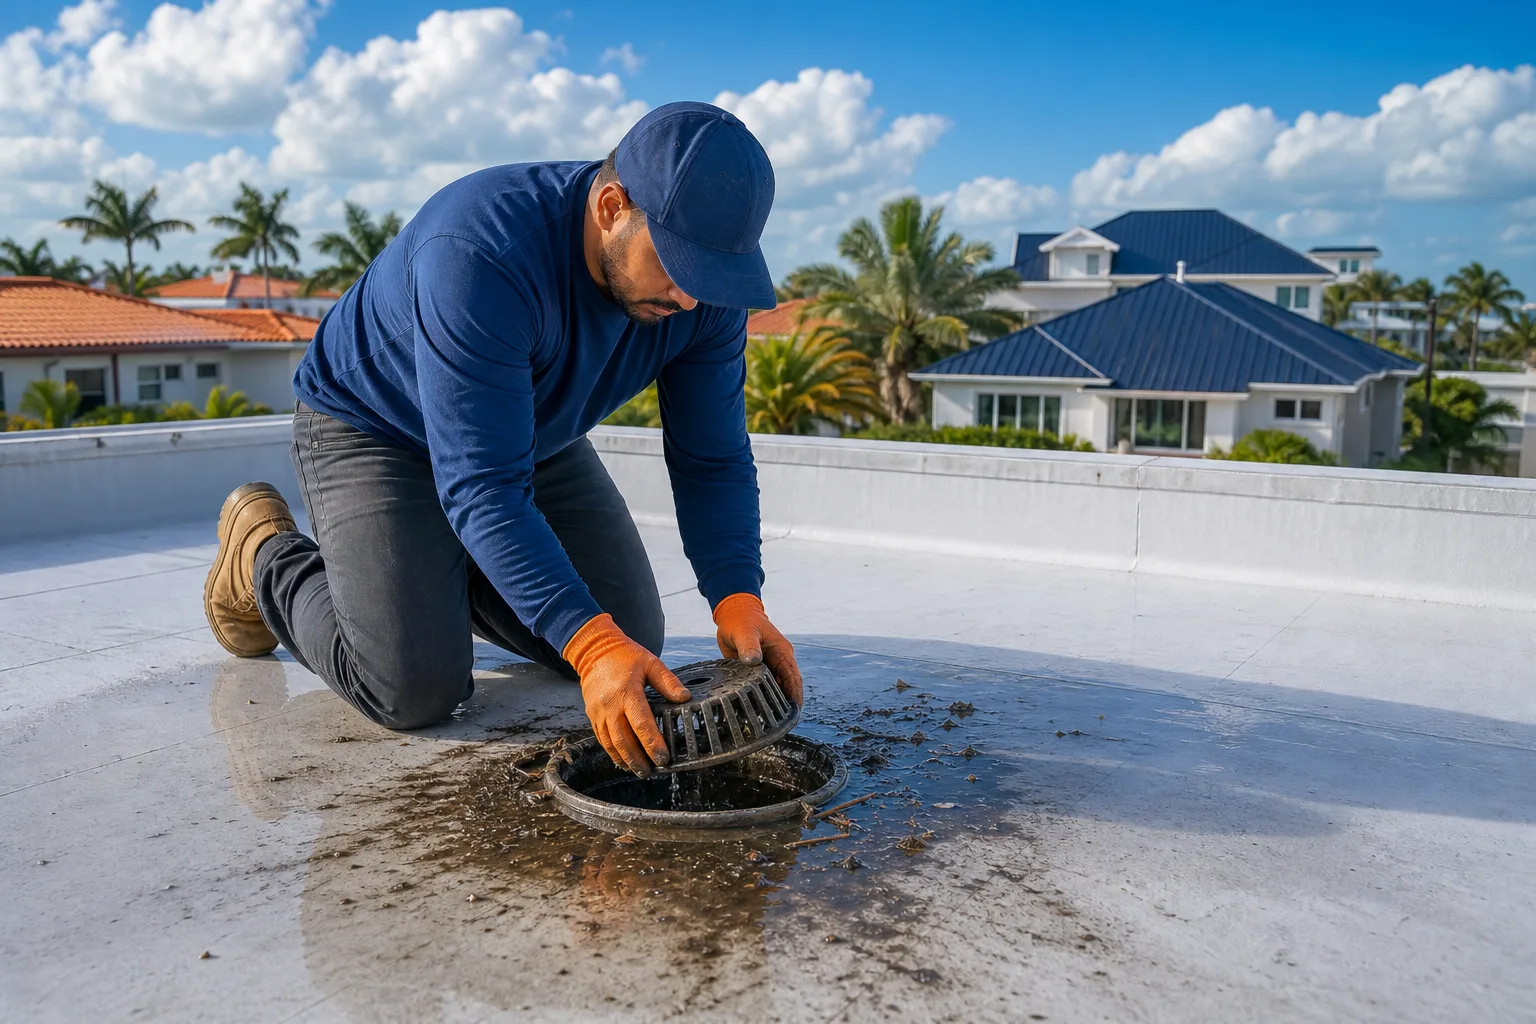
Remove the dome strainer or flat strainer cover. Clean out leaves, debris, and any organic buildup sitting in the sump basin. A wet/dry vac works better than a hose here because adding water before you know the drain flows freely just makes the backup worse.
Once the strainer is clear, pour a bucket of water into the sump. Watch whether it drains at a reasonable pace. If it drains fine and you never had standing water beyond the sump, you may just have a maintenance problem, not a waterproofing failure.
If it drains slowly or backs up again within a rain event, keep going.
Step 2: Inspect the Drain Collar and Clamping Ring
The drain collar is the metal or PVC ring that the membrane terminates into. A clamping ring (also called a compression ring) sandwiches the membrane between itself and the drain body, creating a watertight seal.
Look for these specific problems:
- Loose or missing clamping ring bolts. Bolts back out from thermal expansion cycles. When they loosen, the membrane pulls away from the drain body and water tracks underneath.
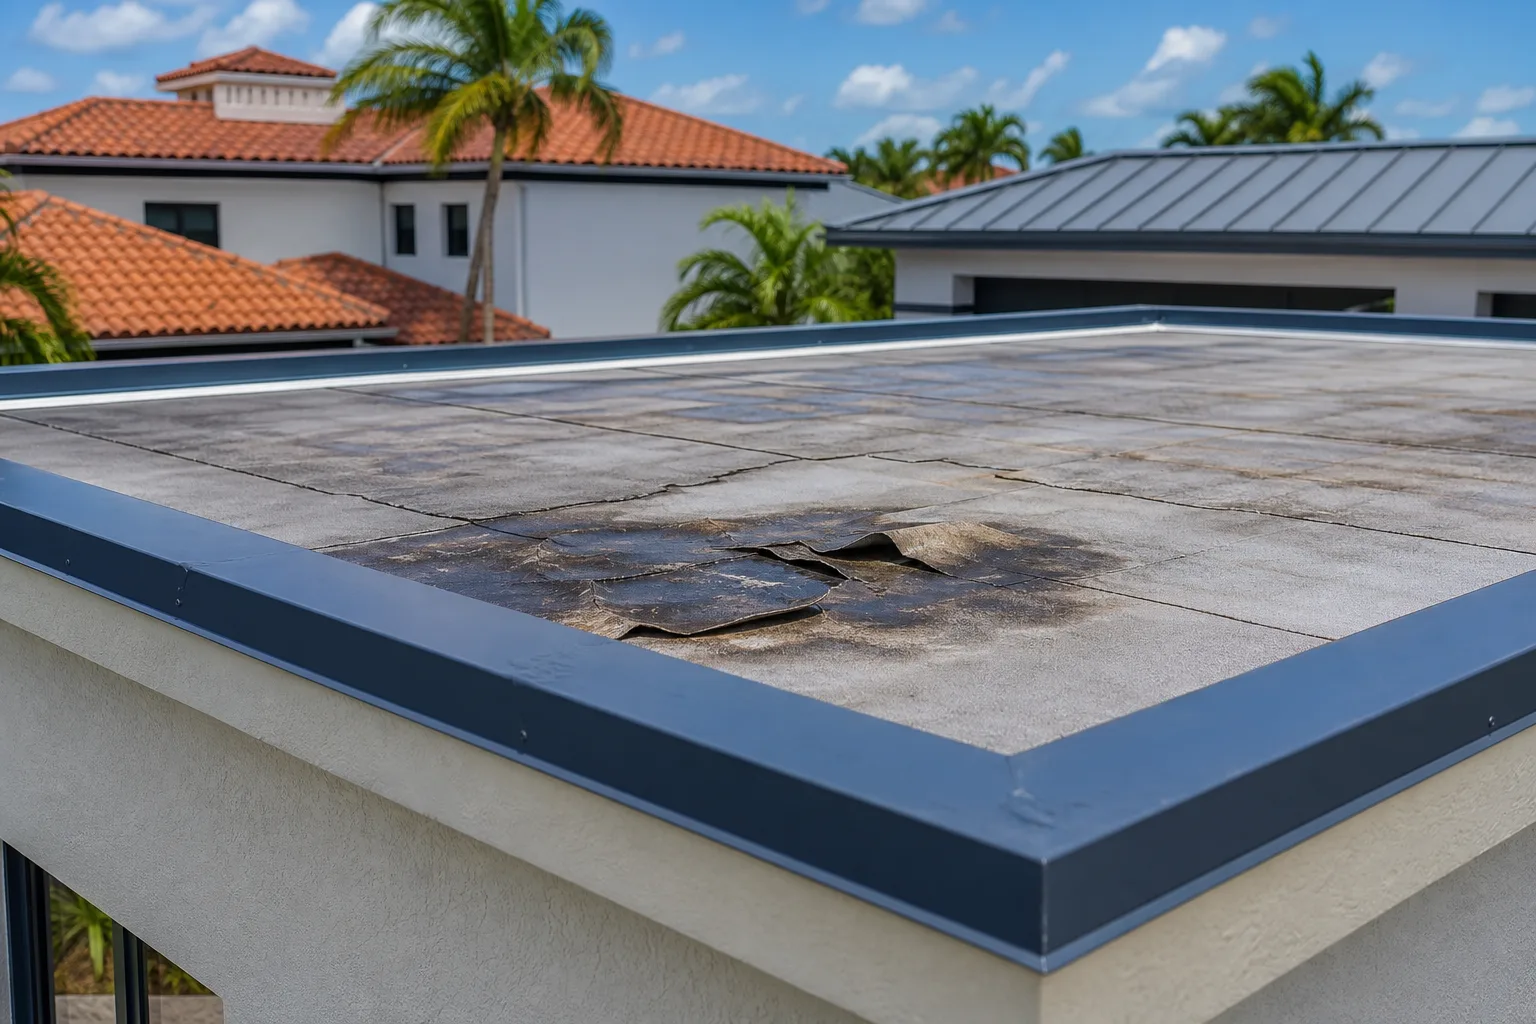
- Cracked or brittle membrane at the termination point. TPO, EPDM, and modified bitumen all degrade faster at drain penetrations because that area flexes and stays wet longest.
- Rust or corrosion on cast-iron drain bodies. Corroded metal doesn't hold a seal. The surface has to be cleaned and primed before any sealant is applied.
- Settled or sunken sump basin. If the sump has dropped below the surrounding roof plane, water ponds around the drain instead of flowing into it. That's a structural repair, not just a sealant job.
Step 3: Remove the Old Sealant and Prep the Surface
This is where a lot of patch jobs fail. Whoever does the repair has to strip the existing sealant completely. Applying new sealant over old, failing sealant is the most common shortcut I see, and it buys maybe one rainy season before the problem returns.
The drain body and the underside of the clamping ring need to be clean, dry, and primed with a product compatible with the membrane system. On a TPO roof, that means a TPO-compatible primer. On modified bitumen, you use a bitumen-based bonding adhesive. Mixing chemistries is a fast way to create delamination.
In South Florida's heat, surface temperature matters. Sealants applied to a 150-degree roof surface in August won't cure properly. Good crews work early morning or wait for shade.
Spotted a leak or missing tiles? Schedule a repair visit
Step 4: Reset or Replace the Clamping Ring
Once the surface is prepped:
- Apply the appropriate sealant or membrane patch into the drain sump and up the bowl.
- Set the membrane termination so it extends fully into the drain bowl, typically 2 to 4 inches past the clamping ring seat, depending on the manufacturer's spec.
- Torque the clamping ring bolts evenly, alternating sides like a wheel lug pattern, to compress the membrane uniformly without buckling it.
- Apply a sealant bead around the outer edge of the clamping ring where it meets the roof membrane.
If the drain body itself is cracked or heavily corroded, it gets replaced, not patched. Casting sealant over a cracked drain body is another shortcut that doesn't hold.
Step 5: Check and Clear the Overflow Drain
Every flat roof in Florida should have an overflow drain or scupper positioned a few inches above the primary drain. Its job is to prevent ponding water from reaching a depth that loads the roof structure if the primary drain clogs.
If your building doesn't have an overflow provision, that's a code and safety issue worth addressing now, not after a storm. Florida Building Code generally requires secondary drainage on low-slope roofs; however, requirements vary by building type, occupancy, roof area, and local amendments, confirm with a licensed contractor or your local building department.
Clear the overflow of any debris and confirm it's not sealed shut by a previous patch job. Yes, that happens.
Step 6: Test Before You Call It Done
A proper repair gets water-tested. Run a hose at volume into the sump for several minutes and watch:
- Does the drain accept flow without backing up into the field of the roof?
- Is there any seepage appearing around the drain on the ceiling below?
- Does the clamping ring stay seated under water pressure?
If everything holds, inspect the area again after the next rain event. Flat roof drains that were leaking often show delayed interior damage. Check the ceiling below the drain for staining or soft drywall even after the roof repair is complete.
Common Mistakes
Caulking over a wet surface. Sealant does not bond to standing water or saturated membrane. Any repair done without drying the substrate is temporary at best.
Using roofing cement as a long-term drain seal. Asphalt roofing cement around a TPO or EPDM drain is incompatible and will delaminate. Match the sealant to the membrane system.
Ignoring the interior. A backed-up drain that has been leaking for more than one season usually means wet insulation under the membrane. If the insulation isn't dried out or replaced, mold and continued moisture damage will follow the repair.
Letting a storm-chaser handle a flat roof drain. Flat roof waterproofing requires specific knowledge of membrane systems. Contractors who primarily do shingle work and swing by after a storm often use the wrong materials. It's a specialty.
Skipping the overflow check. Fixing the primary drain and leaving the overflow blocked or absent is leaving the job half done.
Bottom Line
A flat roof drain that backs up repeatedly is telling you the drain assembly has failed, not just that the strainer needs cleaning. The fix involves stripping old sealant, prepping the drain body, resetting the clamping ring with the right materials for your membrane system, and testing under load. Each step has to be done in sequence and dry.
If you've had the drain cleared more than twice in a year and it keeps backing up, the waterproofing has failed. That's a repair job, not a maintenance item.
For commercial roofing repairs or residential flat roof work in Boynton Beach, Delray Beach, West Palm Beach, Boca Raton, or Lake Worth, you can request a quote or get a free instant estimate from us directly. We've been fixing flat roof drain failures in South Florida since 2005 and we use the right materials for the membrane system in front of us, not whatever's on the truck.
Spotted a leak or missing tiles?
Small problems get expensive fast in the Florida sun. Get it looked at by a local crew before the next storm.
Frequently asked questions
How do I know if my flat roof drain is leaking or just clogged?
A clogged drain backs up and then clears after debris is removed. A leaking drain collar shows water intrusion on the ceiling below the drain even after the strainer is clean and the drain flows freely. If you see interior staining near the drain, the waterproofing has failed, not just the strainer.
Can a homeowner reseal a flat roof drain without a contractor?
Clearing the strainer is a reasonable DIY task. Resealing the clamping ring is not, because it requires selecting the right sealant for your specific membrane system, proper surface prep, and knowing the correct torque sequence for the bolts. Using the wrong product can void a manufacturer warranty and make the repair harder to redo correctly.
How long should a flat roof drain repair last?
A properly done drain collar reseal using compatible materials should last as long as the surrounding membrane, often 10 to 20 years in ideal conditions, though actual longevity varies by product, installation quality, and maintenance. A patch applied over old sealant or using incompatible products may fail within one to two rainy seasons.
Does Florida building code require an overflow drain on a flat roof?
Florida Building Code generally requires secondary drainage, either an overflow drain or scupper, on low-slope roofs; however, requirements vary by building type, occupancy, roof area, and local amendments. The overflow is positioned above the primary drain to limit ponding depth if the primary drain clogs. If your flat roof lacks one, confirm what's required for your specific building with a licensed contractor or your local building department.