Roof Flashing: What It Does and Why It Fails
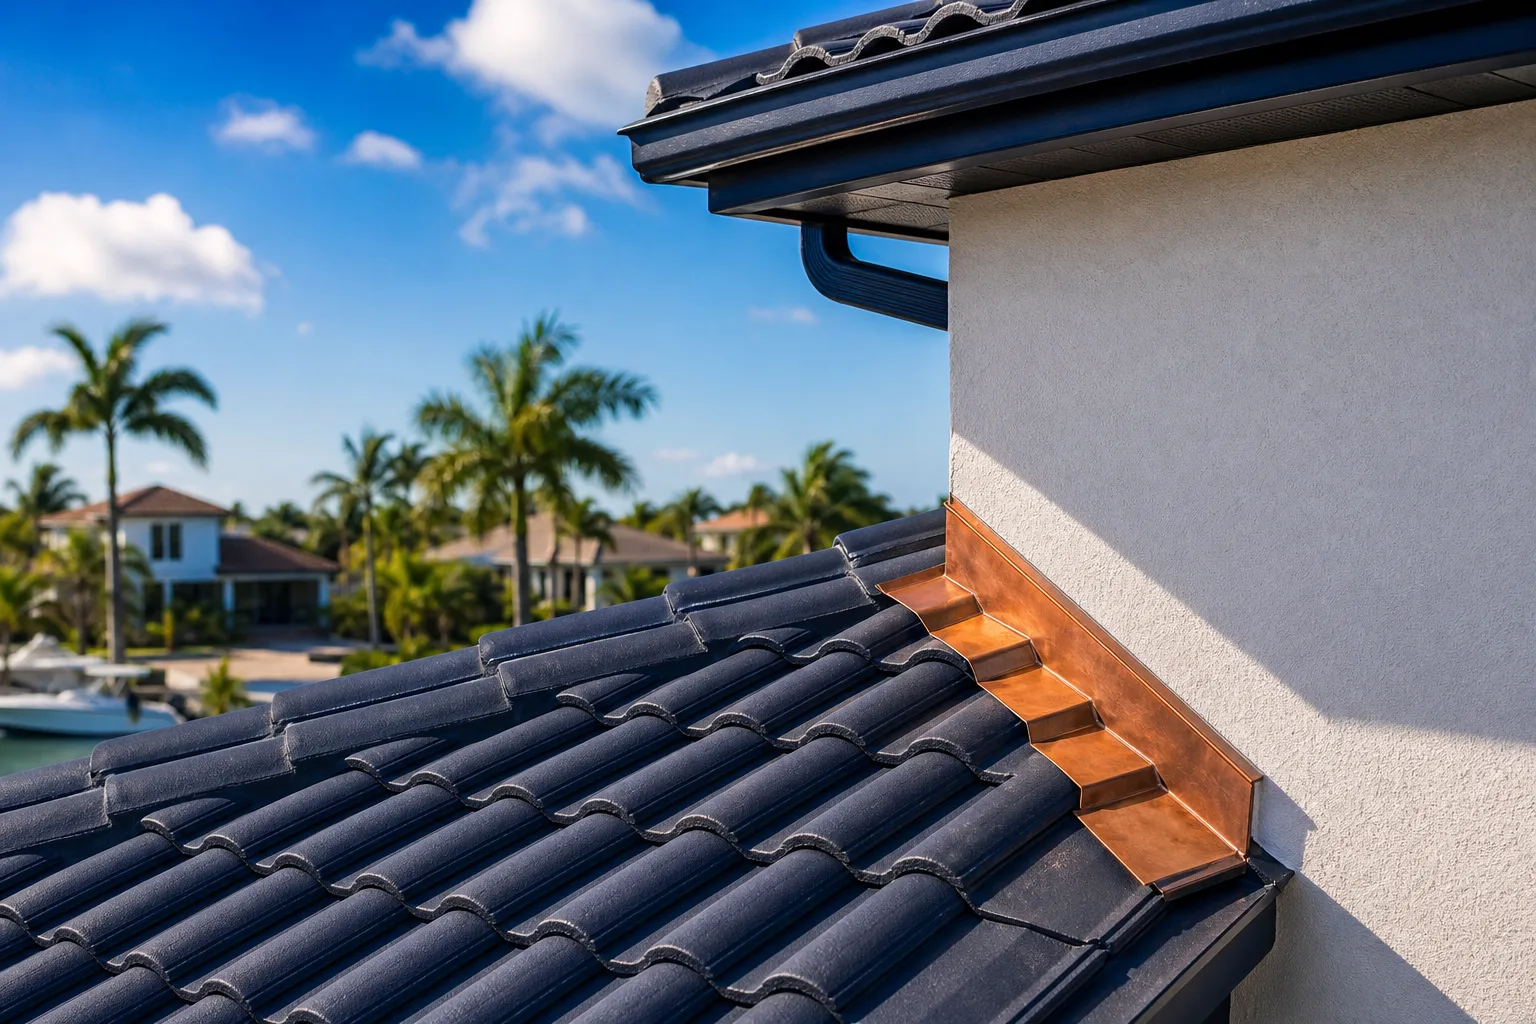
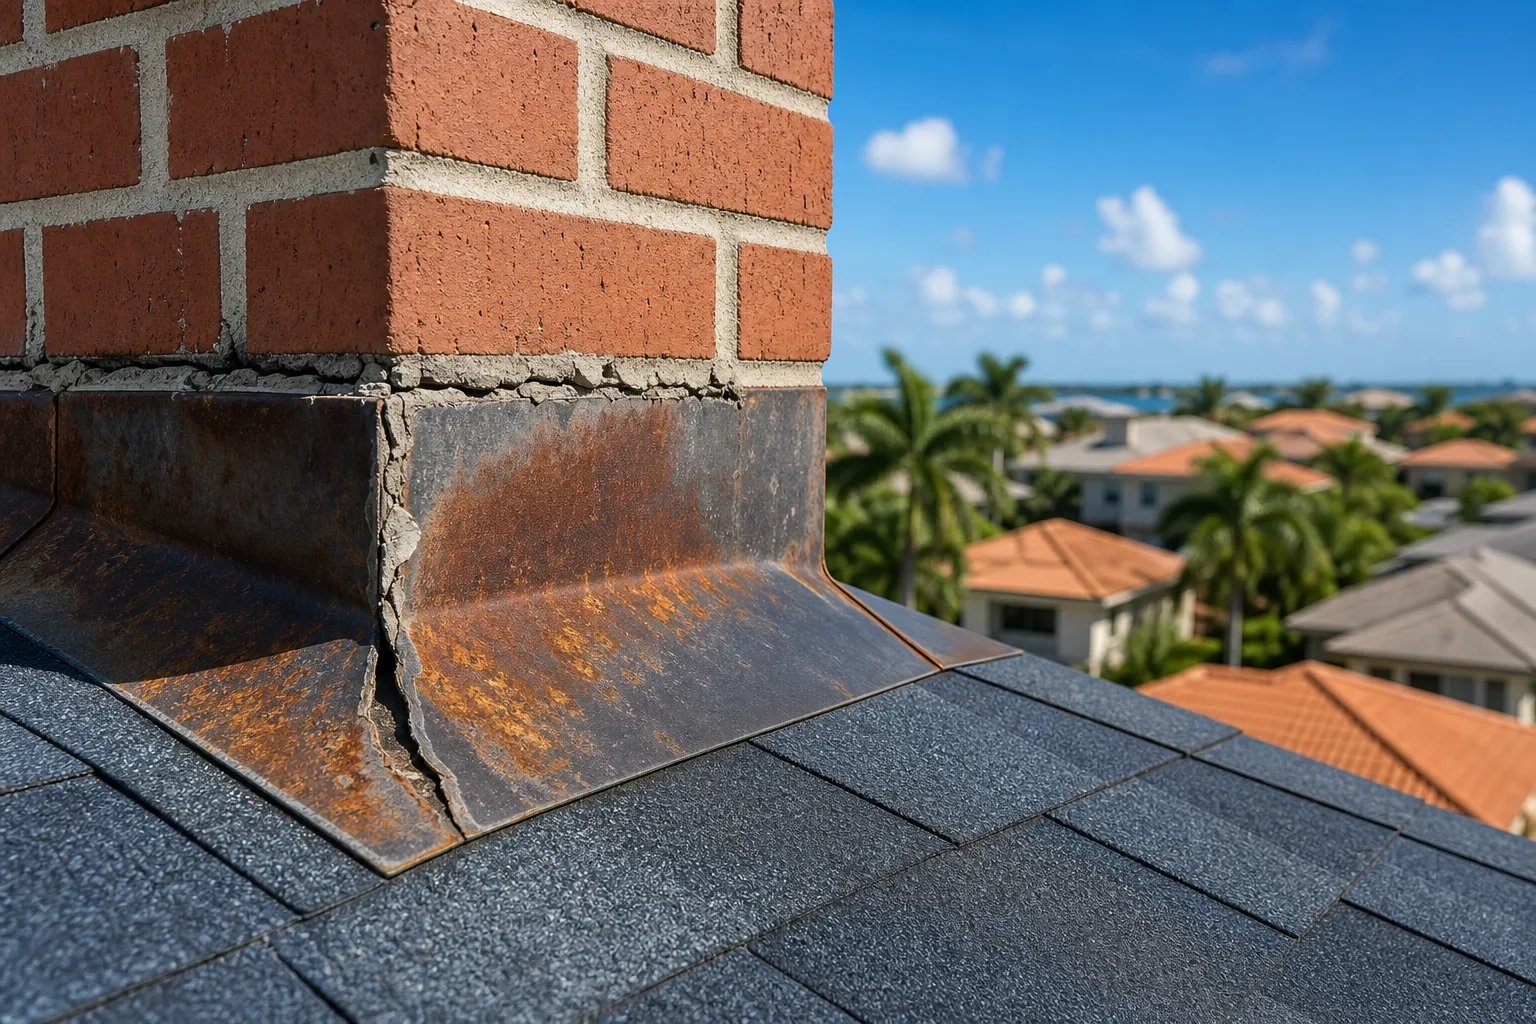
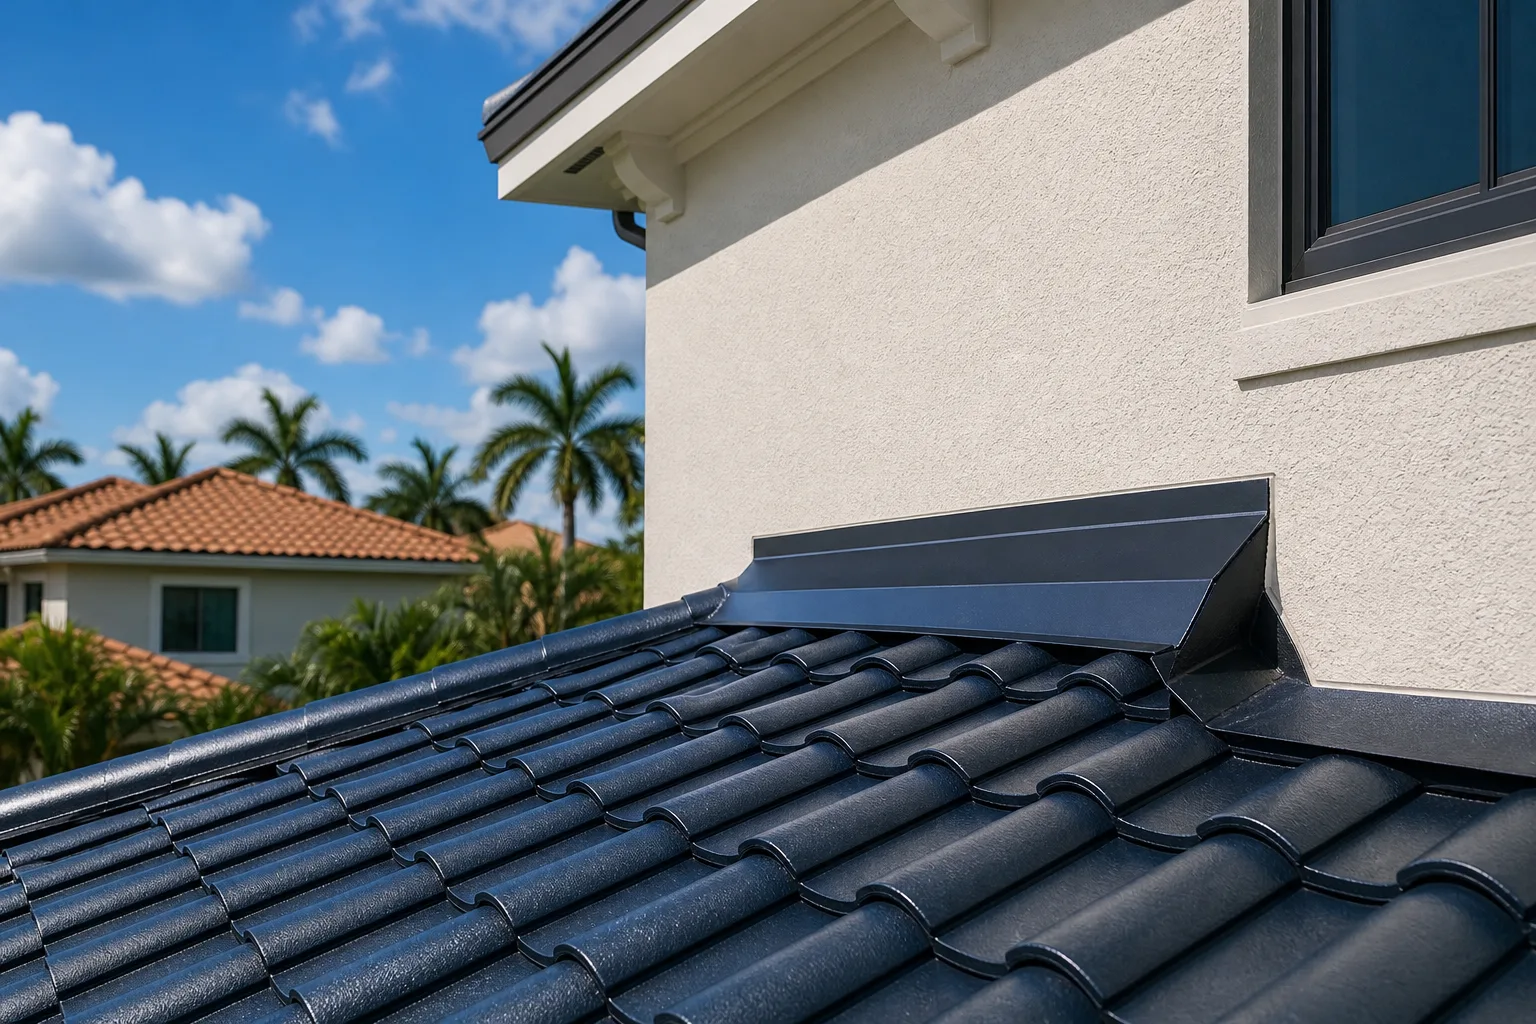
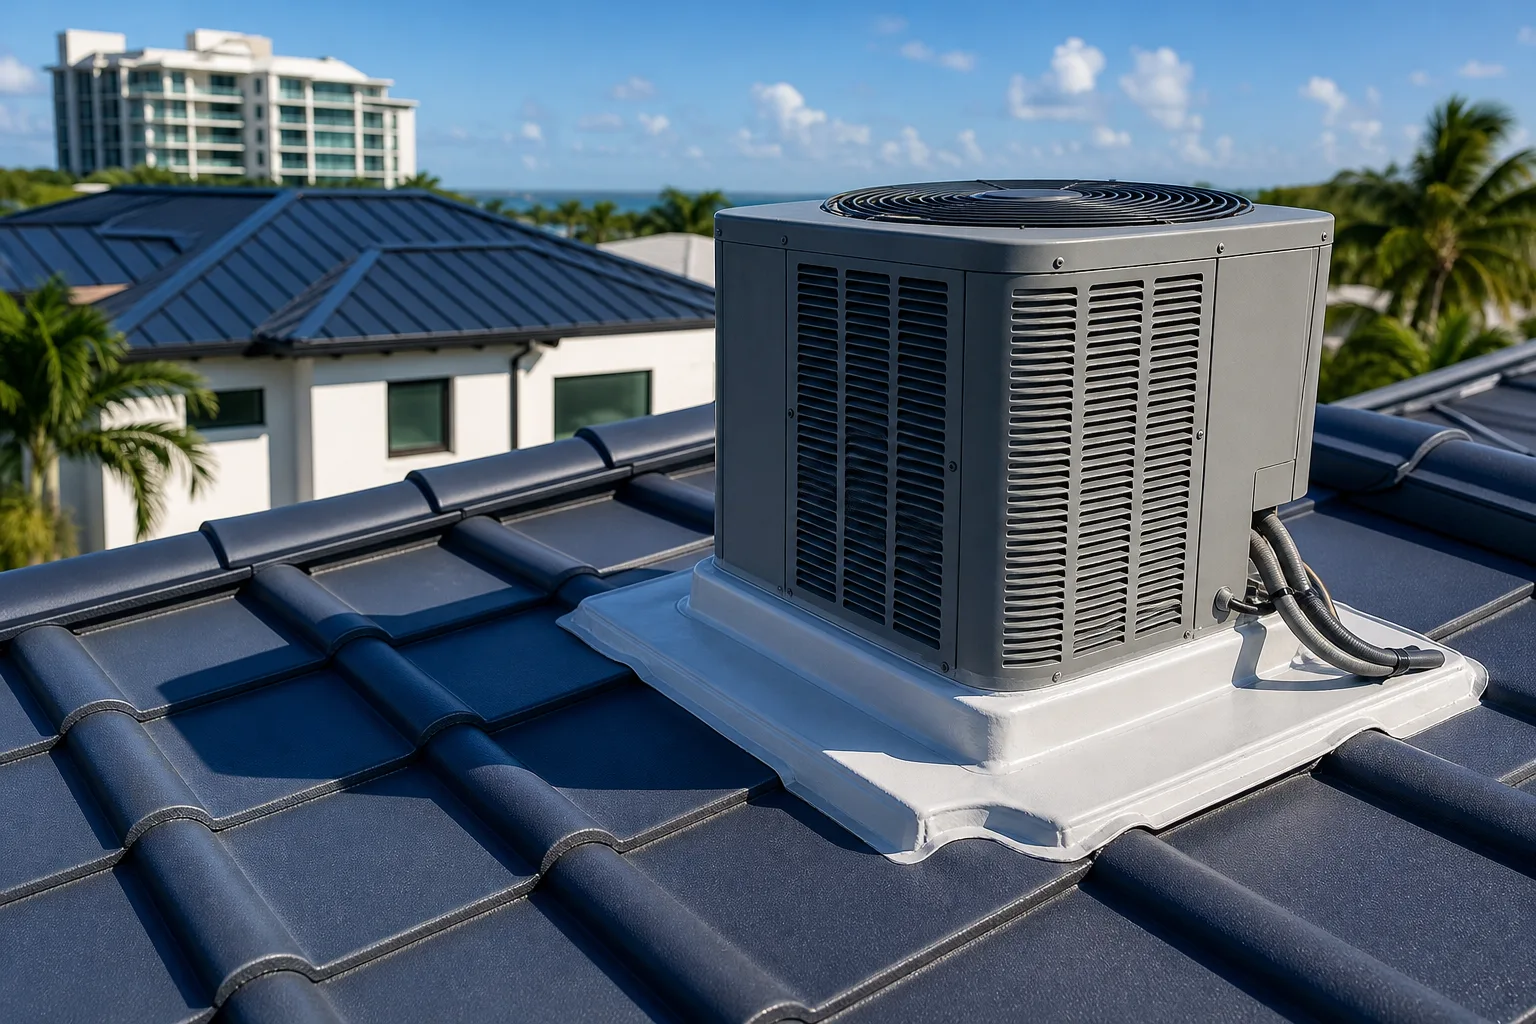
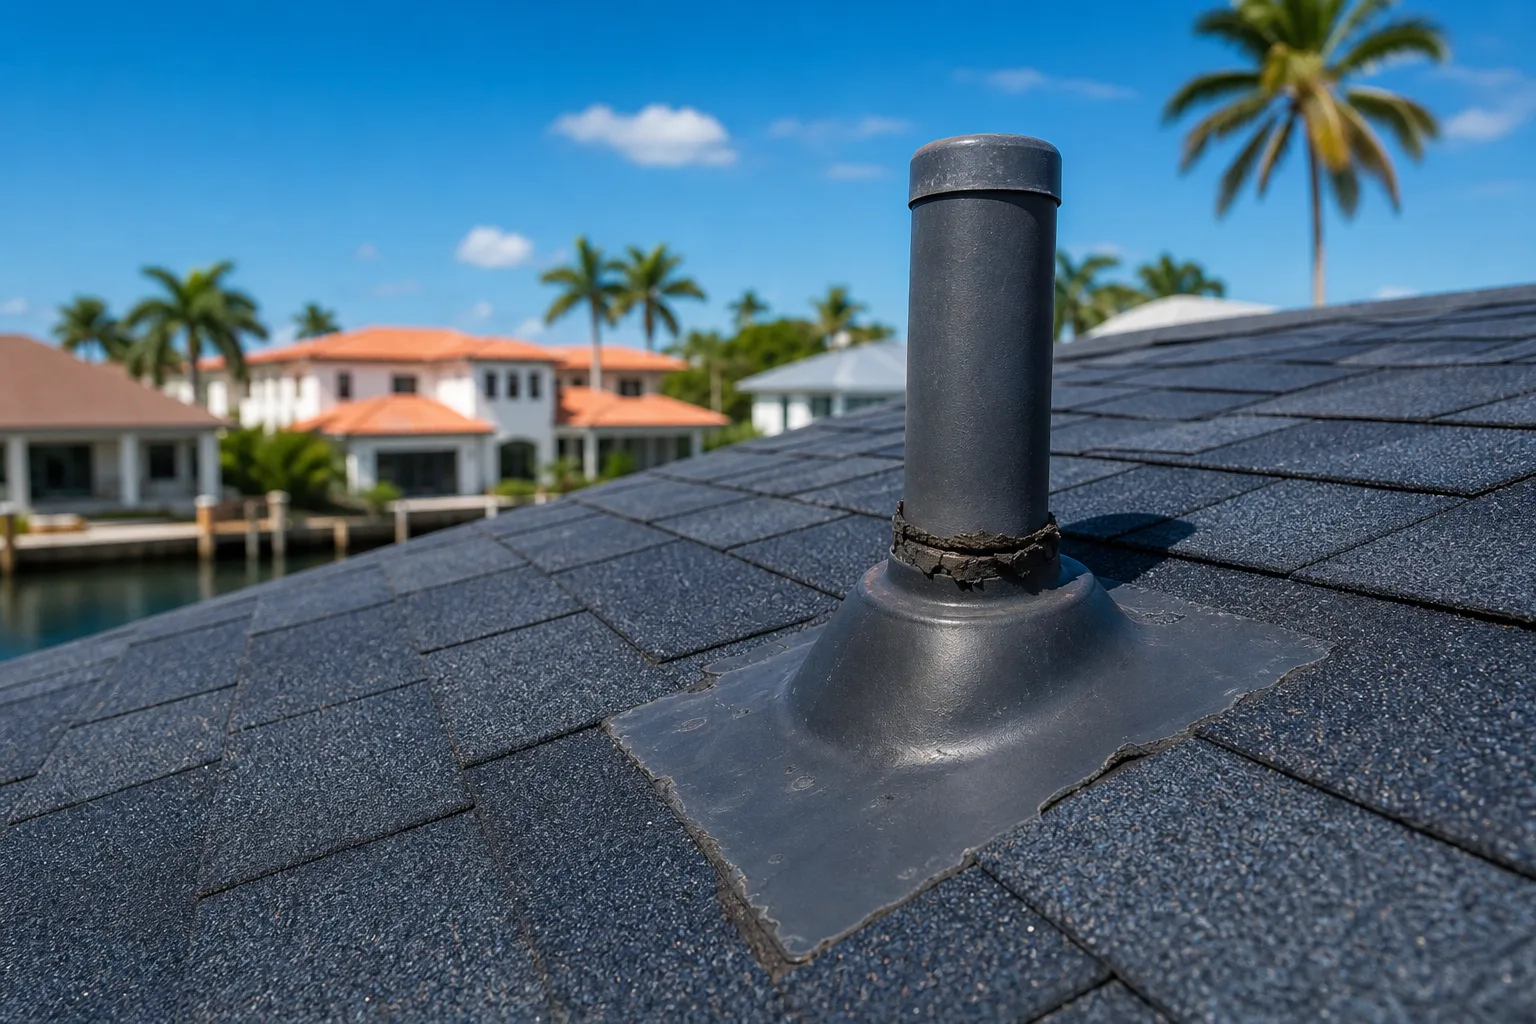
TL;DR: Flashing is the metal (or sometimes rubber) that seals the joints where your roof meets a chimney, wall, skylight, or vent. It fails long before the roof field does because it's caulked, nailed, or soldered instead of shingled, and South Florida heat, storms, and settling all work against those seams. Catching a bad flashing joint early is a repair. Ignoring it turns into rotted decking and interior damage.\n\n## What flashing actually does\n\nMost homeowners think about shingles, tile, or metal panels when they think about their roof. Flashing doesn't get much attention until it fails, but it's doing some of the hardest work up there.\n\nEvery roof has spots where the flat plane gets interrupted. A chimney sticking up through the deck. A wall that rises above a lower roof section. A skylight, a vent pipe, a dormer. Water can't just shed off those transitions the way it does across open field, so flashing is installed to redirect it back onto the roof surface and away from the gap.\n\nFlashing is usually galvanized steel, aluminum, or copper on higher-end jobs, bent and layered so water always flows over the top of a seam, never into it. Around a chimney, you'll typically find step flashing running up the sides, a saddle or cricket behind it to split water flow, and counterflashing set into the masonry to cap it off. Where a roof meets a vertical wall, you'll see similar step flashing tucked under the siding or stucco.\n\nWhen it's installed right, water never even sees the seam. It just rides the metal down and off. That's the whole job. Nothing fancy, but it has to be exact.\n\n## What you need to inspect or repair flashing\n\nYou don't need a truckload of gear to do a basic visual check from the ground or a ladder. To actually work on flashing safely, here's the short list:\n\n- A stable ladder and, ideally, a second person for stability\n- Binoculars if you're not comfortable getting on the roof\n- A flashlight for attic inspection\n- Basic hand tools if you're pulling old caulk or sealant for inspection (putty knife, wire brush)\n- Roofing sealant rated for South Florida heat, not the cheap tube from the hardware store bargain bin\n- Replacement flashing stock if a section is visibly rusted, cracked, or pulled away\n\nHonestly, for anything beyond a visual check, this is a job for a roof repair crew. Chimney and wall flashing sits at steep transitions, often two stories up, and the fix only works if the surrounding shingles or tiles get lifted and reset correctly. That's not a weekend project for most people, and I'd rather tell you that straight than have you back on the phone with us after a fall.\n\n## Step 1: Know where flashing lives on your roof\n\nBefore you can check flashing, know where to look. The high-risk spots are:\n\n- Where the roof meets a chimney (all four sides, but especially the back where debris and water pool)\n- Where a lower roof section meets a taller wall of the house\n- Around skylights and roof windows\n- At pipe boots and vent stacks\n- Valleys where two roof planes meet\n\nIf your home has a second-story addition or a chimney that was added after the original roof went on, pay extra attention there. Retrofit flashing work is where I see the sloppiest patch jobs, because it's harder to tie new flashing into an existing roof than to install it during original construction.\n\n## Step 2: Look for the visible warning signs\n\nFrom the ground with binoculars or safely from a ladder, look for:\n\n- Rust streaks running down the chimney or wall below the flashing line\n- Flashing that's visibly lifted, bent, or separated from the surface it's sealing\n- Cracked or missing caulk/sealant at the counterflashing joint\n- Shingles or tiles that look disturbed or discolored right at the transition\n- Daylight visible under the flashing edge if you can see the underside\n\nRust is the big one. Galvanized flashing loses its coating over time, especially with our salt air along the coast from Boca Raton down through Delray Beach and Boynton Beach. Once it starts rusting, it's only a matter of time before it perforates and water finds a way through.\n\n## Step 3: Check the attic and interior for hidden damage\n\nFlashing failures rarely announce themselves on the roof first. Usually you find out from the inside. Grab a flashlight and check the attic space near any chimney or wall penetration for:\n\n- Water stains on the underside of the decking\n- Dark streaking on rafters or trusses\n- Any soft, sagging, or discolored plywood\n- Musty smell, which usually means moisture has been sitting for a while\n\nOn the living side, watch for ceiling stains near interior walls that back up to a roof-wall intersection, or staining around a fireplace wall. That's classic chimney flashing failure working its way inward.\n\n## Step 4: Understand why these joints fail faster than the rest of the roof\n\nA few reasons flashing gives out before the shingles or tiles around it do:\n\nDifferent materials expanding at different rates. Metal flashing expands and contracts with heat differently than the roofing material or the masonry it's sealed against. Over years of South Florida summers, that constant movement works sealant loose and can pull nails.\n\nSealant is not a permanent fix. Caulk and roofing cement break down under UV exposure. Any flashing detail that depends heavily on sealant instead of proper metal overlap and mechanical fastening is going to need maintenance, and eventually replacement, sooner than the rest of your roof.\n\nPoor original installation. This is the one that gets me. I've pulled off counterflashing that was face-nailed directly into brick and caulked over instead of properly cut into a mortar joint (called a reglet) and set in. It looks fine for a year or two, then the caulk cracks and water walks right in behind it. Cutting corners on flashing is one of the most common ways a roofing job looks good at handoff and fails within a few storm seasons.\n\nStorm and wind stress. Hurricane-force wind gets under flashing edges and can lift or peel them, especially if the fastening pattern was light to begin with. After any named storm, flashing around chimneys and walls is one of the first things I tell homeowners to have checked, even if the shingles look untouched. Our Hurricane Storm Center page has more on post-storm inspection priorities if you've been through recent weather.\n\nSettling and structural movement. Homes shift slightly over decades. A chimney that's settled even a little relative to the roof deck can open gaps that flashing was never designed to bridge.\n\n## Step 5: Decide between a spot repair and a full re-flash\n\nNot every flashing issue needs a total redo. Here's roughly how I sort it in the field:\n\n- Minor sealant cracking with flashing metal still solid: usually a maintenance fix, re-sealing with proper materials.\n- Rust spots or minor lifting on an otherwise sound install: targeted repair, replacing the affected section.\n- Widespread rust, visible gaps, or a history of repeated leaks in the same spot: full re-flash of that penetration, sometimes tying into new shingles or tile in the surrounding field.\n- Flashing tied to a roof that's already near the end of its service life: this is where it makes more sense to fold the flashing fix into a broader roof replacement conversation instead of chasing the same leak every year.\n\nIf you're mid-decision on any of this, our free instant estimate tool is a fast way to get a ballpark before you commit to a full inspection, and a proper quote will lay out exactly what's being replaced and why.\n\n## Common mistakes\n\nRelying on caulk alone. I've said it above but it's worth repeating. Sealant should back up good metal work, not replace it. If a "repair" is just a bead of caulk smeared over a gap, budget for doing it again next year.\n\nIgnoring small rust spots. A little surface rust doesn't mean immediate failure, but it's a sign the clock is running. Catching it early is a lot cheaper than dealing with rotted decking later.\n\nLetting a storm-chaser "fix" it after a hurricane. After big storms, crews from out of state show up offering fast, cheap flashing patches. Some do fine work. A lot don't, and they're gone before the next rain finds the gap they left. If you don't recognize the company name and they can't show you a Florida license number, get a second opinion before signing anything.\n\nMatching new flashing to old, worn material. If you're replacing flashing on one side of a chimney because it failed, and the rest is the same age, it's often smarter to redo the whole assembly at once rather than end up back on the roof in a year for the other three sides.\n\nSkipping the cricket behind a chimney. On wider chimneys, a saddle or cricket is supposed to split water flow around the back so it doesn't pool. Cheaper jobs sometimes skip this, and it shows up later as a chronic leak at the back corner that nobody can figure out until someone pulls the flashing and finds standing water damage.\n\nNot checking flashing when re-roofing. Flashing should generally be replaced, not reused, when you put on a new roof. Reusing old, weakened flashing under brand new shingles or tile is a shortcut that undercuts the whole job. If you're getting a tile, metal, or shingle roof installed, ask directly whether flashing is included in the scope, and get it in writing.\n\n## Bottom line\n\nFlashing is a small percentage of your roof's surface area but a disproportionate share of where leaks start. It fails because it's built from different materials, joined by hand, and asked to hold a seal through decades of heat cycles and hurricane seasons. A quick visual check twice a year, especially after storms, will catch most problems while they're still cheap fixes.\n\nIf you're seeing rust streaks, lifted metal, or interior staining near a chimney or wall, don't wait on it. Water finds the smallest gap and it doesn't stop until someone closes it properly. Check out our project gallery to see what proper flashing and roofing work looks like, or reach out through our contact page and we'll take a look at what's actually going on before you spend money guessing.
Spotted a leak or missing tiles?
Small problems get expensive fast in the Florida sun. Get it looked at by a local crew before the next storm.
Frequently asked questions
How long does roof flashing last?
Quality galvanized or aluminum flashing can last as long as the roof itself if installed correctly, often 20 years or more. But sealant-dependent joints and lower-grade materials can start failing in 5 to 10 years, especially near the coast where salt air speeds up corrosion.
Can flashing be repaired without replacing the whole roof?
Yes, in most cases. If the surrounding shingles, tile, or underlayment are in good shape, a crew can pull back the material at the penetration, replace or reseal the flashing, and reset the roofing around it. It only turns into a bigger job if the roof itself is near the end of its life.
Why does my chimney leak only during heavy rain or wind-driven storms?
That's a classic sign of a flashing gap rather than a full breach. Light rain falls straight down and the flashing sheds it fine, but wind-driven rain gets pushed sideways and up under a lifted edge or cracked seal that wouldn't otherwise let water through.
Is it normal to see some rust on flashing?
Light surface rust on older galvanized flashing isn't automatically an emergency, but it means the protective coating is wearing thin. It's worth having someone check it in person so you know whether you're looking at years of life left or a section that needs attention soon.
Should flashing be replaced when I get a new roof?
Generally yes. Reusing old flashing under new roofing material is a common shortcut that leads to leaks well before the new roof's expected lifespan. Ask your contractor to confirm flashing replacement is part of the scope before work starts.
Can I caulk a flashing leak myself as a temporary fix?
A bead of quality roofing sealant can buy you some time on a small, accessible gap, but it's not a real fix and it's risky work on a ladder near a chimney or steep transition. Treat it as a stopgap and get it properly inspected soon after.