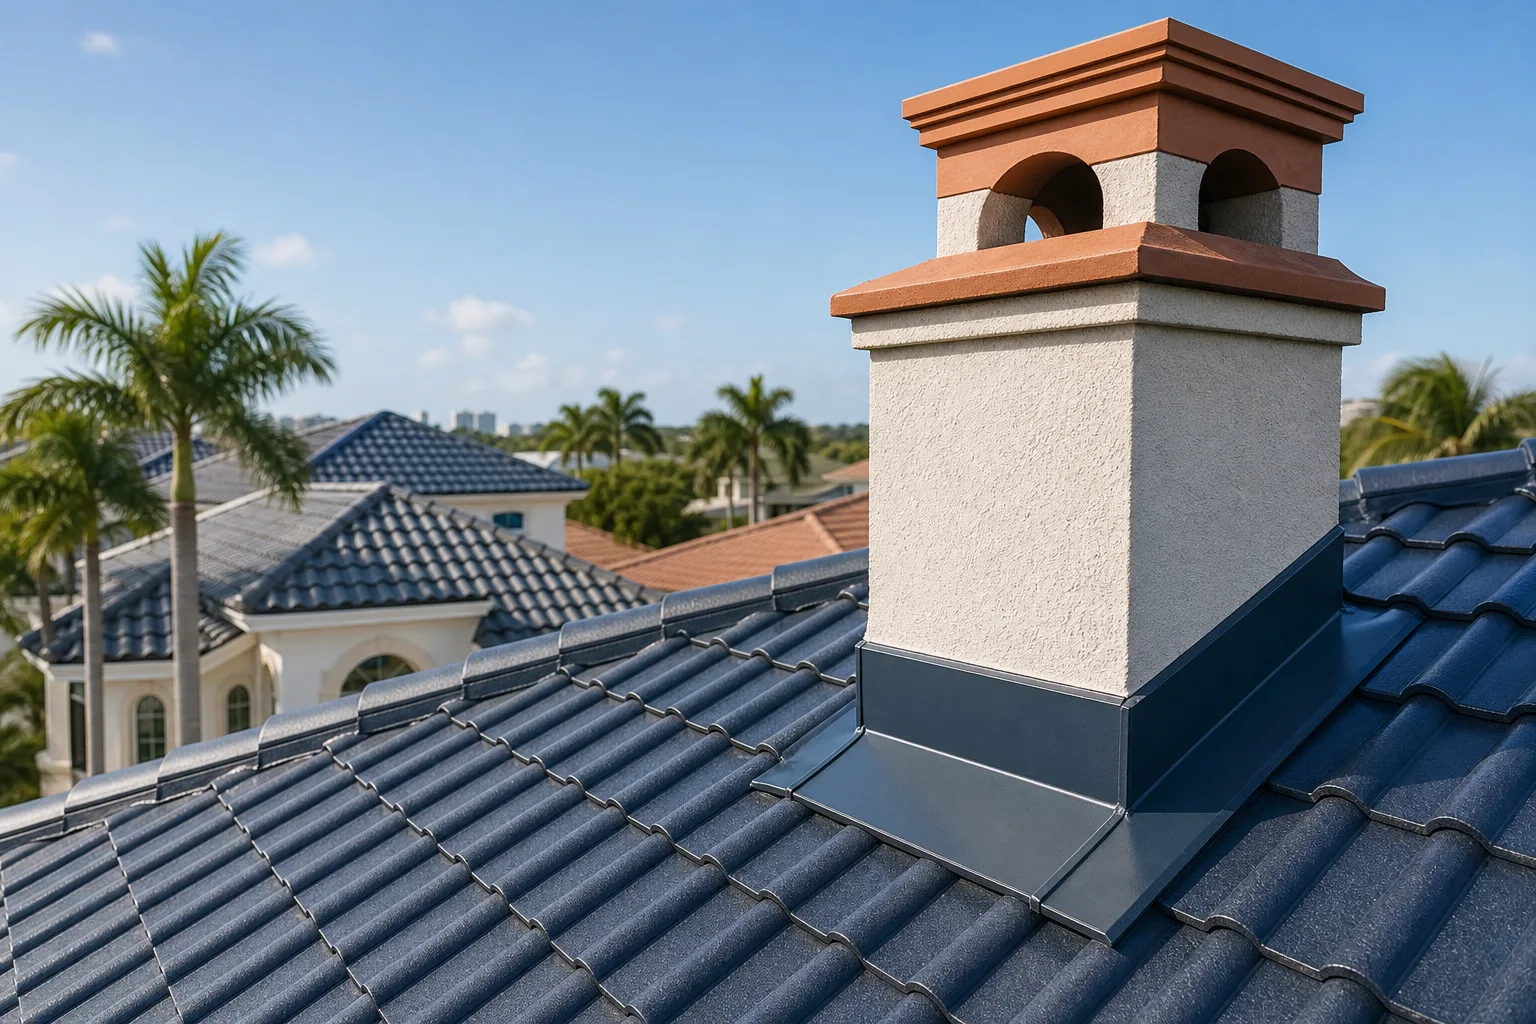
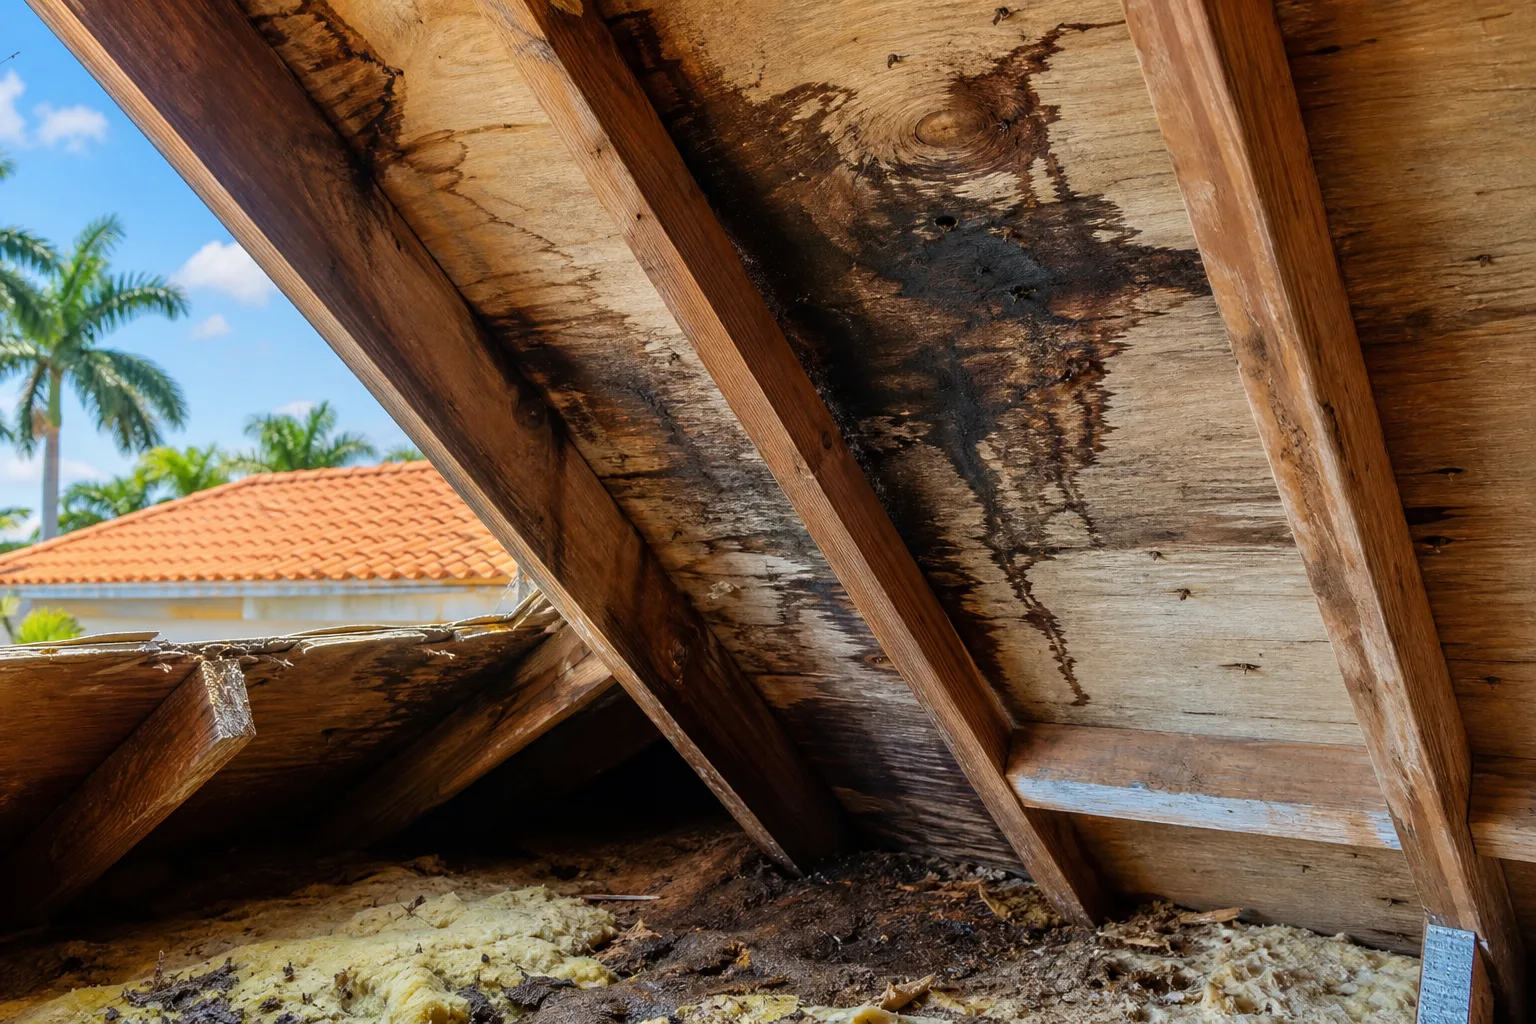
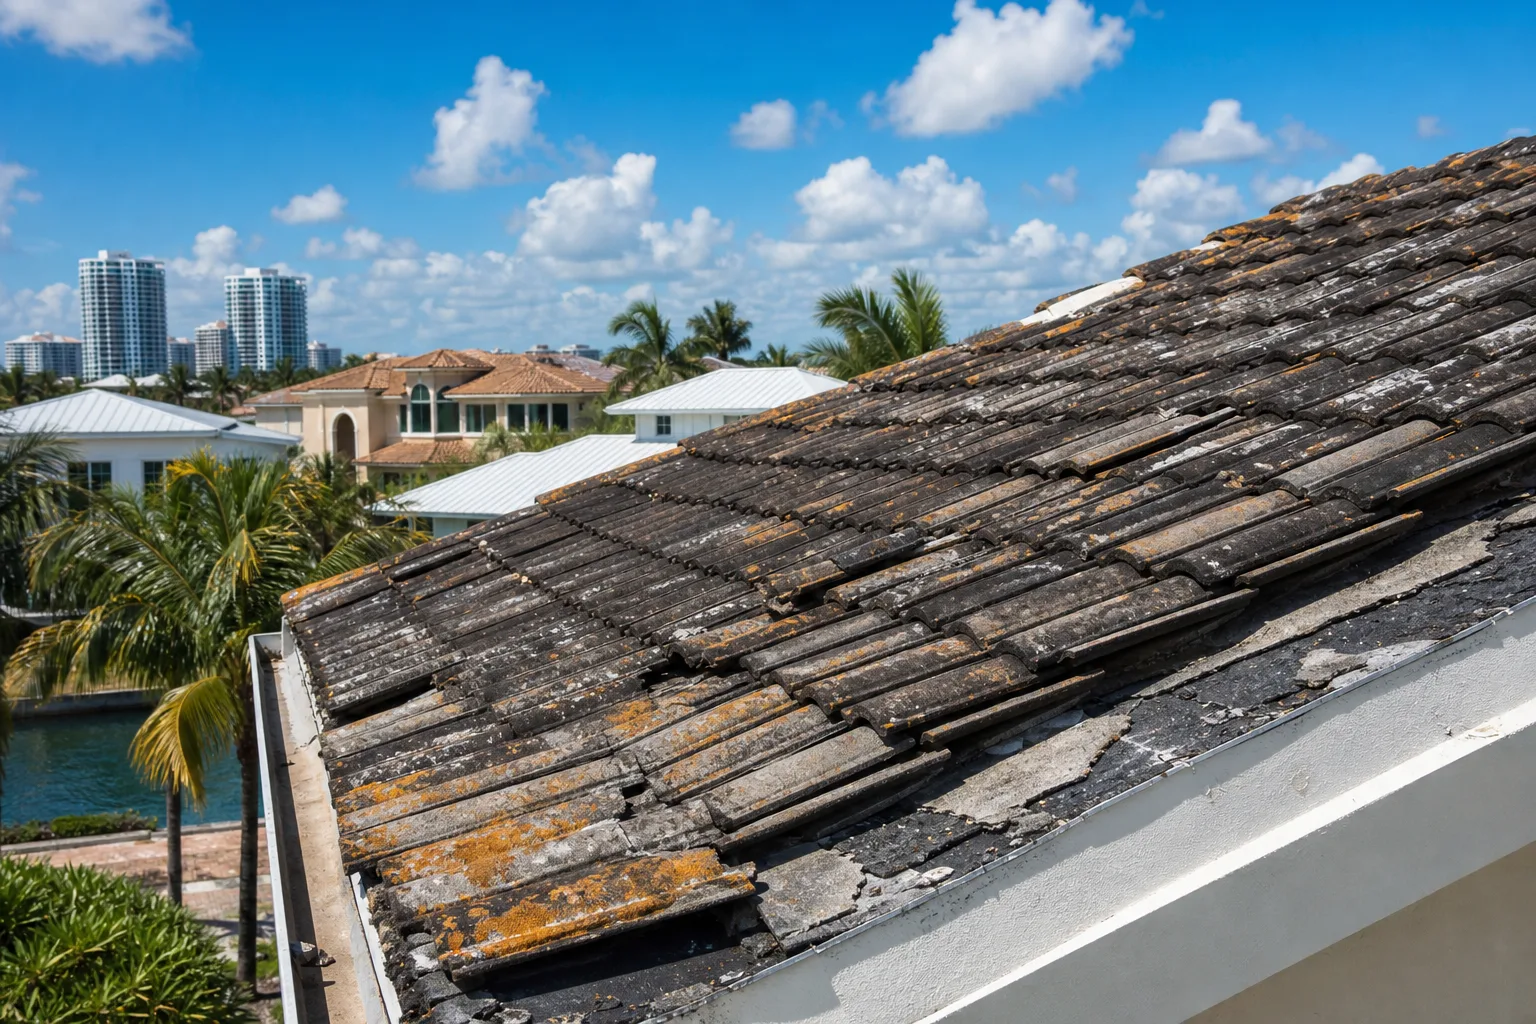
How Roofers Flash a Second-Story Roof Against a Stucco Wall
In this article
TL;DR: The joint where a second-story stucco wall sits above a lower roof plane requires step flashing woven into the shingles or tile, a separate counter flashing embedded into the stucco, and compatible sealant at the exposed edge. Caulk alone at this joint almost always fails within a few storm seasons. Getting the layers in the right order is what separates a dry wall from a moldy one.
What You Need
- Corrosion-resistant metal flashing (galvanized steel minimum 26-gauge, or aluminum; copper is best for tile systems)
- Step flashing pieces sized to match your shingle or tile exposure
- Counter flashing, either surface-mounted or embedded (reglet-style)
- Urethane or polyurethane sealant rated for exterior masonry and metal contact
- Tin snips, a hammer, roofing nails, and a grinder or oscillating tool if cutting a reglet into existing stucco
- Stucco patching compound if the reglet cut needs to be re-finished
For tile roofs, the metal gauge and the way step flashing integrates with mortar or foam-set tiles differs from shingle work. See tile roofing specifics or shingle system details for context.
Step 1: Understand the Two-Part System
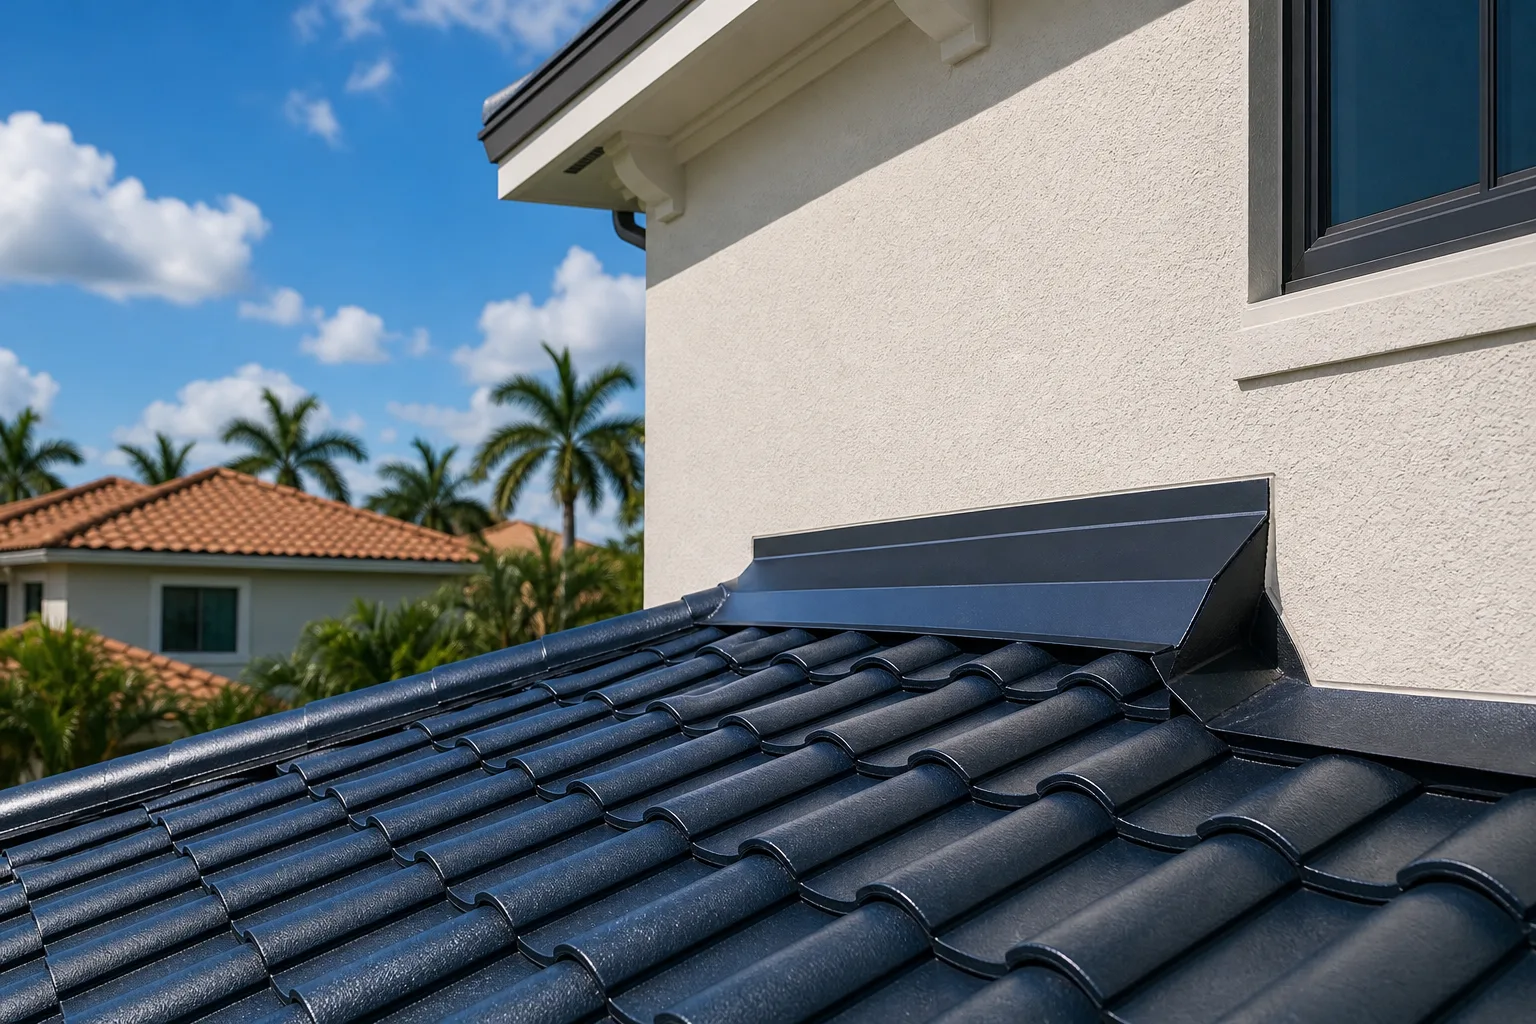
Flashing at this joint is always two separate pieces working together, not one piece of metal bent into an L.
Step flashing sits under the roofing material and directs water away from the wall at each course. Each piece overlaps the one below it the same way shingles do.
Counter flashing laps over the top of the step flashing and is attached to the wall, not the roof. This separation is important: the roof can move thermally and under wind load without pulling the counter flashing loose from the wall.
If a previous repair used only caulk, or a single bent piece of aluminum running the full length of the wall, that is almost certainly the source of an active leak.
Step 2: Strip the Old Material Back to Bare Deck and Wall
The roofer removes roofing material along the wall for at least two to three courses beyond the wet or stained area. Old step flashing, corroded metal, and failed caulk all come out. The wall itself should be inspected for soft stucco, which signals water has already been getting behind the assembly.
Soft or delaminating stucco at the base of a second-story wall is a red flag. The moisture source has to be stopped before any stucco repair is meaningful.
Step 3: Install Step Flashing Course by Course
This is not done at the end. Step flashing is woven in as each course of shingles or tile goes down.
- Lay the first course of shingles to the wall.
- Slip a step flashing piece against the wall on top of that course, nailing only the top corner into the wall sheathing, never through the roof plane.
- Lay the next shingle course so it covers the horizontal leg of the step flashing.
- Place the next step flashing piece so it overlaps the one below by at least 2 inches.
- Repeat to the ridge.
For tile systems, the step flashing height must accommodate the tile profile. A flat piece of metal will not seal properly against a barrel or S-tile without being bent to match.
Industry best practice, and generally required under Florida Building Code, is that metal flashings at wall intersections be mechanically fastened, not just adhered. Sealant alone does not satisfy the fastening requirement. Consult your local building department for the specific requirement in your jurisdiction.
Spotted a leak or missing tiles? Schedule a repair visit
Step 4: Cut or Prepare the Counter Flashing Reglet
Counter flashing needs a place to terminate into the stucco wall so water cannot run behind it. There are two approaches:
Surface-mounted counter flashing: A pre-bent piece is fastened to the wall face with screws and masonry anchors, then the top edge is sealed with urethane sealant. This is common on retrofit work where cutting into the wall is disruptive.
Reglet (embedded) counter flashing: A horizontal slot is cut into the stucco and the counter flashing's top leg slides into it, is anchored, and then the slot is sealed. This is the stronger long-term solution because the termination point is protected inside the wall assembly rather than exposed on the face.
In South Florida's storm environment, embedded reglet flashing performs better under wind-driven rain because the counter flashing cannot be lifted as easily at the top edge.
Step 5: Hang the Counter Flashing
The counter flashing overlaps the step flashing by at least 4 inches vertically. It is not fastened to the step flashing below it. That gap, where one piece laps over the other without being connected, allows thermal movement and prevents the roof deck from pulling the wall flashing loose during a wind event.
Fasten the counter flashing to the wall using appropriate masonry screws at 12-inch intervals. On a stucco-over-concrete-block wall (very common in South Florida construction), a hammer drill and sleeve anchors give better pull-out resistance than screws alone.
Step 6: Seal the Exposed Edges
Sealant is the last line of defense here, not the first. Apply a urethane or hybrid polymer sealant to:
- The top edge of the counter flashing where it terminates at the wall
- Any lapped joints in the counter flashing if it runs in multiple sections
- The reglet slot if that method was used
Do not apply sealant between the step flashing and counter flashing. That overlap is an intentional drainage gap.
Replace sealant on a 5-to-7-year cycle in South Florida. UV exposure and the thermal expansion cycles here degrade most sealants faster than in cooler climates.
Common Mistakes
Caulk-only repairs. Running a bead of caulk over an exposed flashing gap is a temporary measure at best. It does not address the underlying lack of mechanical fastening or proper layering.
One-piece through-wall flashing. A single L-shaped piece nailed to both the deck and the wall cannot handle the differential movement between a roof structure and a masonry wall. It will crack the sealant or pull nails within a few seasons.
Flashing installed after all shingles are down. You cannot slide step flashing properly under shingles that are already nailed. Some contractors try to slip it in from below. This is not code-compliant and will not perform the same.
Skipping the counter flashing on re-roofs. When only the roof is replaced and not the counter flashing, the new step flashing may not lap properly with old counter flashing that has corroded or shifted. The entire assembly should be evaluated together.
Wrong metal for the application. Aluminum in direct contact with concrete or mortar corrodes faster than expected. Galvanized steel or copper is the better choice at masonry walls.
Bottom Line
Where a second-story stucco wall meets a lower roof, the flashing detail has to be two separate components, step and counter, installed in sequence with the roofing. South Florida's wind-driven rain and thermal cycles expose every shortcut. If you have staining at a wall-roof intersection, or a previous repair that only involved caulk, the underlying flashing assembly is worth a professional evaluation before the next storm season.
For a professional look at your wall-roof intersections, request a repair estimate or use the instant estimate tool. If you are heading into storm season, the Hurricane Storm Center has additional guidance on what to inspect and when.
For related reading on how roofers find the actual water entry point at complex intersections, see how roofers diagnose a leak with no obvious entry point.
Spotted a leak or missing tiles?
Small problems get expensive fast in the Florida sun. Get it looked at by a local crew before the next storm.
Frequently asked questions
Can I install counter flashing myself on a stucco wall?
Surface-mounted counter flashing is within reach of a skilled DIYer for a simple, single-story application. For a second-story wall-roof intersection, especially if you are cutting a reglet into stucco over block, the work involves masonry tools, code-required mechanical fastening, and the correct metal-to-metal overlap sequence. A mistake here creates a hidden leak path, so most homeowners are better served having a licensed roofer handle it.
How long does wall flashing last in South Florida?
Galvanized steel step and counter flashing may last roughly 15 to 20 years under typical South Florida conditions, though this varies widely depending on proximity to salt air, gauge, coating quality, and maintenance. Copper flashings can last significantly longer. The sealant at the counter flashing's top edge should be inspected and replaced on a 5-to-7-year cycle regardless of the metal's condition.
Does homeowner's insurance cover flashing failures?
Many Florida homeowner's policies cover sudden and accidental water damage but exclude damage from deferred maintenance or gradual deterioration. A flashing failure that developed over multiple seasons may be classified as maintenance-related and denied, though coverage varies significantly by insurer and policy. Review your specific policy carefully and consult a licensed insurance professional to understand how your coverage applies to flashing-related claims. Having a licensed contractor document the failure mode and its timeline can also matter when you file a claim.
What is the difference between step flashing and drip edge?
Step flashing runs along a vertical wall-roof intersection and is woven between shingle or tile courses to redirect water away from the wall. Drip edge runs along horizontal roof edges, such as eaves and rakes, and directs water away from the fascia into the gutter. They serve different purposes and are installed at different locations on the roof.