How Roofing Contractors Seal Around AC Units on Florida Roofs
In this article
TL;DR: AC unit penetrations on Florida roofs are sealed with a combination of metal curb flashing, roofing mastic or sealant, and sometimes a pitch pan. Done right, the seal handles driving rain and hurricane-force wind. Done wrong, it drips into your ceiling every summer storm. Here is how it is done correctly.
What You Need
Before a roofer starts, the job calls for specific materials. Using the wrong ones is exactly how a cheap repair fails after the first thunderstorm.
- Sheet metal curb sized to the AC unit footprint (galvanized or aluminum, depending on the roof system)
- Roofing mastic or compatible sealant rated for UV and heat exposure (critical in South Florida sun)
- Pitch pan or pitch pocket for odd-shaped penetrations, filled with pourable sealer
- Self-adhering flashing tape compatible with the roofing membrane or underlayment
- Metal screws and fasteners appropriate for the substrate
- Roofing membrane or cap sheet material matching the existing roof system
On a tile or shingle roof, the curb and counter-flashing materials differ from a flat commercial roof, but the goal is the same: no path for water to get under the system.
Step 1: Evaluate the Existing Curb and Flashing
Before any sealant goes on, a roofer inspects the existing curb for rust, gaps, lifted edges, or open seams. On older South Florida roofs, the metal curb is often corroded from salt air and UV exposure.
If the curb itself is compromised, slapping new caulk over it does not fix anything. A corroded or cracked curb gets replaced, not patched. That is the first place a storm-chaser cuts corners: they tube-caulk a bad curb and call it done.
Step 2: Prepare the Roof Surface Around the Unit
The area around the curb gets cleaned of debris, old sealant, and loose granules. Any damaged membrane or underlayment within 6 to 12 inches of the curb needs to be repaired or replaced before the flashing goes on top.
Layering new material over compromised substrate is a temporary fix at best. Water will find its way under seams every time.
Step 3: Set or Replace the Metal Curb
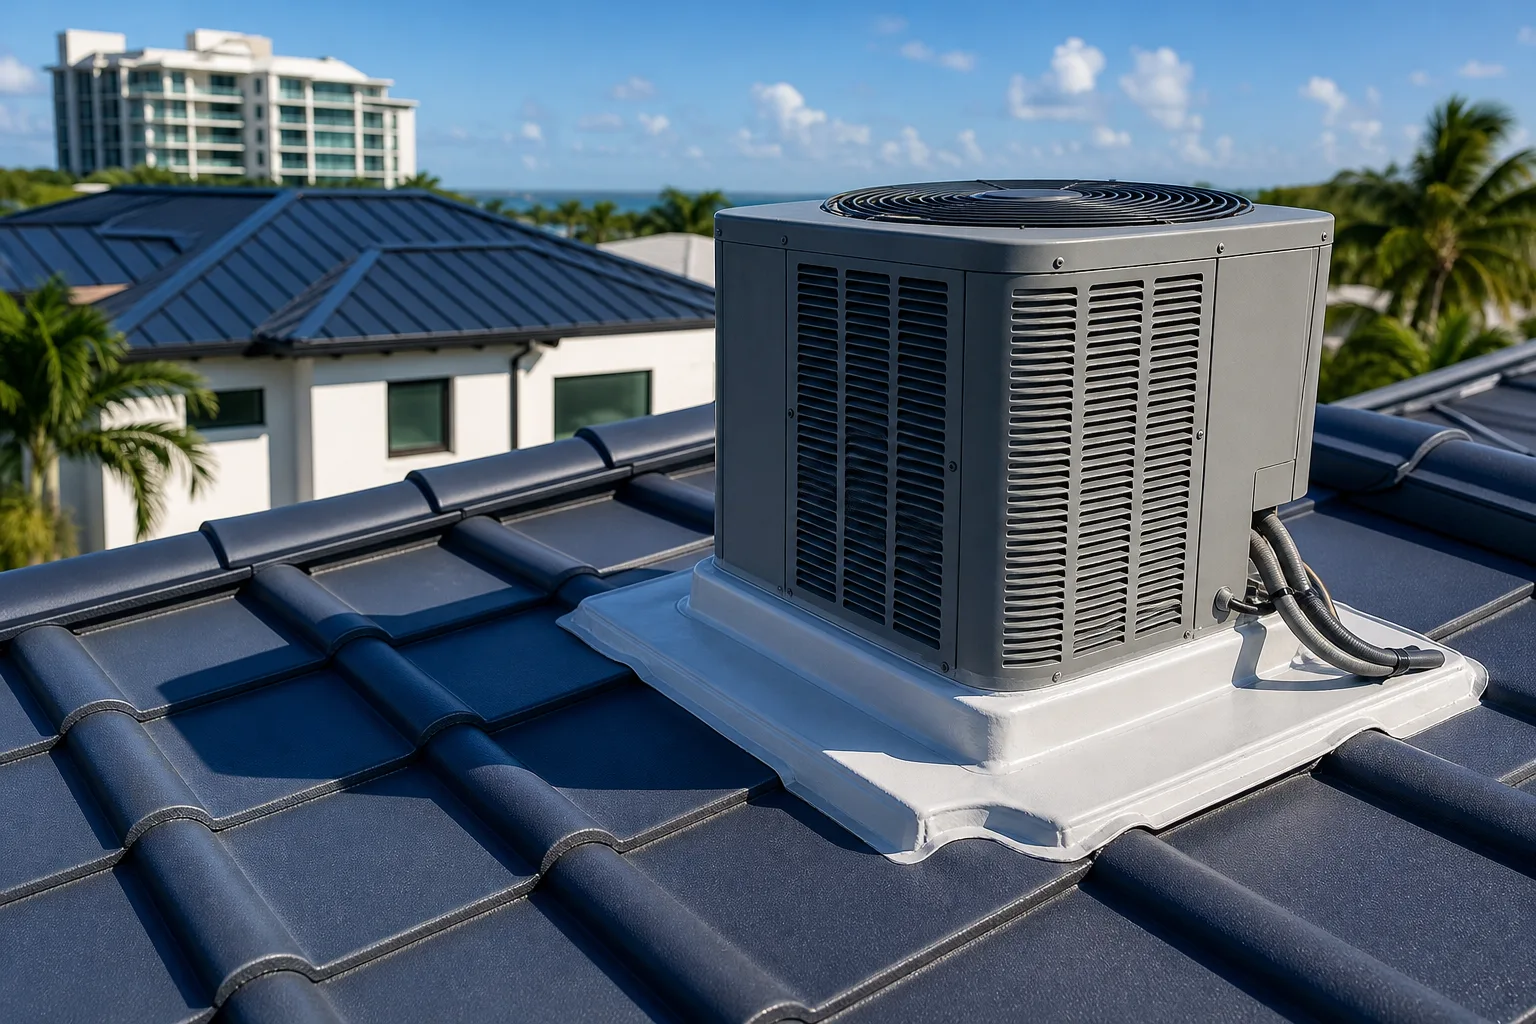
On a properly done installation, the AC unit sits on a raised metal curb. That curb creates a lip that lifts the unit above the roof surface so water drains away rather than pooling under the unit.
The curb is fastened to the roof deck with screws at consistent intervals. Gaps in fastening create flex points that open up during high winds. In South Florida, roof-mounted equipment takes a beating every hurricane season, so this step is not optional.
Spotted a leak or missing tiles? Schedule a repair visit
Step 4: Install the Flashing
This is where the waterproofing actually happens. The flashing wraps the base of the curb and integrates with the roofing system.
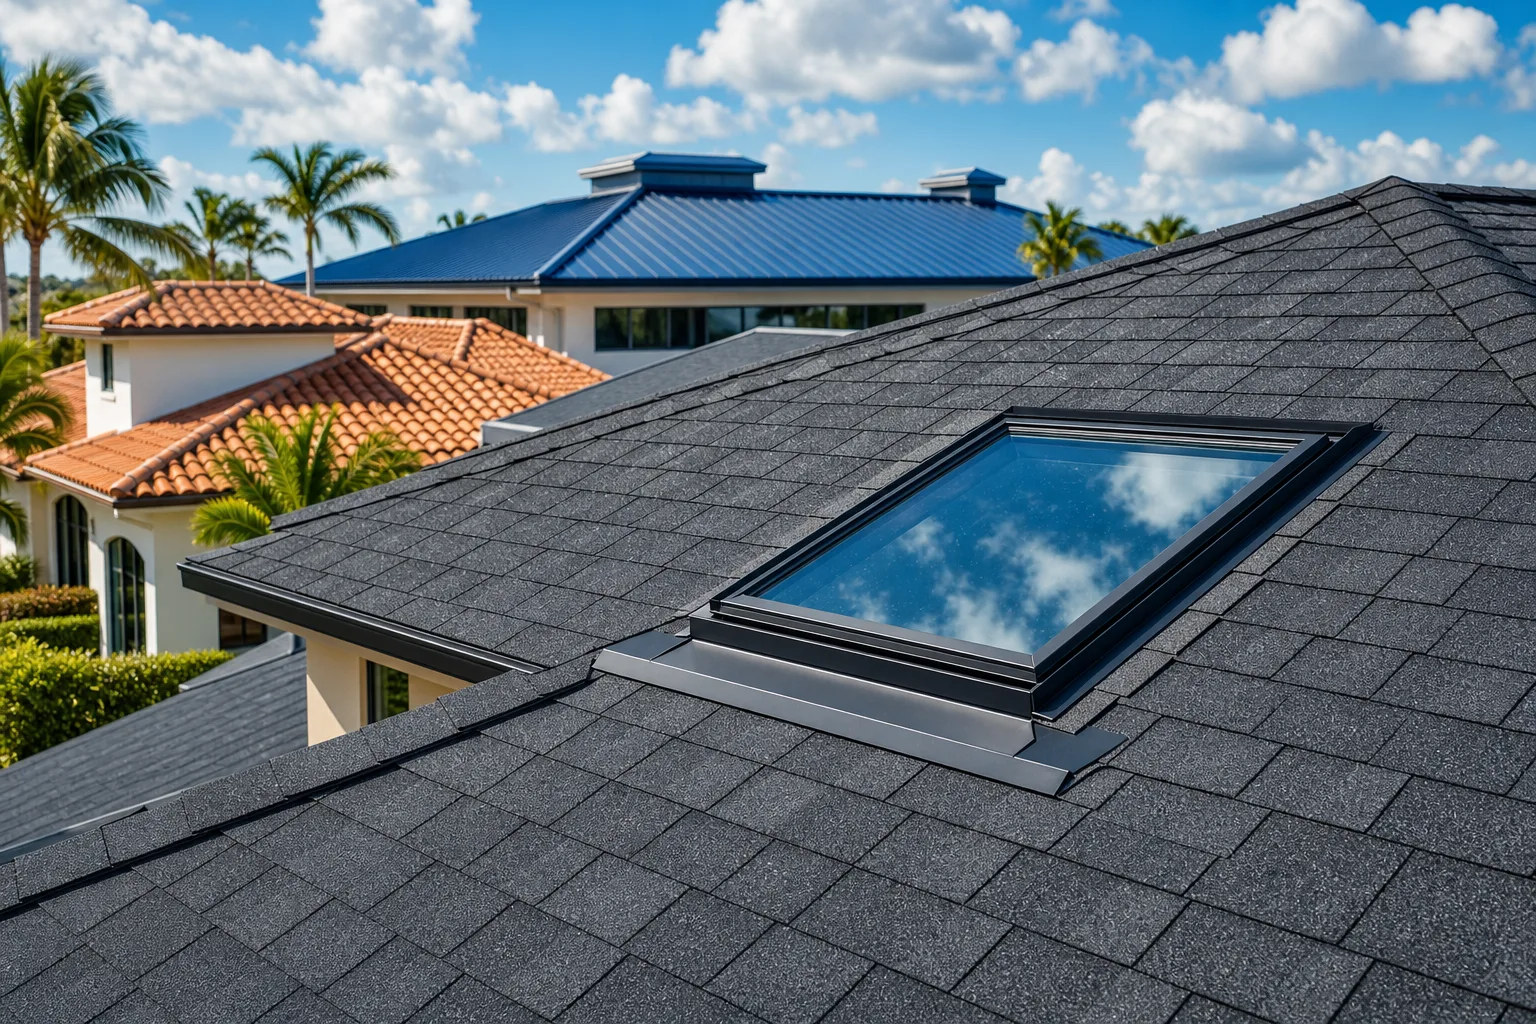
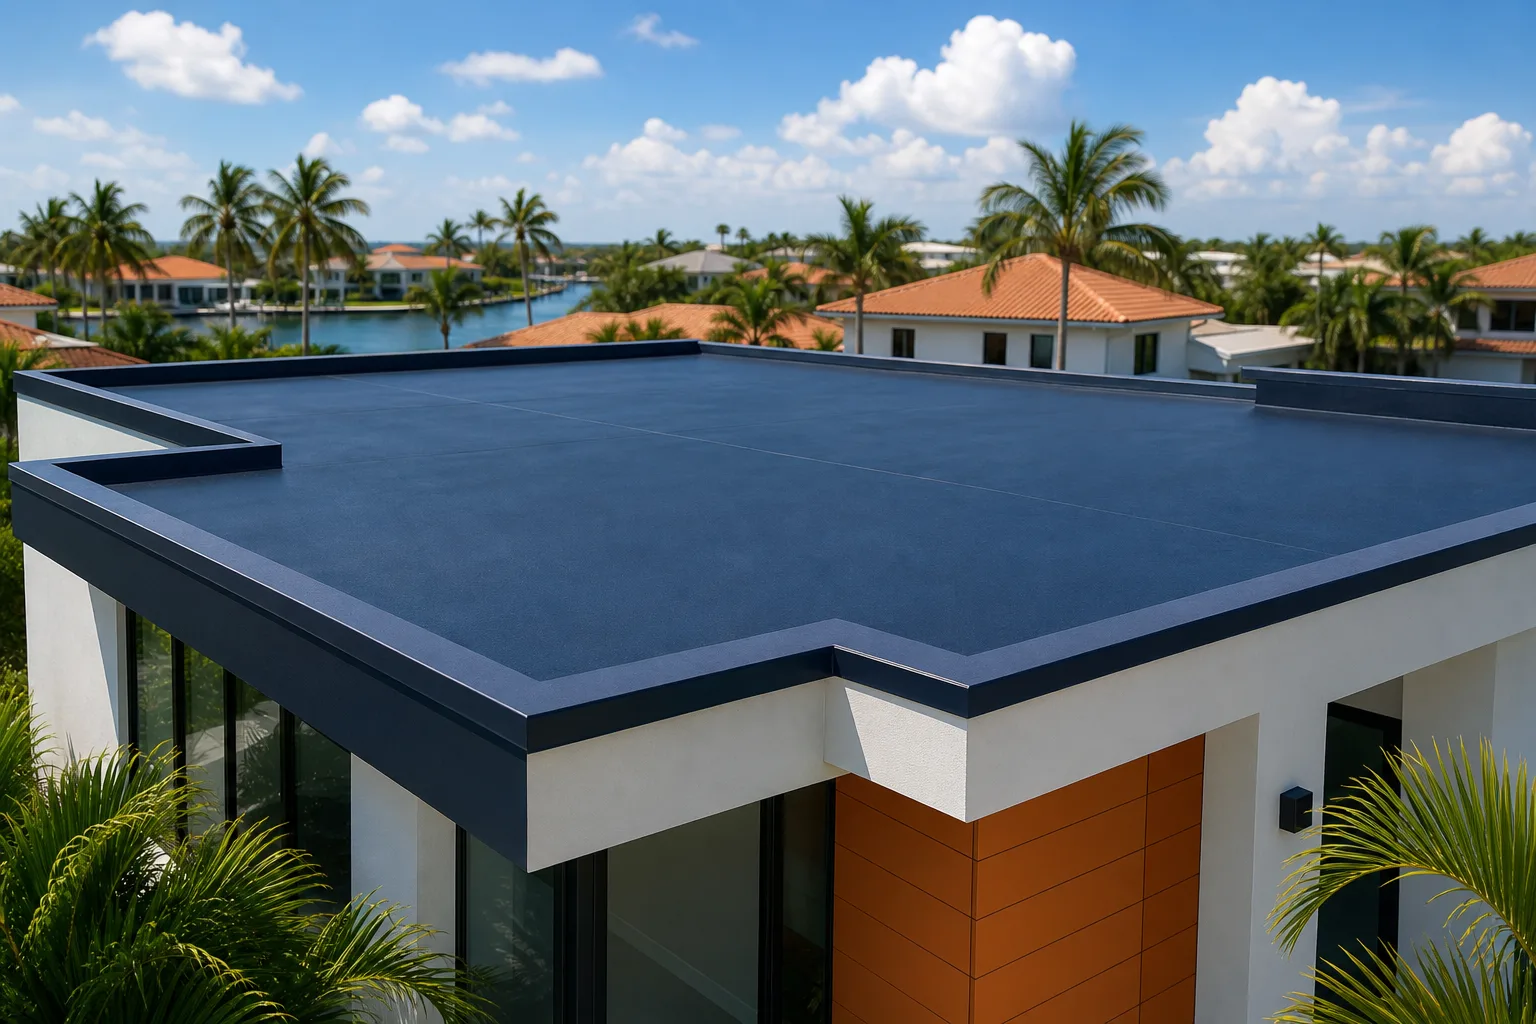
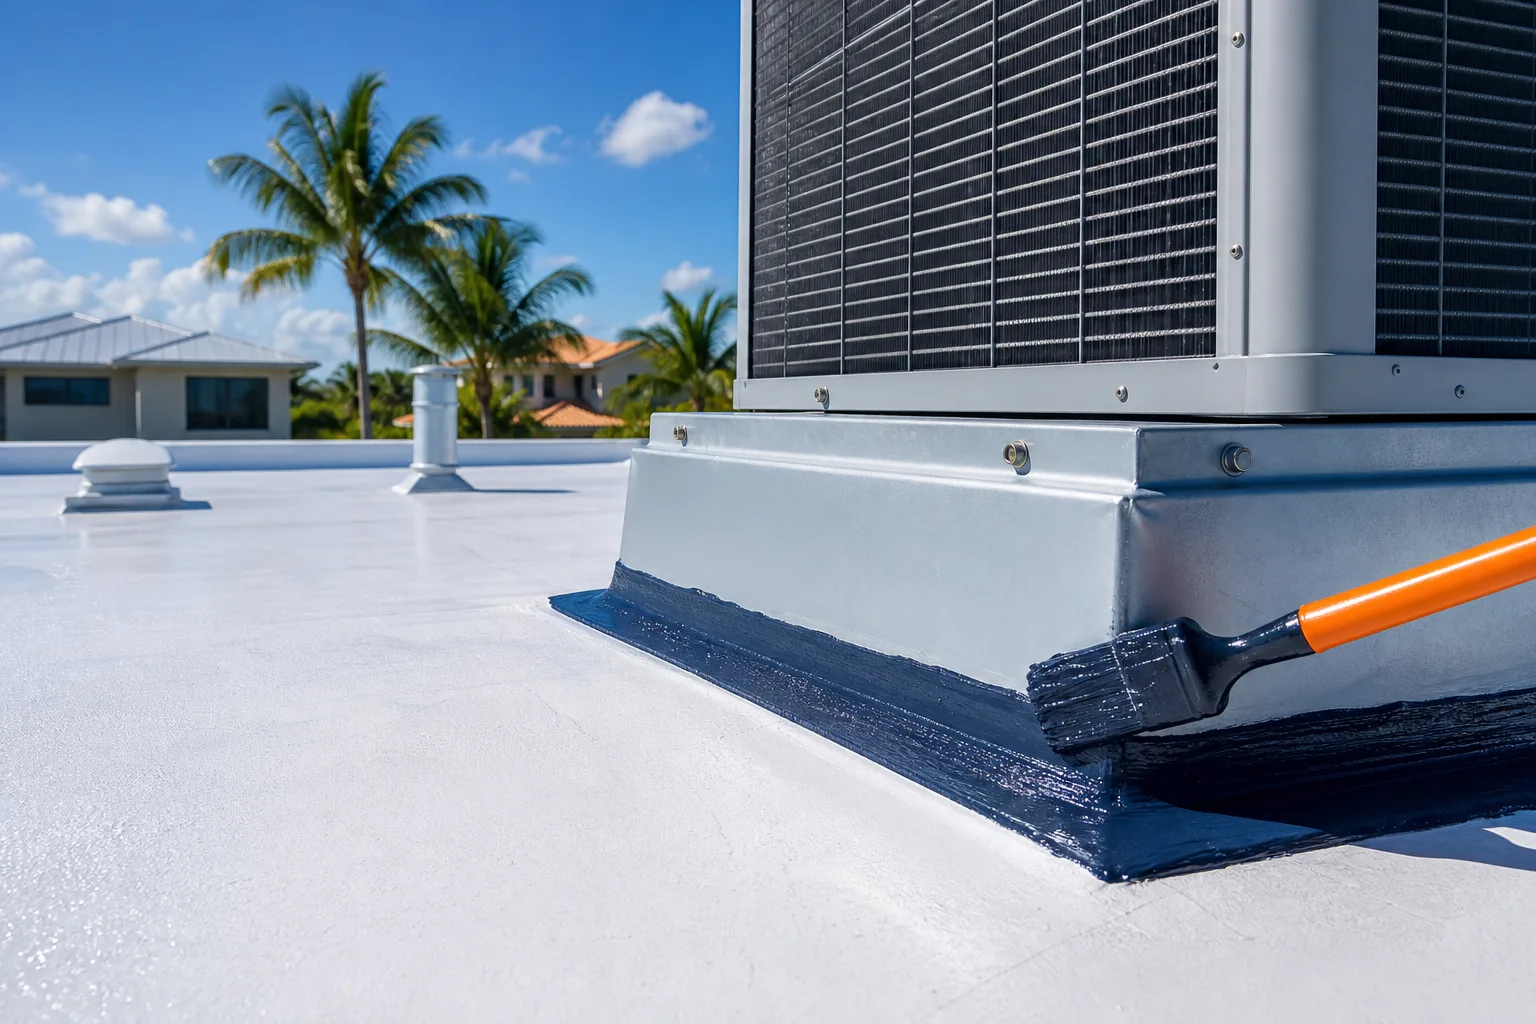
On flat or low-slope roofs (common on commercial buildings and many South Florida homes), the roofer installs a self-adhering flashing strip that bonds to the membrane and runs up the sides of the curb. The top edge is then sealed with roofing mastic rated for the climate.
On tile roofs, a sheet metal counter-flashing is cut and bent to tuck under the bottom row of tiles and wrap around the curb. Tiles are reinstalled over the flashing so water sheds naturally without relying solely on sealant.
On shingle roofs, step flashing or a pre-formed collar is woven into the surrounding shingle courses, similar to chimney flashing work. See our post on how roofing contractors waterproof around chimneys in South Florida for how that flashing logic applies here.
Step 5: Seal with Mastic or Pourable Sealer
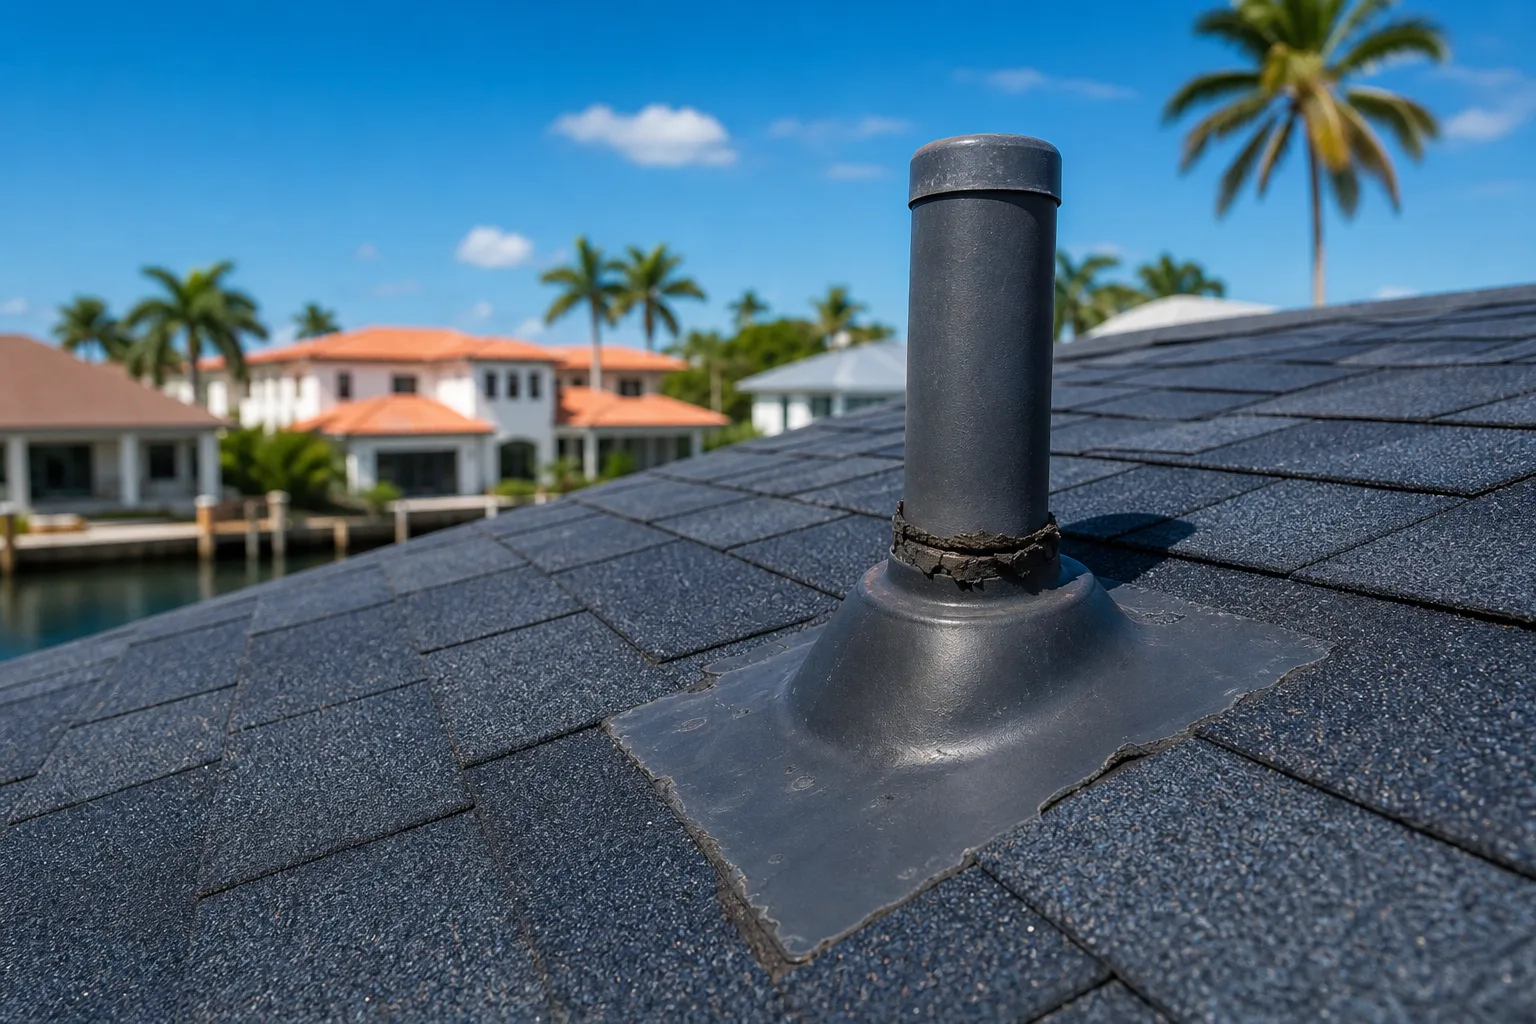
Once the mechanical flashing is in place, mastic or compatible roofing sealant is applied at the seams, edges, and any penetration points (refrigerant lines, electrical conduit, drain lines coming through the curb wall).
For irregular penetrations, a pitch pan (a small metal box formed around the pipes) is filled with pourable sealer to create a watertight collar. This is standard practice on commercial roofs where multiple lines exit through the curb.
Sealant alone is never the primary waterproofing. It is the second line of defense behind the physical flashing. Any contractor who skips the flashing and just tubes sealant around the base of a curb is setting you up for a callback inside 12 months.
Step 6: Inspect and Test
After installation, a roofer checks that:
- No gaps exist at any seam or corner of the flashing
- The mastic is fully adhered with no lifted edges or bubbles
- Refrigerant and electrical lines have their own sealed penetrations, not just wedged through a gap
- Water flows away from the curb, not toward it
On commercial properties, a water test (running a hose over the area) confirms there are no active paths before the work is signed off. If you want a professional set of eyes on what a proper inspection covers, our post on spots a roofing contractor should inspect before quoting a repair is worth reading.
Common Mistakes
Using the wrong sealant. Standard caulk from a hardware store is not roofing mastic. It breaks down fast under Florida UV and heat cycling. The right product matters.
Skipping the curb replacement. A corroded curb with fresh sealant on top is still a corroded curb. The sealant moves with thermal expansion; the rusted metal does not. The seal breaks.
Not sealing individual line penetrations. Refrigerant lines, condensate drains, and electrical conduit each need their own sealed collar. A gap around a refrigerant line at the curb wall is a direct water path into the building.
Relying on sealant as the only waterproofing. Proper flashing is mechanical. Sealant is a secondary measure. Roofs that are sealed only with mastic will leak once the sealant cracks, which it will.
Improper slope at the curb base. If the roof surface pitches toward the curb instead of away from it, water pools there every rain event. Poor original installation or settling can create this, and it needs to be corrected, not just caulked over.
Bottom Line
A properly sealed AC unit penetration on a South Florida roof involves a sound metal curb, mechanically installed flashing integrated with the roofing system, and sealant as a secondary layer, not the only layer. If your roof is leaking around an AC unit, or you just want confirmation the existing seal is still holding, a qualified roofer should take a look before the next storm season.
For residential roofs, our roof repair services cover AC curb flashing as part of general leak repair work. Commercial properties with rooftop equipment can start with our commercial roofing services. If you want a quick assessment, request a free estimate and we will take a look.
Spotted a leak or missing tiles?
Small problems get expensive fast in the Florida sun. Get it looked at by a local crew before the next storm.
Frequently asked questions
How long does a properly installed AC curb seal last on a South Florida roof?
When done correctly with compatible materials and integrated flashing, an AC curb seal can last 10 to 20 years depending on the roof system. The sealant itself may need to be reapplied sooner, typically every 5 to 7 years, since UV and heat degrade even quality mastic over time. The metal curb and flashing, if not corroded, usually outlast the sealant.
Can I seal around my rooftop AC unit myself?
Cleaning up a minor sealant crack with proper roofing mastic is something a careful homeowner can do safely from an accessible surface. But if the flashing is lifted, the curb is corroded, or you have an active leak, that work involves integrating new flashing into the roofing system and is best handled by a licensed contractor. Mismatched materials or improper flashing can make the leak worse.
Do tile roofs require a different approach for AC curb flashing?
Yes. On tile roofs, the counter-flashing has to tuck under the tile courses so water sheds naturally with the tile, not over it. Tiles need to be carefully removed and reset without cracking. A roofer who is not experienced with tile can crack tiles or leave gaps that a mastic-only approach would never catch.
How do I know if my AC unit seal is failing before it leaks inside?
Signs include visible cracked or lifted mastic around the curb base, rust staining running down the roof from the curb, gaps where refrigerant or electrical lines exit the curb wall, and pooling water around the unit base after rain. Catching these early means a simpler repair rather than water damage to ceilings or insulation.