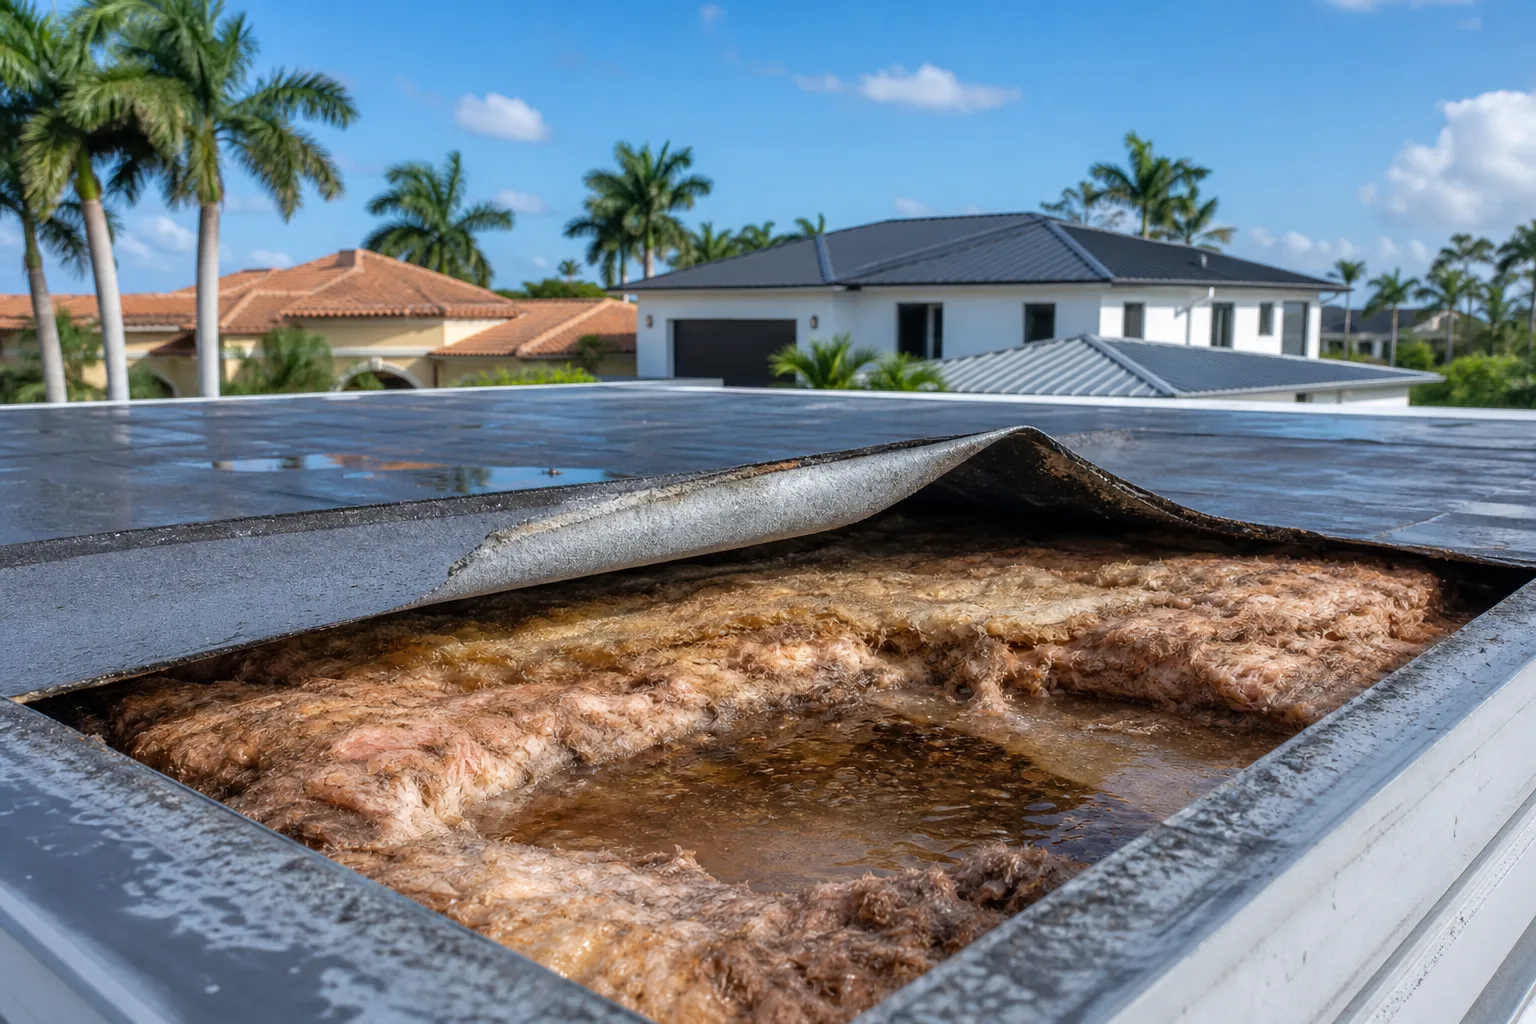
What Happens to Roof Underlayment When Tiles Are Removed and Reset
In this article
TL;DR: Removing and resetting tiles always stresses the underlayment beneath them. Older or already-degraded underlayment often tears during removal and cannot be reused. A proper inspection before the job starts tells you whether a partial patch, a full underlayment replacement, or nothing extra is needed.
What you need
- Access to the attic (for checking decking moisture from below)
- The age of your current roof installation (permits or homeowner records help)
- Notes on any past leaks or wet spots
- A licensed roofer willing to document underlayment condition before and after tile removal
Step 1: Understand what underlayment actually does under tile
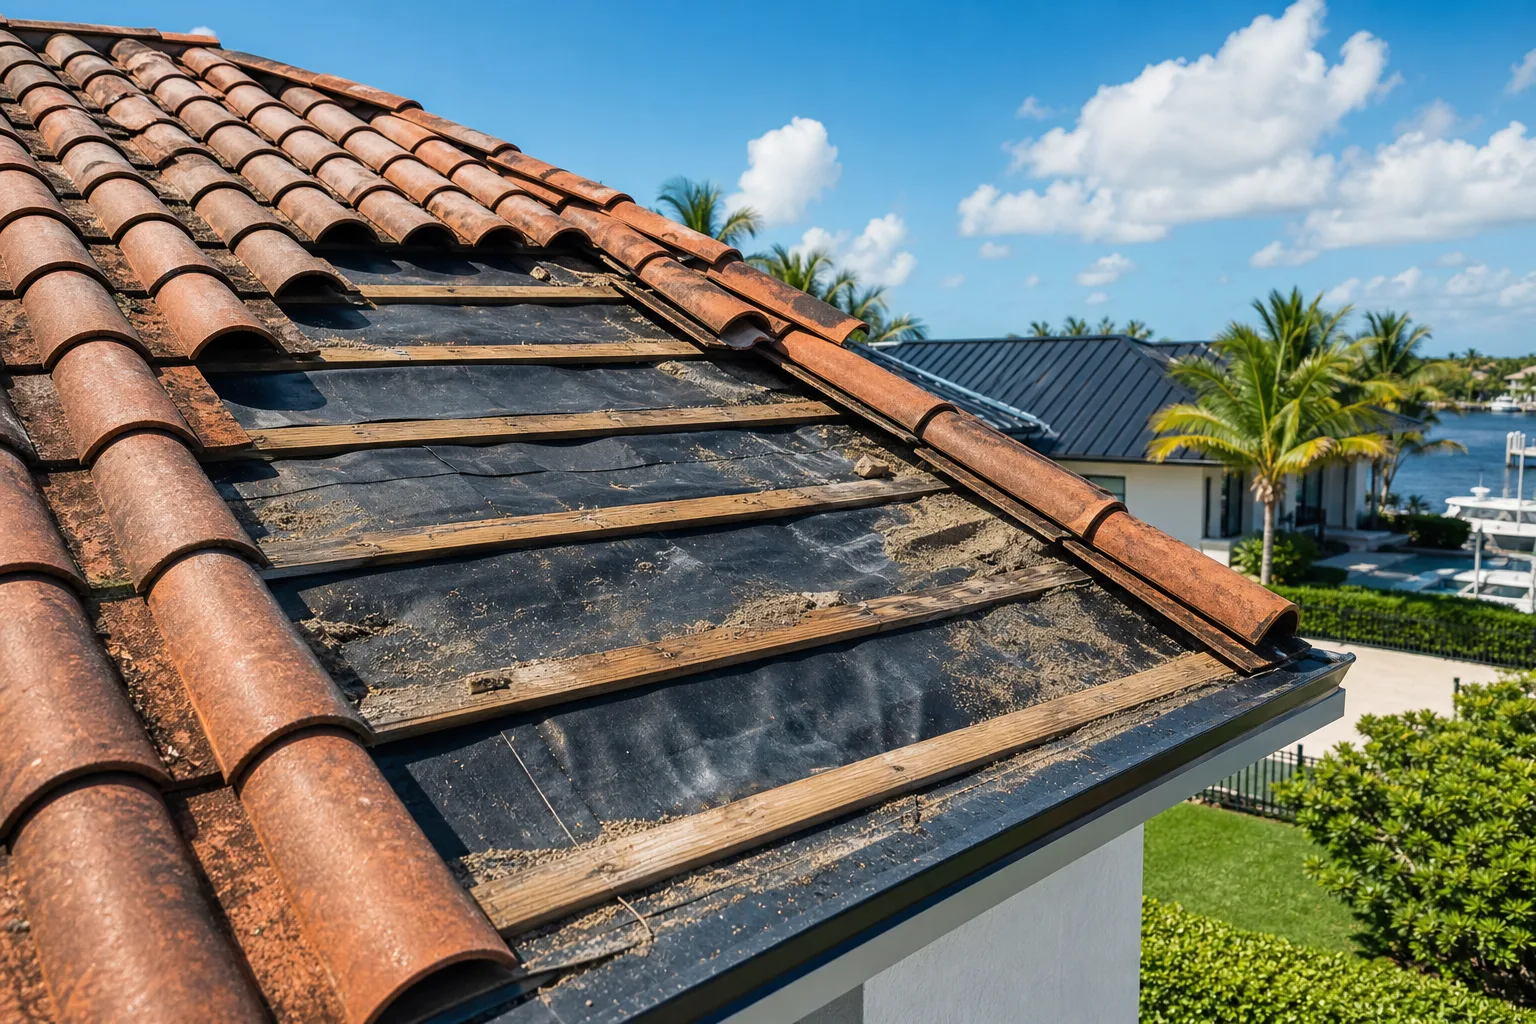
Tile roofing is not a waterproof system by itself. The tiles shed the bulk of the rain, but the underlayment is the true waterproofing layer. If a tile cracks, shifts, or blows off, the underlayment is what keeps water out of the deck below.
In South Florida, two underlayment types are common under tile:
- Felt (asphalt-saturated, 30 lb or heavier): Older standard. Dries out and becomes brittle over time, especially in our heat.
- Synthetic or self-adhered (peel-and-stick) membrane: More durable, holds up better under repeated thermal expansion.
Florida Building Code requires a minimum of two layers of 30 lb felt or one layer of approved synthetic underlayment under tile. Some jurisdictions in Palm Beach County have adopted stricter requirements, so it is worth confirming with your contractor what the current local standard is.
Step 2: Know what physically happens when tiles come off
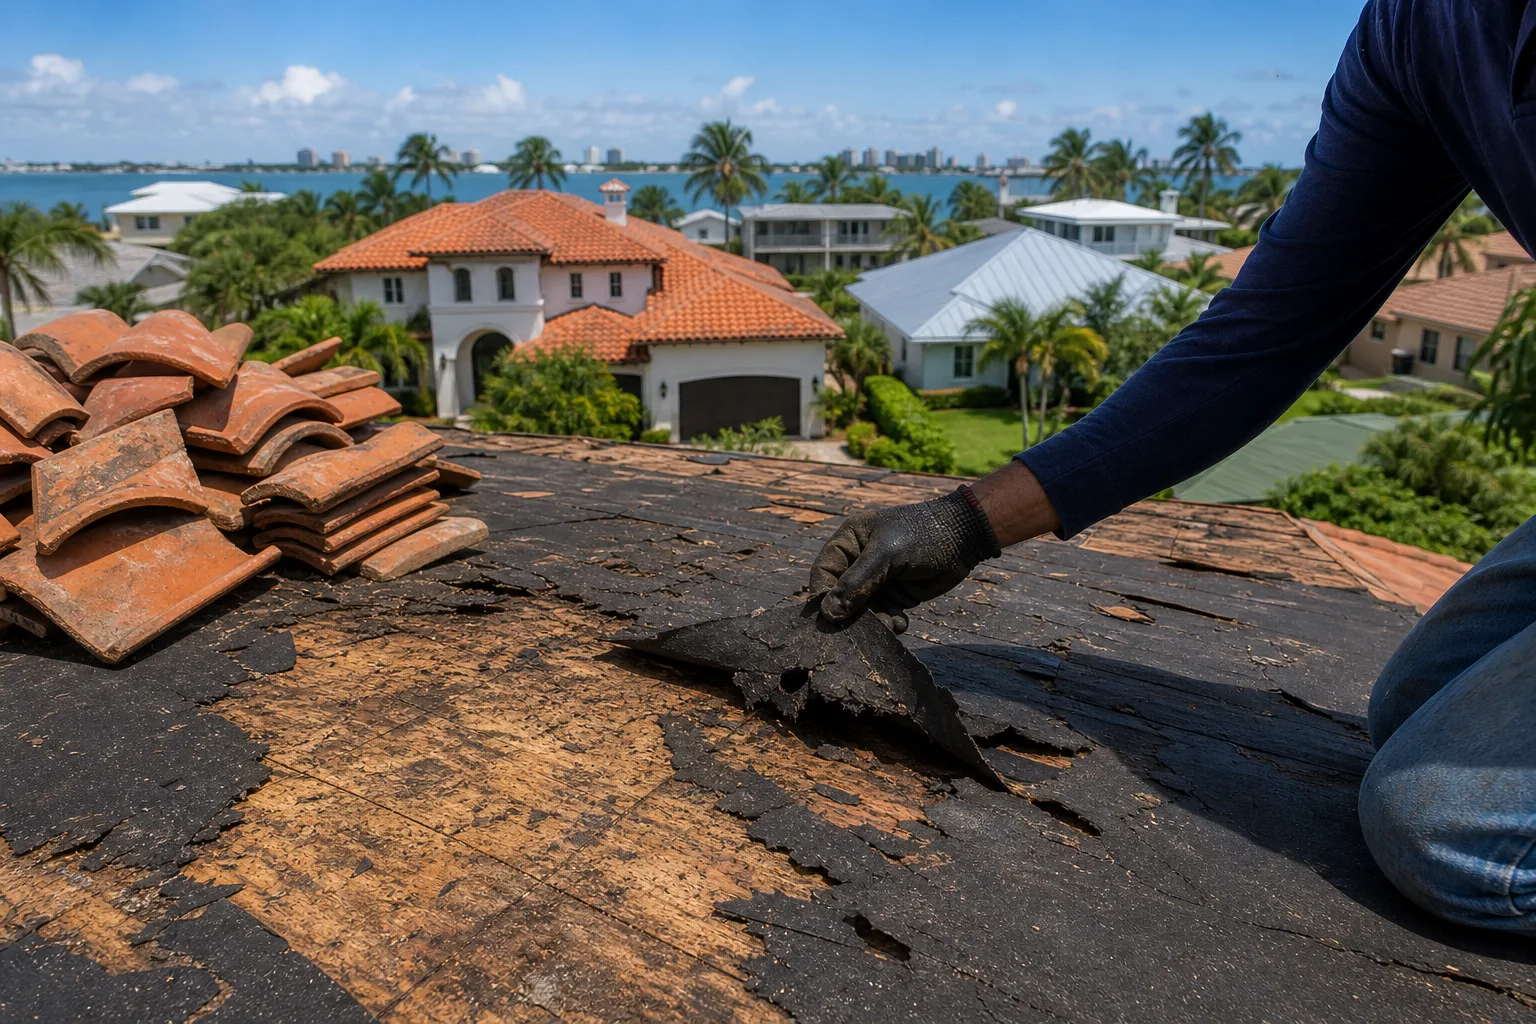
Tile removal is not a gentle process. Workers use flat bars and sometimes pneumatic tools to pop tiles free. Each tile that lifts pulls against the fasteners, mortar, or clips holding it, and that movement transfers stress directly to the underlayment beneath.
Here is what typically happens layer by layer:
- Tiles are pried or unclipped. Any tile set in mortar requires chipping, which sends vibration through the system.
- Fastener holes open up. Nails or screws that were driven through the underlayment leave holes. Some may enlarge when tiles shift.
- Underlayment stretches or tears. Felt that has aged and lost its flexibility cracks or shreds at stress points, especially along ridges and hips where it was doubled.
- Lap seams may separate. Underlayment installed in overlapping courses can pull apart at the seams if adhesion has weakened.
Synthetic underlayment handles this better than aged felt, but no underlayment is completely immune to mechanical stress during a remove-and-reset.
Step 3: Inspect the underlayment before any tiles come off
This is the step most homeowners never see, but it is the most important one. A good estimator checks underlayment condition before quoting a remove-and-reset job, not after.
What to look for during pre-removal inspection:
- Age of installation. Felt underlayment has a functional lifespan of roughly 15 to 20 years in Florida conditions. If the roof is older than that, plan on replacing it regardless of visual appearance.
- Attic observation. From below, look for daylight through the deck, staining on rafters, or soft spots in the plywood. These are signs the underlayment has already failed in places.
- Visible surface checks. On accessible areas (ridges, hips, edges), look for cracking, chalking, or felt that crumbles when handled.
- Existing repair patches. Multiple patches suggest the underlayment has been failing progressively.
If a contractor skips this step and only discovers underlayment damage after tiles are stacked in the driveway, you lose negotiating position and schedule control. Ask upfront: what is the condition assessment process before removal starts?
Want to know what your roof actually needs? Get a free estimate
Step 4: Use a decision table to choose the right scope of work
Use the following to frame the conversation with your contractor before signing anything.
| Underlayment condition | Roof age | Recommended action |
|---|---|---|
| Intact, flexible, no tears | Under 10 years | Reset tiles; spot-seal any fastener holes |
| Minor surface cracking, no tears | 10 to 15 years | Reset tiles; apply sealant at all penetrations and laps |
| Brittle, tears on handling, or separated seams | 15 to 20 years | Full underlayment replacement before resetting |
| Visible holes, water staining, or rot on deck | Any age | Full underlayment and deck repair before resetting |
This is a general guide, not a binding specification. Your contractor should document what they find with photos before the scope is finalized.
Step 5: Decide whether to replace underlayment now or later
If you are already paying to have tiles removed, that is the lowest-cost window to replace underlayment. Once tiles are reset, accessing it again costs the same labor all over again.
Consider replacing underlayment now if:
- It is within five years of its expected end of life anyway
- You are in a high-wind zone and the current installation predates the 2020 Florida Building Code updates
- The original installation used single-layer felt instead of the two-layer minimum
- You are planning to stay in the home for more than five more years
If the underlayment is relatively new and undamaged, replacing it preemptively adds cost without benefit. A good estimator tells you which situation you are actually in.
Step 6: Understand what proper reinstallation looks like
If underlayment is replaced during a remove-and-reset, the new installation should follow current Florida Building Code requirements, which include specific fastener patterns, lap dimensions, and in high-velocity hurricane zones (HVHZ), self-adhered base sheets.
Key things to confirm with your contractor:
- New underlayment is installed in a shingle fashion (lower courses first, lapping upward)
- All penetrations, valleys, and edges get extra treatment
- Fastener holes from previous installation are sealed or covered by new material
- The job is inspected before tiles go back on
For tile roofing specifics in South Florida, the underlayment reinstallation is as important as the tile work itself.
Common mistakes
Assuming the underlayment is fine because tiles look intact. Tiles protect underlayment from UV and physical damage, but not from aging, heat cycling, or improper original installation. Intact tiles do not mean intact underlayment.
Skipping the attic check. Moisture migrates. A small underlayment failure at a hip or ridge can cause staining several feet away on the deck. The attic view catches what a surface inspection misses.
Accepting a quote that does not address underlayment. A remove-and-reset quote that makes no mention of underlayment condition is an incomplete quote. Ask the contractor explicitly: what happens if you find damaged underlayment once tiles are off?
Re-using cracked felt to avoid cost. Felt that cracks or tears during removal will not perform adequately once tiles are back. Patching over cracked felt with mastic is a short-term fix that tends to fail before the next tile removal cycle.
Bottom line
Removing and resetting tiles always puts the underlayment at risk, and the older the underlayment, the higher that risk. The smart move is to have the condition assessed before removal begins, document what is found, and decide on scope while tiles are still on the roof. That way there are no surprises once labor costs are running.
If you have a tile remove-and-reset coming up and want an honest assessment of what your underlayment is likely to need, request a quote or use the free instant estimate tool to start the conversation.
Want to know what your roof actually needs?
Millennium Makeover has been roofing South Florida homes and businesses since 2005. Get a straight, no-pressure estimate from a licensed local crew (CCC1326328).
Frequently asked questions
Can underlayment be patched instead of fully replaced during a tile remove-and-reset?
Small isolated tears can sometimes be sealed with compatible roofing mastic or self-adhered patch material. However, if the felt is brittle throughout, patching multiple spots is usually not cost-effective and may not meet code for a permitted job. Full replacement is typically the right call when the material is at or near the end of its service life.
Does a remove-and-reset job require a building permit in Florida?
Permit requirements vary by municipality, but many Florida jurisdictions require a permit for work that exposes or replaces underlayment. Skipping the permit can create problems at resale and may void manufacturer warranties. Ask your contractor to confirm the local requirement before work starts.
How long should new underlayment last under tile in South Florida?
Self-adhered synthetic underlayment products are generally rated for 25 to 30 years, though Florida heat and UV exposure can shorten that in practice. Traditional felt underlayment typically lasts 15 to 20 years under tile in this climate. The tile system above it lasts longer, which is why underlayment condition needs to be checked independently of tile condition.
What is the difference between a remove-and-reset and a full tile roof replacement?
A remove-and-reset means the existing tiles are carefully removed, stored, and reinstalled, usually to access and repair the underlayment or deck beneath. A full replacement involves new tiles as well as new underlayment. Remove-and-reset makes sense when tiles are in good shape; replacement is warranted when tiles are cracked, mismatched, or when the system has reached end of life.