What Goes Beneath Roof Tiles That Most Homeowners Never See
In this article
TL;DR: Roof tiles are a weather barrier, not a waterproof membrane. The layers beneath them, including the underlayment, nail base, and deck, carry most of the waterproofing load. Understanding this system helps you ask better questions when getting a repair or replacement quote.
What you need
- A basic understanding of roof anatomy (no ladder required)
- Notes from any recent inspection or estimate
- Knowledge of your roof's age and material type
If you're getting a quote and want to know what should be included in the scope of work, this breakdown helps you evaluate what you're being told.
Step 1: Start with the roof deck, the foundation everything sits on
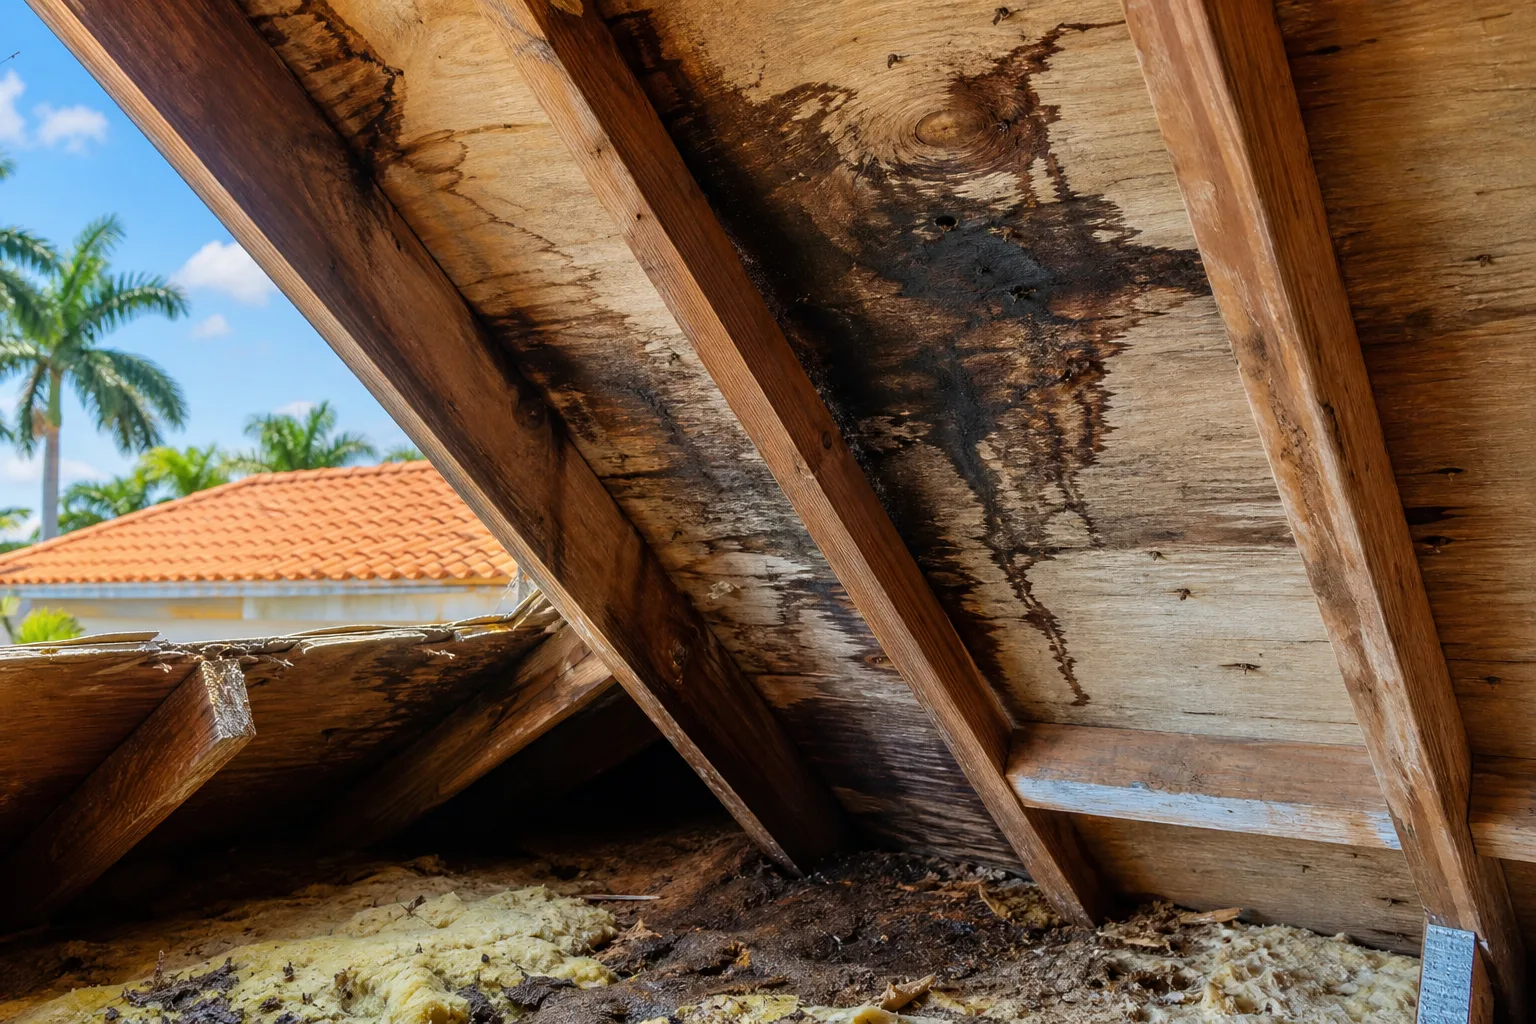
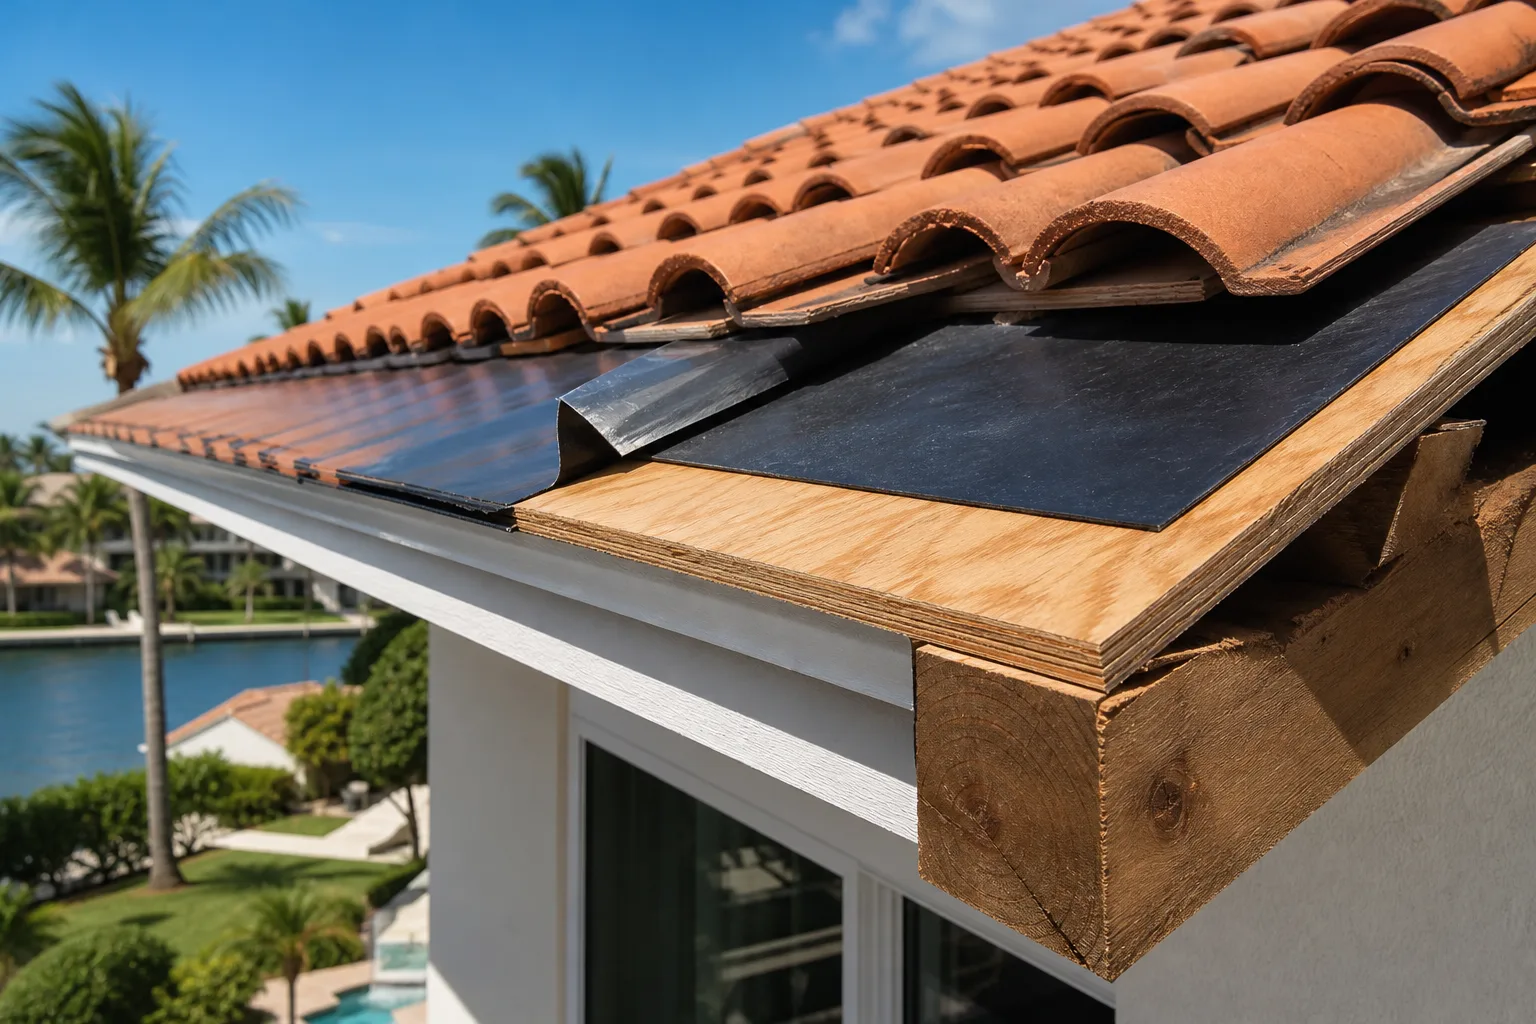
The roof deck is the structural layer nailed directly to your rafters or trusses. In South Florida, this is almost always plywood or oriented strand board (OSB). Everything above it depends on this layer being flat, dry, and sound.
When a roofer talks about decking replacement during a re-roof, they mean damaged or rotted sections of this layer. Deck rot is common here because South Florida's humidity and frequent rain give moisture plenty of chances to find a path through aging underlayment.
A good estimator will count damaged decking sheets during the inspection and flag them before work starts, not after. If a bid doesn't mention decking condition at all, ask why.
Step 2: Understand the nail base (if your home has it)
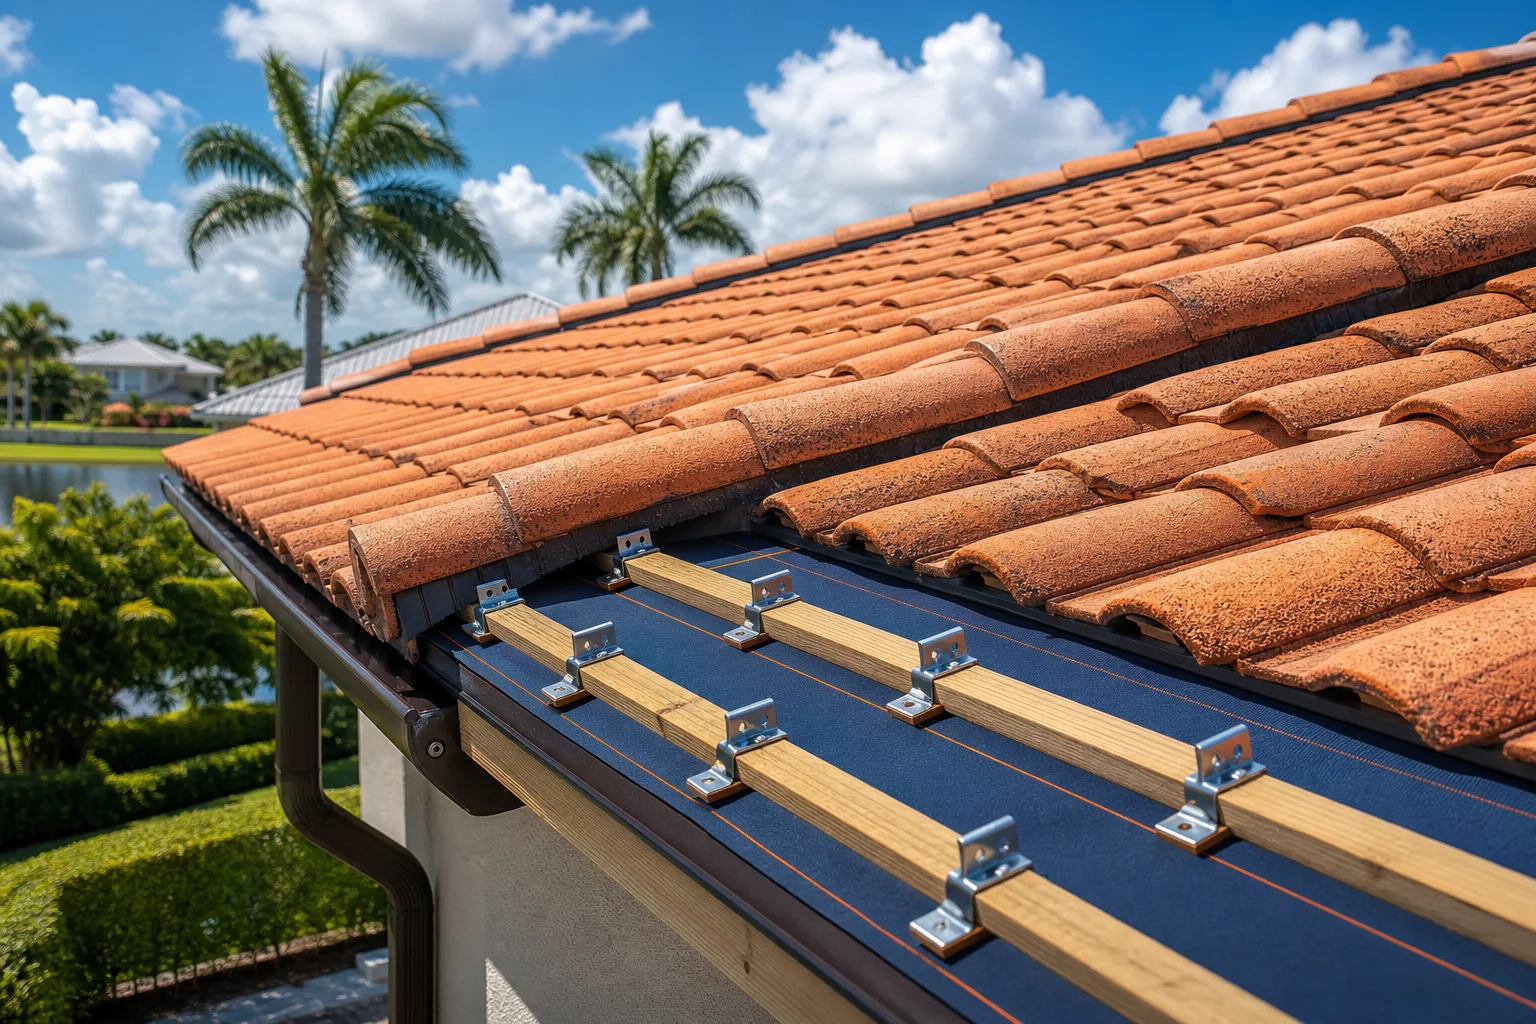
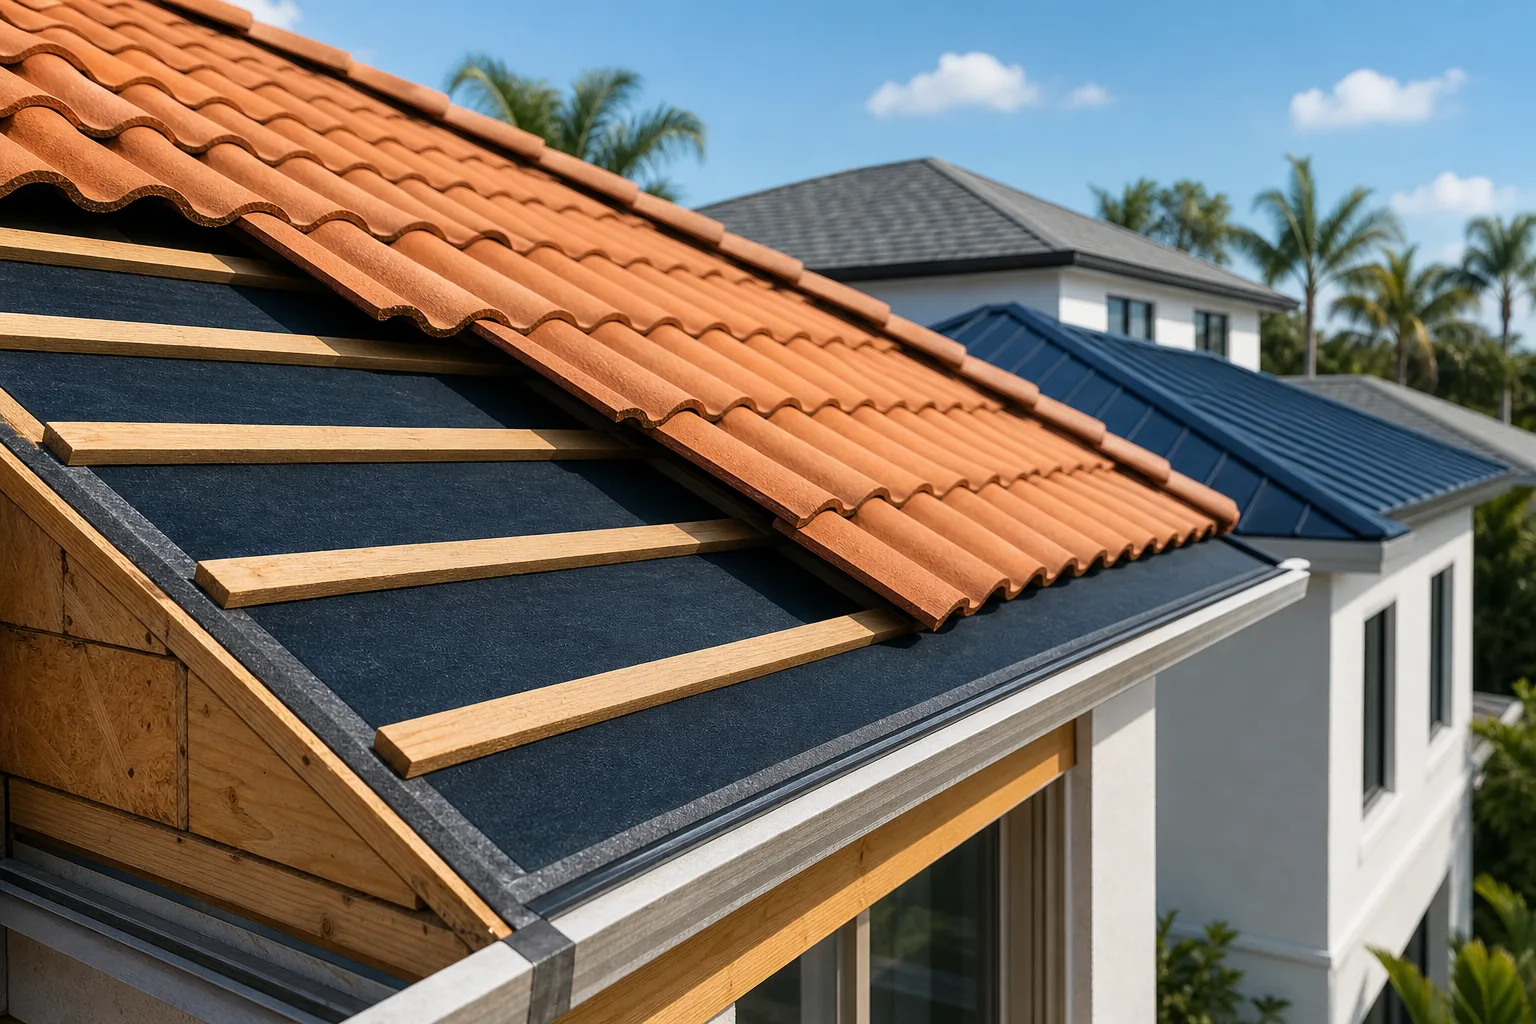
Older tile roofs in Florida, particularly those built through the 1980s and early 1990s, often have a layer of wood slats or a nail base board between the deck and the underlayment. This was a common system before modern underlayments became standard.
If your home still has this configuration, a reroofing project will typically involve removing it and installing updated materials. It's not a problem by itself, but it does add labor and disposal time to the job. Worth asking about if your home was built before 1995.
Step 3: Know your underlayment, this is the real waterproof layer
Underlayment is the layer that does most of the waterproofing under a tile roof. Tiles can crack, shift, or blow off in a storm. When that happens, the underlayment is what stands between the deck and incoming rain.
In Florida, there are a few common types:
Mechanically fastened felt (Type 30 or Type 43): The older standard. Still used, but has a shorter lifespan than modern alternatives, especially in South Florida heat.
Peel-and-stick (self-adhering) underlayment: This is a rubberized asphalt membrane that bonds directly to the deck. It provides much better protection than felt, particularly around fastener penetrations. Florida's building code, updated after Hurricane Andrew, pushed the industry toward this material in many applications.
Tile-specific underlayment systems: Some manufacturers require specific underlayment products to maintain a warranty on the tile itself. If someone is replacing only part of your underlayment, ask whether the patch will match what's already there.
For more detail on how self-adhering underlayment is applied and why it's common in South Florida, see why roofers install ice-and-water shield in South Florida.
Want to know what your roof actually needs? Get a free estimate
Step 4: Recognize how tiles are actually held down
Tiles themselves are either nailed, clipped, or in older installations, mortared at the ridge and hip lines. The fastener system matters more than most homeowners realize, especially in hurricane country.
Florida's high-velocity hurricane zone (HVHZ) standards, which apply to Broward and Miami-Dade counties, specify minimum fastener patterns. Palm Beach County and surrounding areas follow the Florida Building Code, which also has wind uplift requirements.
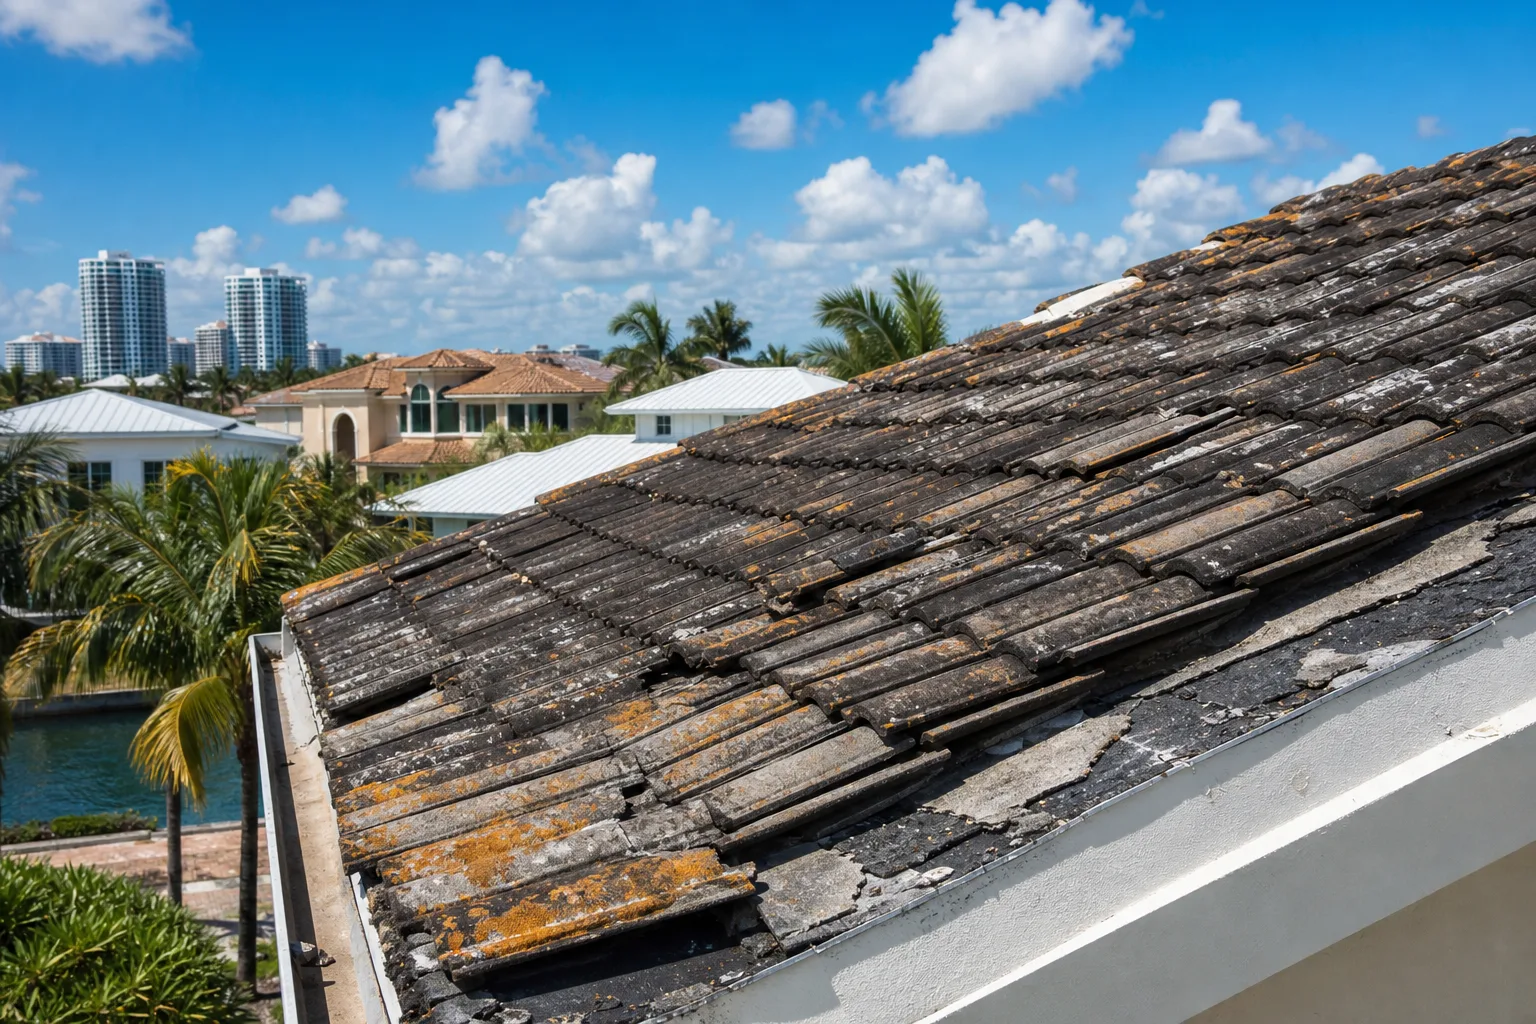
If tiles on your roof are loose, it may be a fastener failure, a cracked tile, or a mortar failure at the ridge, not necessarily a full underlayment problem. That distinction matters a lot for repair scope and cost. For a closer look at how tiles are secured specifically for storm conditions, see what holds roof tiles down in Florida hurricanes.
Step 5: Account for flashings, the weak points at every transition
Flashings are the metal pieces installed at every place where the roof meets something else: walls, chimneys, skylights, vents, and valleys. They're usually aluminum or galvanized steel in residential applications.
These are the locations where most tile roof leaks actually start. Flashing can corrode, pull away from the wall, or get disturbed during tile work if a roofer isn't careful. When you're looking at a repair estimate, check whether flashings are included in the scope or listed as a separate line item.
For more on waterproofing at one of the most common problem spots, see how roofing contractors waterproof around chimneys in South Florida.
Step 6: Recognize what a legitimate inspection should cover below the tile
A proper inspection of a tile roof should assess all of these layers, not just the visible tile surface. Here's a quick checklist of what a thorough estimator should address:
- Deck condition (soft spots, delamination, rot)
- Underlayment age and type (felt vs. peel-and-stick)
- Flashing condition at all transitions
- Fastener system and tile attachment
- Ridge and hip mortar condition
- Ventilation at the soffit and ridge
If an estimate arrives without any mention of what's under the tiles, that's a gap worth questioning. See what a contractor should inspect before quoting a repair for more on what a thorough site visit looks like.
Common mistakes
Assuming tiles are the waterproof layer. They shed water and protect the underlayment from UV and impact. The underlayment does the waterproofing.
Accepting a tile-only repair when the underlayment is failing. If the underlayment beneath a leaking area is 20+ years old, replacing just the tile above it often doesn't solve the problem.
Overlooking flashing in a repair quote. A repaired tile with failing flashing next to it will leak again.
Not asking about decking before signing a contract. Discover rotted decking after work starts and you'll face a change order. Ask upfront so it's accounted for in the estimate.
Bottom line
The tile on your roof is the part everyone sees, but the deck, underlayment, and flashings beneath it are what actually keep your home dry. Knowing these layers exists makes you a better-informed homeowner when comparing bids or authorizing repairs.
If you want an estimate that walks through what's under your tiles, not just what's on top, request a quote or use the free instant estimate tool to get started. Millennium Makeover has been inspecting and replacing tile roofs in South Florida since 2005. You can also learn more about our tile roofing services or browse the project gallery to see completed work.
Want to know what your roof actually needs?
Millennium Makeover has been roofing South Florida homes and businesses since 2005. Get a straight, no-pressure estimate from a licensed local crew (CCC1326328).
Frequently asked questions
How long does underlayment under tile roofs last in South Florida?
Felt underlayment typically lasts 15 to 20 years in South Florida's heat and humidity, often failing before the tiles above it do. Peel-and-stick (self-adhering) underlayment generally lasts longer and holds up better under high UV exposure. If your tile roof is over 20 years old, the underlayment should be evaluated even if the tiles look fine.
Can a roofer replace just the underlayment without replacing the tiles?
In some cases, yes, but it depends on the tile type and condition. Concrete and clay tiles can often be removed, stored, and reset if they're in good shape. However, breakage during removal is common, so a roofer should account for tile replacement allowances in the estimate before work starts.
What does the Florida Building Code require under tile roofs?
Florida's Building Code specifies wind uplift resistance requirements for tile roofing systems, including fastener patterns and underlayment types. Homes in the High-Velocity Hurricane Zone (Miami-Dade and Broward counties) face stricter requirements than those in Palm Beach County, though Palm Beach still follows the statewide Florida Building Code. Your local building department can confirm which version applies to your address.
Why do some tile roofs leak even when no tiles are visibly broken?
Leaks under tile roofs most often start at flashings, not through the tiles themselves. Failed mortar at ridges and hips, corroded or loose flashing at walls and penetrations, and aged underlayment that has lost its adhesion can all allow water in without a single cracked tile. This is why a thorough inspection goes beyond just looking at the tile surface.