What Happens to Your Roof During a Hurricane: Damage Walkthrough
In this article
TL;DR: Roof damage during a hurricane can vary based on wind direction, debris impacts, roof geometry, installation quality, and pre-existing conditions. Edges and roof terminations are common vulnerability points, but damage does not follow a predictable order in every storm. Knowing what can fail, and why, helps you prioritize post-storm inspection, file a stronger insurance claim, and make smarter repair decisions before the next season.
What You Need
Before you read this walkthrough, have a few things ready:
- A basic understanding of your roof type (shingle, tile, or metal). If you are unsure, check your local building department's permit records or ask a licensed contractor to identify the roof system.
- Your homeowner's insurance policy, specifically the wind damage and ALE (Additional Living Expense) sections.
- A camera or smartphone for post-storm documentation. More on that below.
- A licensed contractor's contact information saved before the storm. After major hurricanes, unlicensed or out-of-area solicitations can increase; verify a contractor's Florida license before hiring.
You do not need to get on your roof yourself. In fact, do not. What you need is a clear picture of how the damage unfolds so you can describe it accurately and recognize when someone is underselling or overselling what happened.
Step 1: The Outer Bands Arrive, Wind Finds the Weak Points
A hurricane does not announce itself with its worst punch. The outer bands bring sustained winds of 40 to 70 mph, sometimes hours before the eye wall arrives. This is when your roof reveals its vulnerabilities.
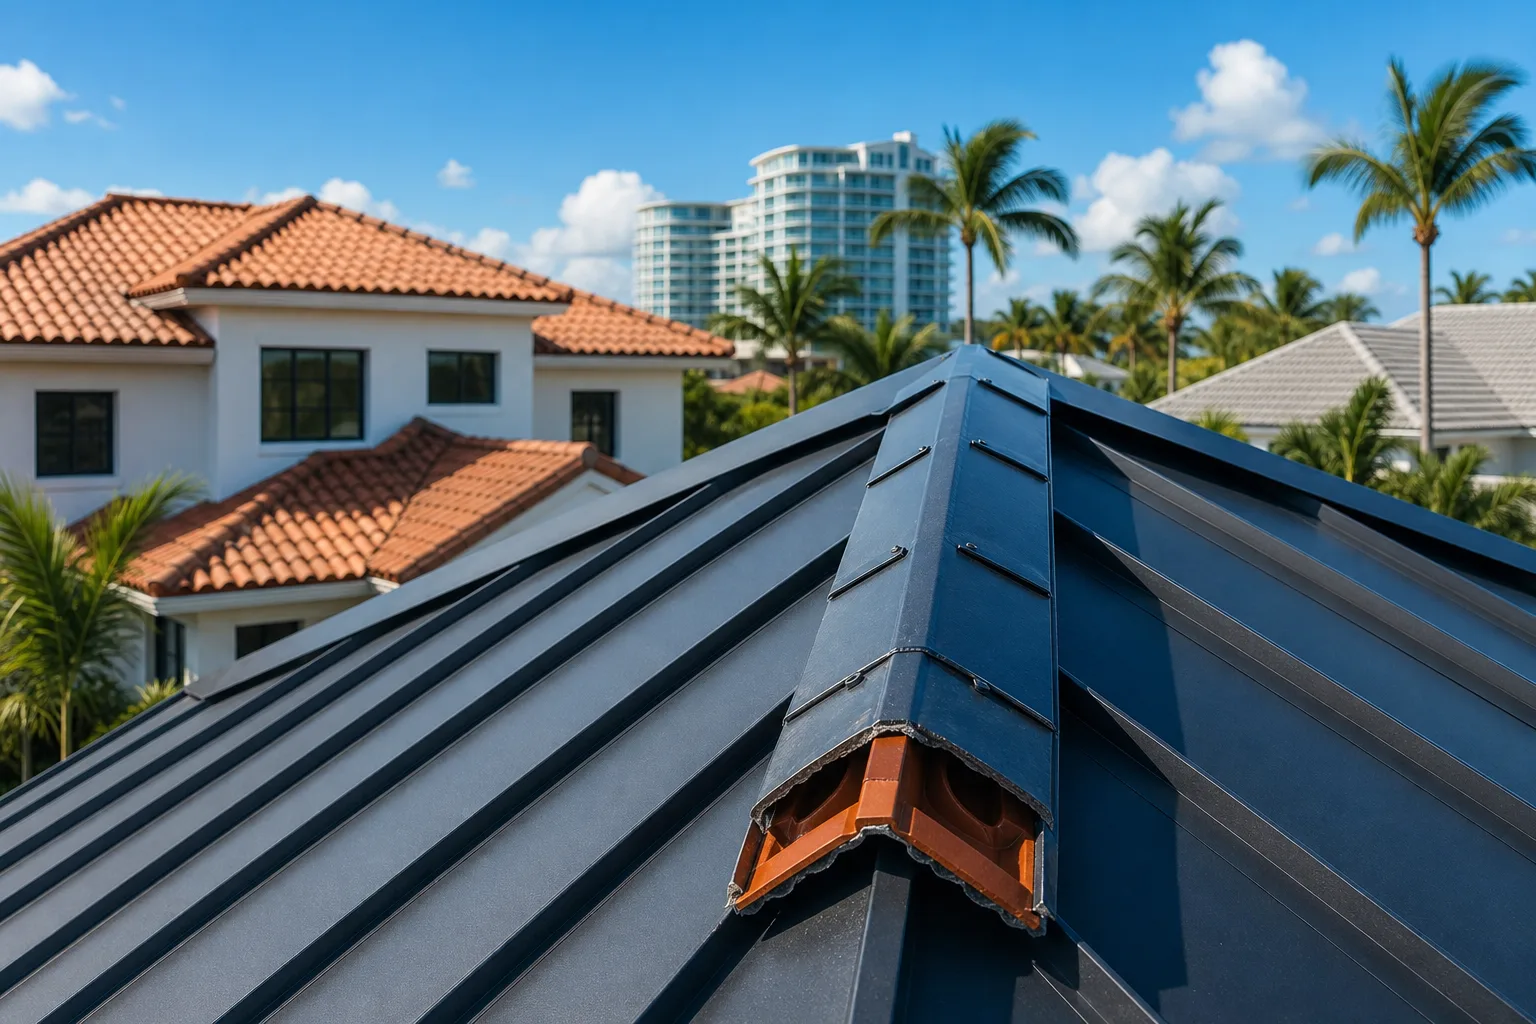
The first failures often start at the edges: rake edges, eave edges, and ridge caps. These termination points are where the roofing material is most exposed to uplift, but the initial failure point varies by roof and storm conditions. Florida's building code includes roof-system and wind-resistance requirements that vary by roof type, location, and code edition. If your drip edge is undersized, improperly nailed, or was installed without sealed underlayment laps, the outer bands can find it.
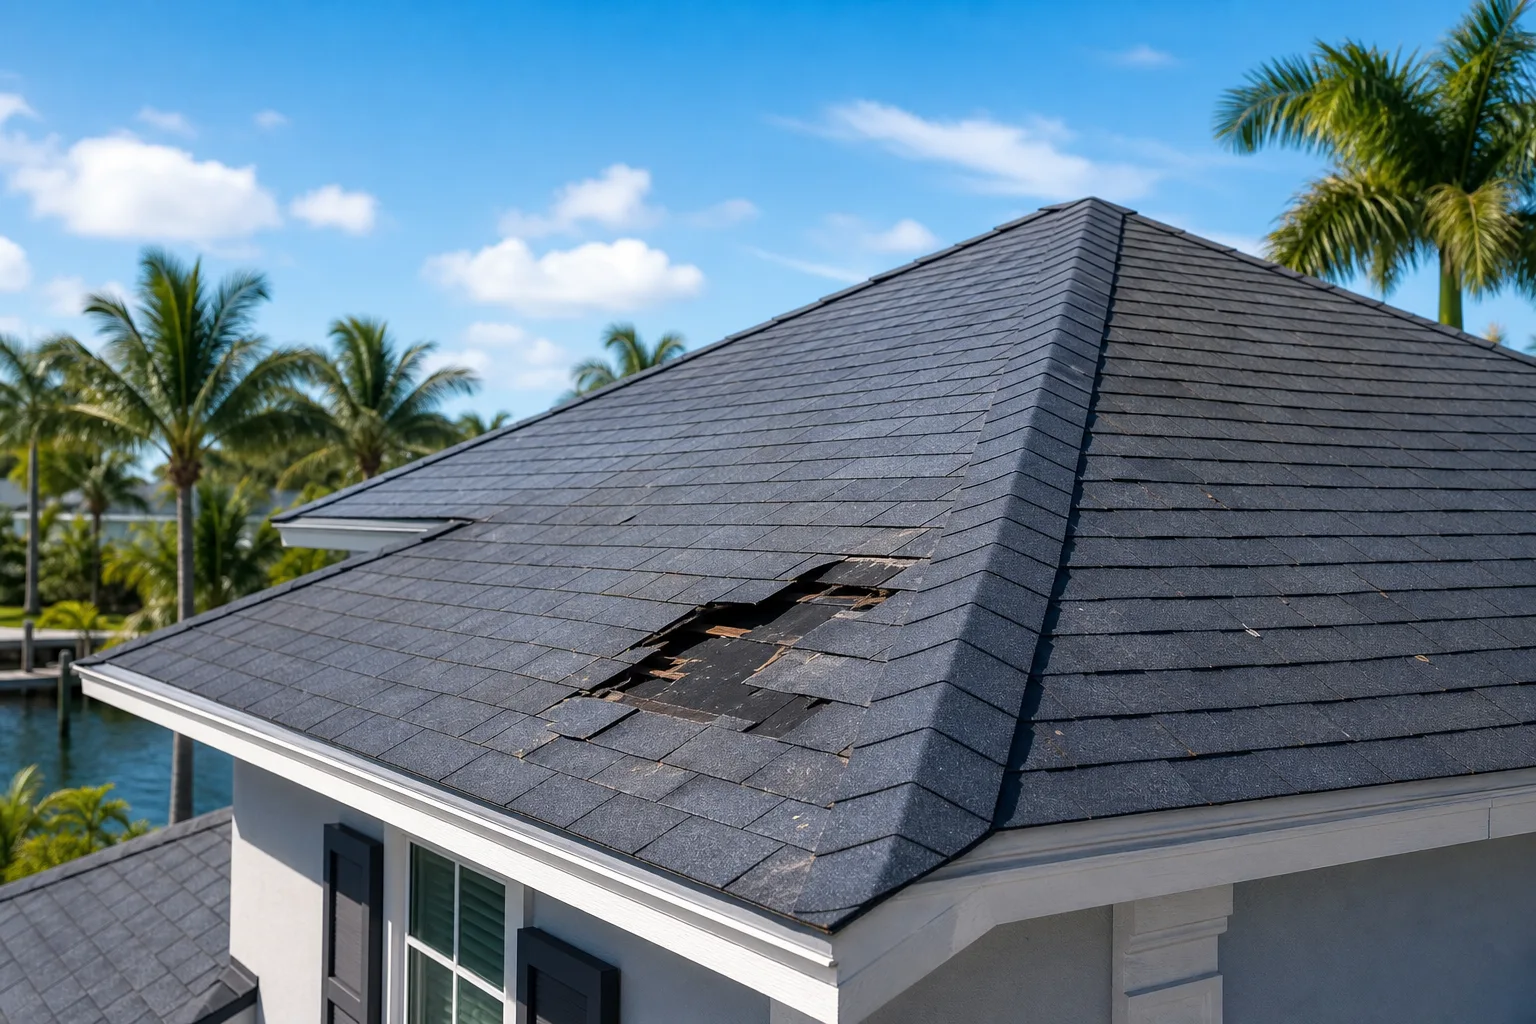
For shingle roofs, wind-driven rain starts working under lifted tab edges. For tile roofs, field tiles that were not properly attached using the applicable approved attachment method, or that rest on a cracked or aging underlayment, begin to rock. For metal roofs, exposed fastener panels may see early sealant failure at screw heads.
If your gutters are poorly attached or overloaded with debris, they can pull away from the fascia during this phase, taking the drip edge and a section of underlayment with them. That is why gutter maintenance is part of storm preparation, not an afterthought. See our gutter services page for what proper installation and attachment looks like.
Step 2: Eye Wall Impact, The Structural Load Test
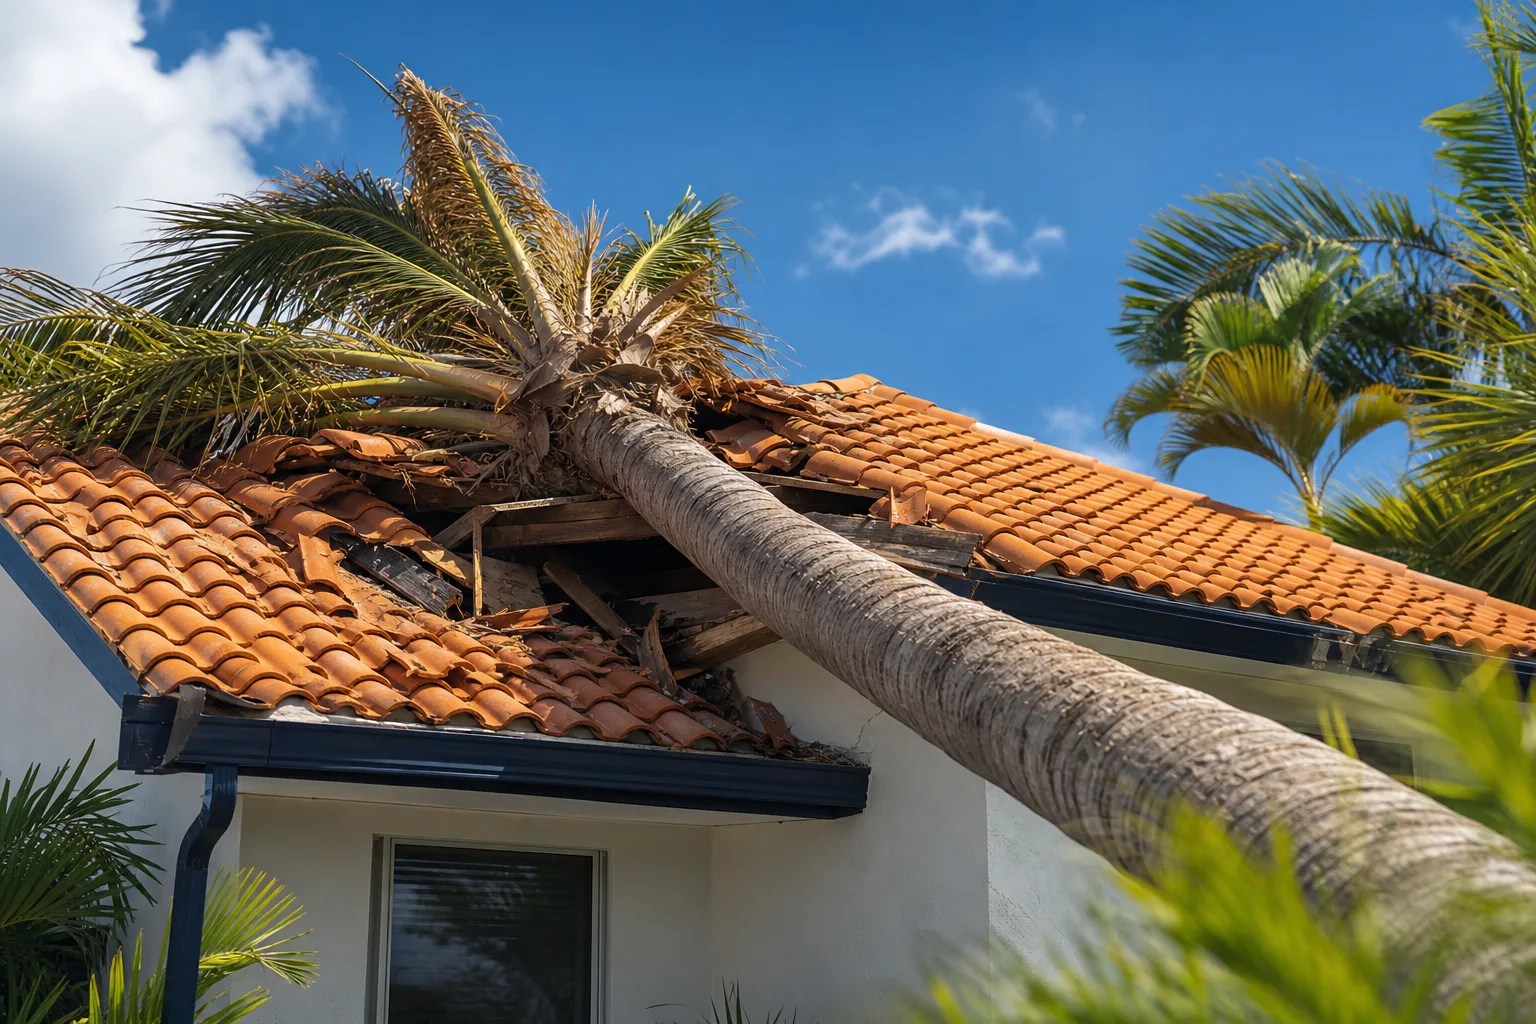
The eye wall is the highest-wind zone of the storm. For a Category 3 hurricane, that means sustained winds of 111 to 129 mph with gusts higher than that. At this point, your roof is no longer just shedding water. It is resisting uplift forces that want to pull the entire assembly off the structure.
Here is the sequence of what can fail:
1. Perimeter fastening can fail. Applicable building-code and manufacturer requirements may specify different fastening patterns or attachment details in higher-uplift roof zones, depending on the roof system, location, and code edition. Older roofs may warrant evaluation by a qualified professional to assess the fastening, roof work history, and applicable requirements.
2. Ridge vents and roof penetrations lift or breach. Ridge vents, pipe boots, and HVAC curbs are potential failure points. Once a ridge vent cap lifts, wind drives directly into the attic, creating positive pressure that pushes the entire roof deck upward from the inside. This is how you can lose a large section of roof in a single event rather than losing shingles piece by piece.
3. Deck fastening pulls through the sheathing. If the plywood or OSB deck is older, was installed with ring-shank nails at incorrect spacing, or has been wet-cycled repeatedly over the years, the fasteners can pull through the wood rather than out of the framing. This may require repair or replacement of affected decking, as determined by a qualified roofing professional and, where applicable, the permitting authority.
4. The roof-to-wall connection is tested. Hurricane straps and clips connect your roof truss system to the wall framing. Older homes may have roof-to-wall connections that provide less uplift resistance than newer or retrofitted connections; a qualified inspector or engineer can identify the connection type. If those connections fail, structural damage follows, and it stops being a roofing issue and becomes a structural engineering issue.
For tile roofs specifically, this phase is where underlayment condition matters enormously. If the tiles have already been lifted or lost in step one, the underlayment is your last line of defense. A degraded underlayment that has hardened and cracked will not deflect water under category-level wind speeds. Read more about why tile roofs lose tiles in storms for a deeper breakdown of that failure mode.
Step 3: The Eye Passes, Danger Is Not Over
If the eye of the storm tracks over your area, you will experience a period of calm. Do not go outside to inspect the roof during this window. The back eye wall arrives from the opposite direction with equal or sometimes greater damage potential, and it often finds the weak points that were partially compromised in step two.
Roof sections that were lifted but not removed during the front eye wall pass are particularly vulnerable during the back wall. Partially detached sections act as sails. A shingle or tile that was rocking is now a projectile.
Stay inside. Mark the time the calm started. This information can be useful when your adjuster asks you to establish a timeline of events.
Is your roof ready for hurricane season? Visit the Storm Center
Step 4: Post-Storm, What to Inspect From the Ground
Once the storm has fully passed and local authorities have confirmed it is safe to be outside, start your inspection from the ground with binoculars if you have them. Look for:
- Missing or displaced ridge caps, the highest point of the roof
- Exposed felt or synthetic underlayment showing through gaps in tile or shingles
- Lifted or buckled metal flashing at walls, chimneys, or skylights
- Gutters that have pulled away from the fascia or that are visibly bent
- Debris impact points, dark circular scuff marks or punctures on flat or low-slope sections
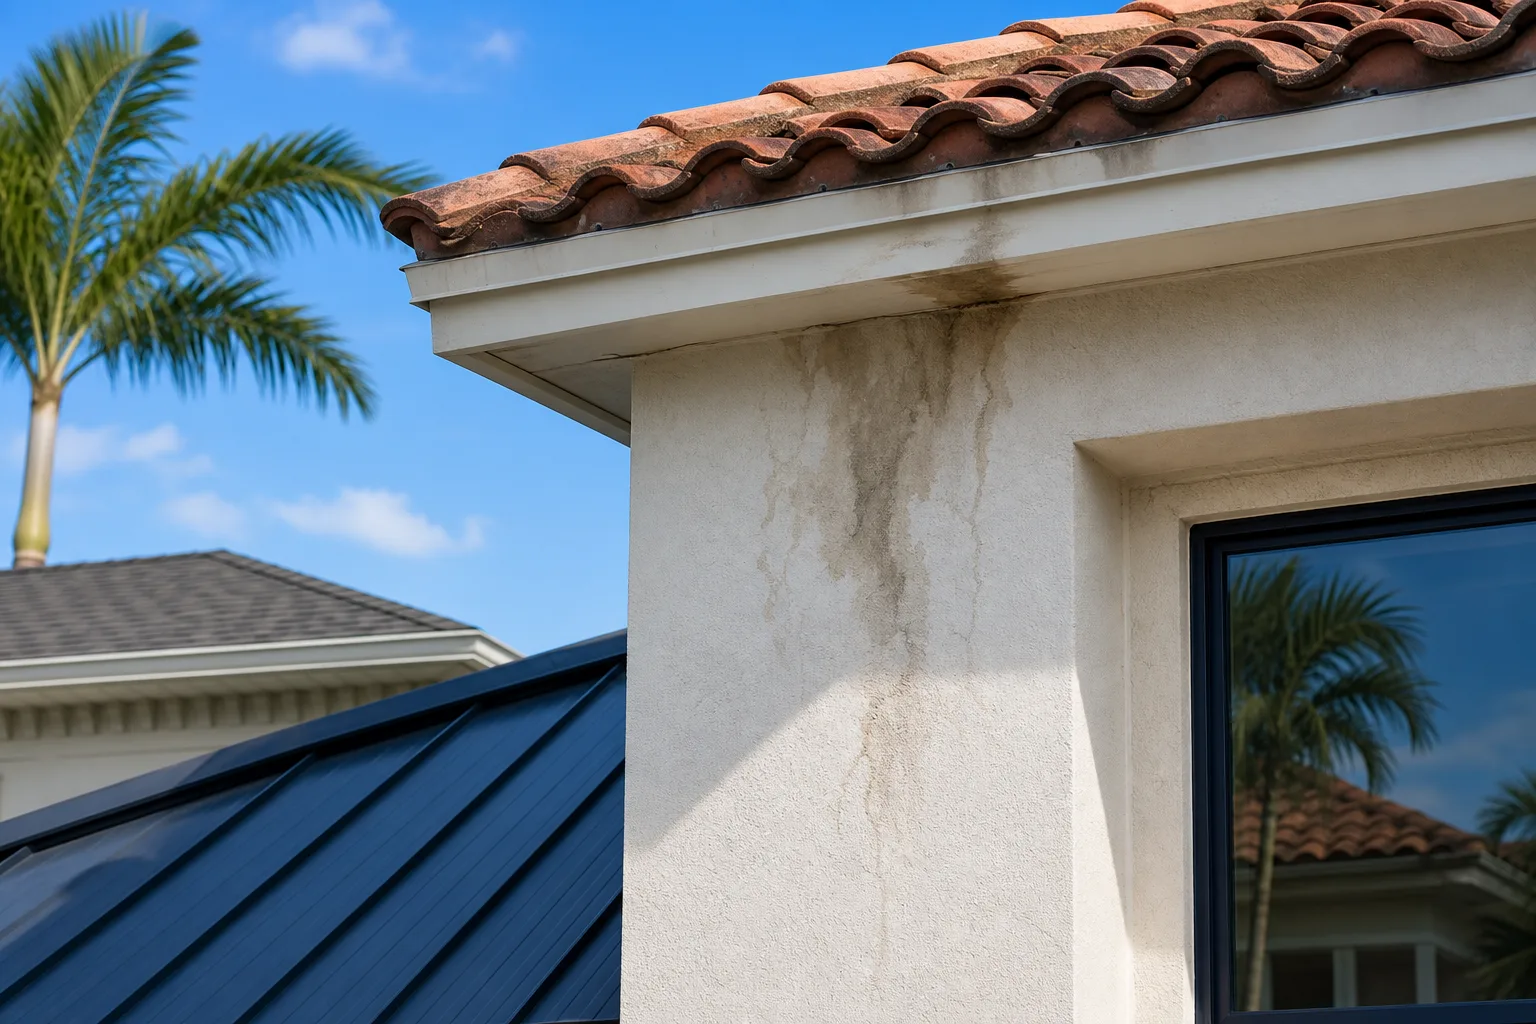
- Watermarks or staining on exterior soffits, which can indicate water intrusion that happened during the storm
Do not attempt to access the roof yourself. Wet roofing materials are extremely slippery, structural integrity may be compromised in ways you cannot see, and non-emergency permanent repairs should ordinarily wait until the insurer has had an opportunity to inspect. Temporary, documented measures to prevent further damage should not be delayed.
Document everything you can see from the ground and from inside the attic space. In the attic, look for daylight coming through, wet insulation, or water on the deck boards. For a detailed step-by-step on how to photograph and document this for your claim, see our guide on how to document roof damage for an insurance claim.
Step 5: Temporary Protection and Contractor Selection
If you have active intrusion, meaning rain is getting into the structure through a breached roof, you need temporary tarping or emergency repairs before your permanent work can be scoped. Take reasonable, documented steps to prevent further damage and contact your insurer promptly; ask whether emergency mitigation costs are covered under your policy.
Here is where homeowners get in trouble: they sign a contract with a storm chaser who showed up at the door the morning after the hurricane, often in exchange for signing an assignment of post-loss insurance benefits or another insurance-related contract. Read every document carefully. Florida law restricts assignments of benefits under certain residential-property policies, but homeowners should still ask questions before signing any insurance-related authorization.
You can verify a Florida contractor license at the Florida Department of Business and Professional Regulation. Any legitimate contractor will give you a license number without hesitation.
For help getting an assessment after a storm, you can start with our Hurricane Storm Center or request a free instant estimate.
If you are dealing with a commercial property, the scope and documentation requirements are different. Our commercial roofing team handles insurance-related scoping for flat, TPO, and modified bitumen systems regularly.
Common Mistakes
Waiting too long to call your insurer. Most policies require you to report damage promptly. In Florida, there are statutory deadlines for hurricane damage claims. Do not wait until you have a contractor's report to open the claim. Open the claim and then get the report.
Assuming no visible damage means no damage. Wind uplift can partially delaminate shingles, crack underlayment, and loosen fasteners without leaving visible surface evidence. Hidden damage left untreated becomes a serious problem at the next storm or even in a heavy rain. If you suspect something is off, get a professional inspection. Our post on how to spot hidden roof damage in South Florida explains what to look for.
Accepting the first repair scope without a second opinion. Insurance adjusters work from field data that may not capture every damaged area, especially on tile roofs where underlayment condition is hard to assess without hands-on inspection. A licensed roofing contractor who works with insurance claims regularly can supplement an adjuster's scope if damage was missed.
Doing cosmetic repairs before the adjuster inspects. Tarping and emergency repairs to stop water intrusion are fine and documented. Replacing materials or making permanent repairs before the adjuster documents the damage can complicate your claim.
Ignoring the gutters. Gutters that were pulled away or crushed redirect water behind the fascia board, which leads to rot and mold inside the wall cavity. If storm damage affected your gutters, document it and include it when reporting the loss; ask your insurer whether it is covered under your policy.
Bottom Line
A hurricane can damage a roof in different ways. Edges, penetrations, ridges, deck connections, and the structure itself can all be affected depending on the storm and roof conditions. Understanding these potential failure points helps you ask better questions, document more thoroughly, and avoid the contractors and situations that make recovery harder than it needs to be.
South Florida roofs are built to a higher standard than most of the country, but that standard only protects you if the installation was correct, the materials are in serviceable condition, and the fastening meets current code. If your roof is more than 15 years old or has never had a professional inspection, the time to find out what you have is before the storm, not after.
Visit our Hurricane Storm Center for pre-season checklists, or request a quote to schedule a professional roof assessment before hurricane season puts it to the test.
Is your roof ready for hurricane season?
A pre-season inspection may help identify maintenance needs before hurricane season. Our Storm Center has you covered before and after the storm.
Frequently asked questions
What part of the roof fails first in a hurricane?
Edges, including rake edges, eave edges, and ridge caps, are common vulnerability points, but the first failure varies by the roof system, installation, wind direction, debris, and storm conditions.
Is it safe to inspect my roof right after a hurricane?
No. You should only inspect from the ground until a licensed professional has cleared the roof as safe to access. Wet roofing materials are extremely slippery, and structural damage may not be visible from the surface. Attic inspections from inside are safer and can reveal water intrusion without requiring you to get on the roof.
Can my roof have hurricane damage even if nothing looks broken?
Yes. Wind uplift can partially delaminate shingles, crack underlayment, and loosen fasteners without removing any material. Hidden wind-related damage can occur even when no obvious surface damage is visible. It can show up as leaks during the next heavy rain, at which point the damage may be harder to tie back to the storm for insurance purposes.
How long do I have to file a hurricane roof damage claim in Florida?
Florida law has specific deadlines for hurricane damage claims, and they can change based on legislative updates. Do not assume you have unlimited time. Open your claim as soon as you have documented the damage, even if you do not yet have a contractor's written assessment. Your insurer can advise on your specific policy deadline.
What is the difference between emergency tarping and a permanent repair?
Emergency tarping or patching is temporary work done to stop active water intrusion and prevent further damage. Coverage for reasonable emergency mitigation costs depends on your policy and the circumstances of the loss; ask your insurer before assuming those costs are covered. Permanent repairs replace or restore the roof system and should not begin until your insurance adjuster has inspected and documented the full scope of damage.
Should I use a local contractor or one that came from out of state after the storm?
Use a licensed local contractor whenever possible. Out-of-state contractors who follow hurricanes often lack Florida licensure, do not know local code requirements, and may not be reachable if issues arise later. Always verify the Florida contractor license number at the state DBPR website before signing anything.