How Roofers Diagnose a Leak With No Obvious Entry Point

In this article
TL;DR: When a roof leak has no obvious source, a roofer works backward from the interior stain, maps the roof geometry above it, then methodically eliminates each possible entry zone, starting with penetrations and flashings before examining the field of the roof itself. This process takes time and often requires controlled water testing. Guessing skips steps that matter.
What you need
- Safe attic access and a flashlight
- The approximate location of the ceiling stain (measure from two walls)
- Recent weather history (wind direction, rain intensity)
- A roofer familiar with Florida Building Code flashing and underlayment requirements
- Patience. Water travels before it drops.
Step 1: Map the interior stain relative to roof geometry
The stain on your ceiling is rarely directly below the entry point. Water enters, hits a rafter or truss, and runs downhill before dripping. Before anyone gets on the roof, a roofer will go into the attic with a flashlight and locate the wet or stained sheathing. That spot is a much closer starting point than the ceiling below.
Measure the attic stain from two fixed reference points, then translate that to roof coordinates from the outside. This narrows the search zone before a single tile or shingle is lifted.

Step 2: Eliminate penetrations first
Penetrations, meaning pipe boots, vent stacks, HVAC curbs, skylights, and any pipe that exits the roof surface, fail far more often than the field of the roof itself. Florida's UV exposure and thermal cycling crack rubber boots and degrade sealant faster than most homeowners expect.
A roofer will inspect every penetration within a few feet of the mapped zone. Look for:
- Cracked or brittle pipe boot collars
- Gaps between the boot base and the roofing surface
- Sealant that has pulled away or turned chalky
- Missing or lifted counter-flashing at curbs
If the leak is near a roof valley, the valley is one of the most common failure zones on Florida roofs, and the inspection widens to include the valley flashing and any debris buildup that traps moisture.
Step 3: Examine all flashings in the zone
Flashings are transitions: where the roof meets a wall, chimney, parapet, or changes slope. They are mechanically fastened and sealed, which means they can separate, corrode, or be improperly lapped from the start.
Common flashing failures in South Florida:
- Step flashing that was not woven correctly into tile or shingle courses
- Counter-flashing that has lifted from the wall, leaving a gap at the top
- Kickout flashing missing entirely, sending water behind siding or fascia
- Metal flashing that has corroded through at the base
Florida Building Code requirements for flashings specify lap dimensions and sealant use. A roofer who knows the code knows exactly where shortcuts were taken and where to look first.
Spotted a leak or missing tiles? Schedule a repair visit
Step 4: Check ridge caps and drip edge
Ridge caps take the most wind exposure and are often the first to lift or crack. If the mapped stain is near the top of a slope, ridge cap failure is a real candidate. Ridge caps fail more frequently than most homeowners realize, especially after a storm season.
At the eaves, drip edge that was skipped or improperly installed can allow water to wick back under the starter course during wind-driven rain. This one is frequently missed because it looks fine from the ground.
Step 5: Inspect the field of the roof
If penetrations, flashings, ridge, and drip edge are all intact, the roofer moves to the field. For tile roofs, this means looking for:
- Cracked, slipped, or missing tiles
- Damaged or absent mortar at hips and ridges
- Deteriorated underlayment visible through gaps
For shingle roofs, look for:
- Blistered or cupped shingles that have lost granule coverage
- Nail pops that have pushed through a shingle face
- Open seams where shingles have pulled apart
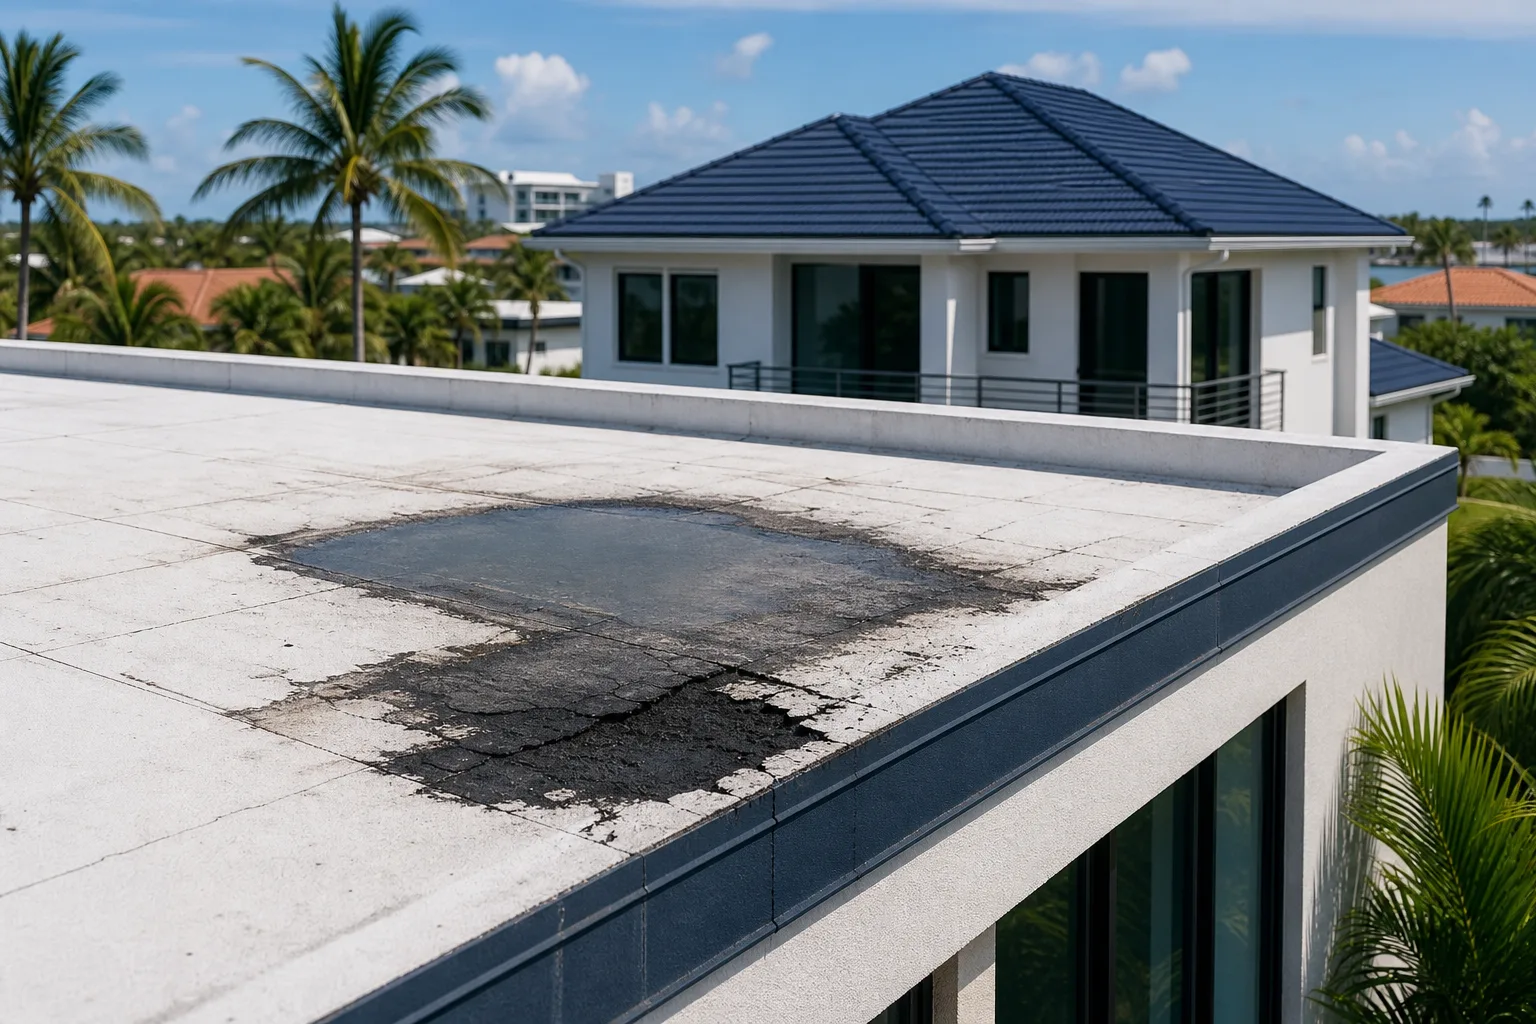
For flat or low-slope membranes, signs of membrane failure often appear before active leaking, and a roofer uses visual and sometimes infrared scanning to find wet insulation beneath the surface.
Step 6: Use controlled water testing when the source is still unclear
If visual inspection does not identify the entry point, controlled water testing is the next step. One person runs a hose at a controlled zone while another watches from the attic with a flashlight. Start low on the roof and work upward, soaking each zone for several minutes before moving up.
This is slow work. Moving too fast and soaking too large an area at once is how roofers misidentify the source. The person in the attic needs time to see active dripping or wetting before the next zone is tested.
Note: this method requires the attic to be accessible and the tester to be methodical. It is not a shortcut.
Common mistakes
Assuming the leak source is directly above the stain. It almost never is. Water can travel six feet or more before dropping.
Sealing one penetration and calling it done. If the roof has one failing boot, it probably has more in similar condition. A partial fix often leads to a second call within a season.
Skipping the attic. Homeowners who only look from the outside miss the most useful information. The attic tells you where the water is traveling and often narrows the zone significantly.
Testing in too large a zone. Soaking the whole roof at once tells you nothing. Systematic zone-by-zone testing is the only way to confirm a source.
Ignoring soffit and fascia as clues. Soffit damage often signals water infiltration in the roof system that started at the eave. If the soffit is staining or rotting, the entry may be at the drip edge or gutter attachment, not on the field of the roof.
Bottom line
A hidden leak requires a diagnostic sequence, not a guess. Map the interior, eliminate penetrations and flashings first, then work outward to the field and use controlled testing if needed. In South Florida, flashings and pipe boots are the most common culprits, but any shortcut in the original installation can create an entry point that only appears during a wind-driven rain at a specific angle.
If you have water getting in and cannot locate the source, request a professional inspection before the next rain event. For emergency situations during storm season, Millennium Makeover's Storm Center is a useful starting point. If you want to understand what a thorough inspection covers before a roofer quotes the repair, this breakdown of what contractors inspect before quoting is worth reading first.
Spotted a leak or missing tiles?
Small problems get expensive fast in the Florida sun. Get it looked at by a local crew before the next storm.
Frequently asked questions
Can a roof leak only happen during certain wind directions?
Yes. Wind-driven rain can force water through gaps that gravity alone would not reach, including under flashing laps, behind ridge caps, and through open seams on low-slope membranes. If your leak only appears during storms from a specific direction, tell the inspector so they can focus on the upwind exposures first.
How long does a professional leak diagnosis typically take?
A straightforward penetration or flashing failure can be identified in under an hour. If controlled water testing is needed, the process can take two to three hours or more depending on roof size and how many zones need to be isolated. Rushing the process is how sources get misidentified.
Is it possible to have more than one leak entry point at the same time?
Absolutely, and it is common on roofs that have aged uniformly. If the pipe boots, flashings, and underlayment all installed at the same time are all aging together, multiple failures can appear in the same season. A good inspection looks at the condition of the whole system, not just the single wet spot.
When should I consider full roof replacement instead of a targeted repair?
If the inspection reveals widespread underlayment deterioration, multiple failing flashings, or field shingles and tiles that are near the end of their service life, a targeted repair may only delay the next leak by a season or two. A roofer who knows the Florida market can give you a realistic assessment of how much service life remains.