How Roofers Tie In a New Roof Addition to an Existing Roof
In this article
TL;DR: Tying in a roof addition means cutting into the existing roof system, weaving or stepping new materials into old ones, and sealing every transition with properly installed flashing. The sequence matters. Skip a step or rush the flashing and you build in a slow leak that may not show up for months.
What You Need
- The existing roof's material type, age, and condition documented before work begins
- Replacement shingles, tiles, or metal panels that match the original as closely as possible
- Valley, step, and counter flashing, sized for the application
- Ice-and-water shield or self-adhering underlayment for transition zones (required in many Florida code applications)
- A roofing contractor familiar with the specific tie-in method for your roof type
- Permit, if required by your municipality (most structural additions in South Florida do require one)
Step 1: Assess the Existing Roof Before Any Cutting
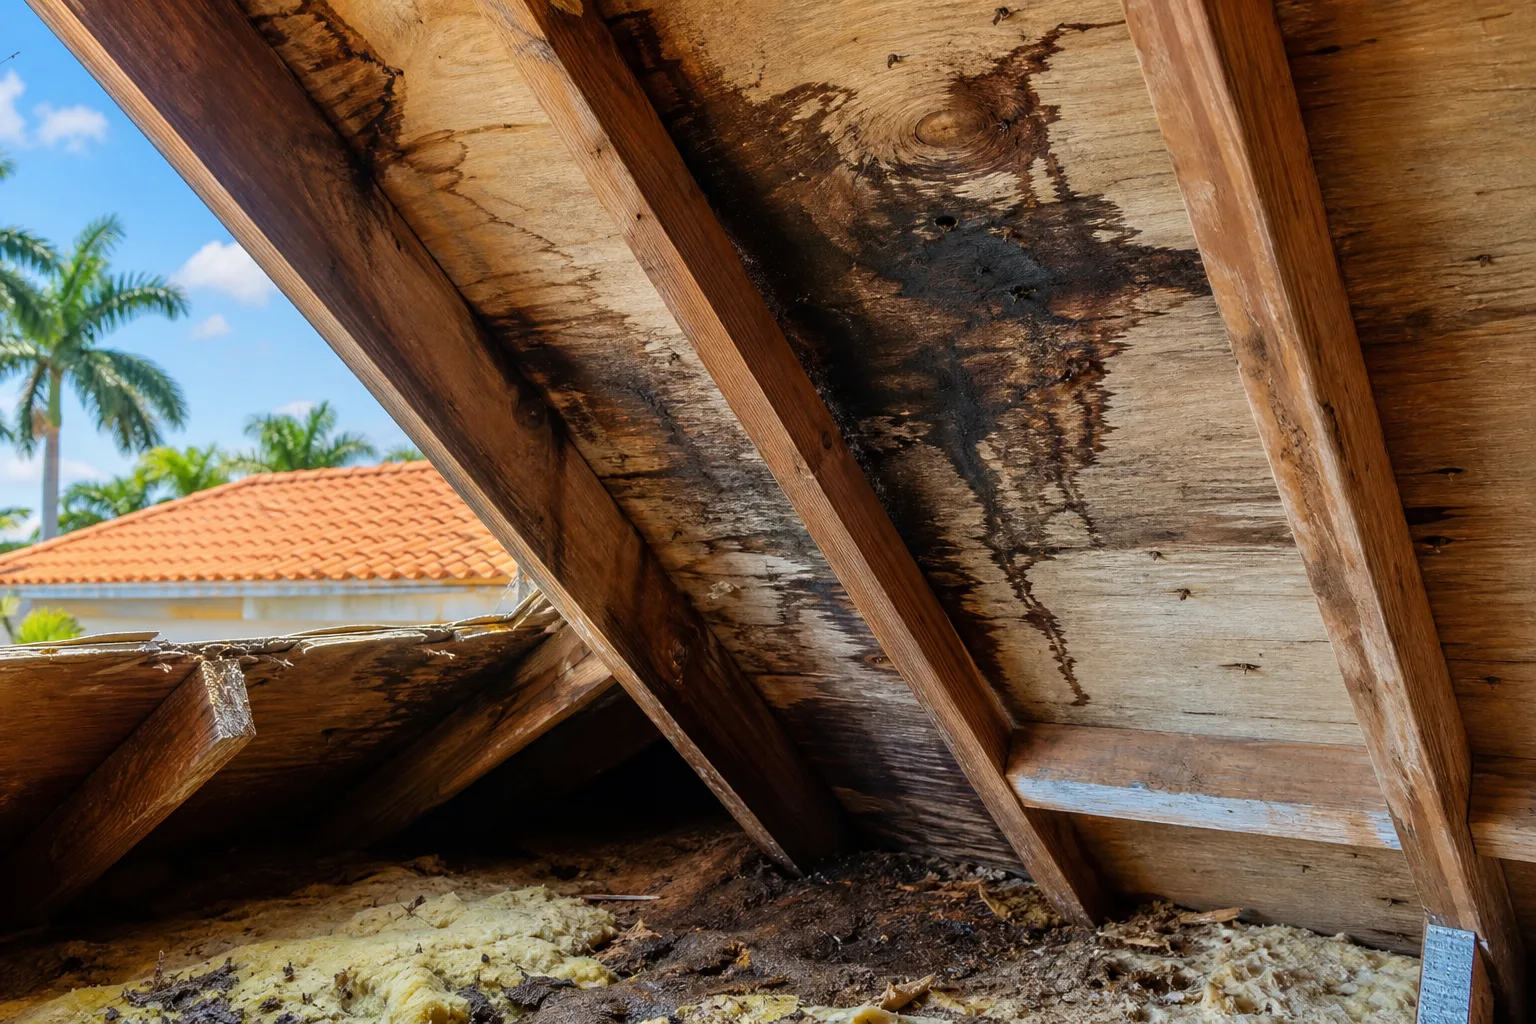
Before a single shingle comes off, the existing roof needs a honest look. Damaged decking, soft spots, or worn underlayment directly adjacent to the tie-in zone will compromise the new work from day one.
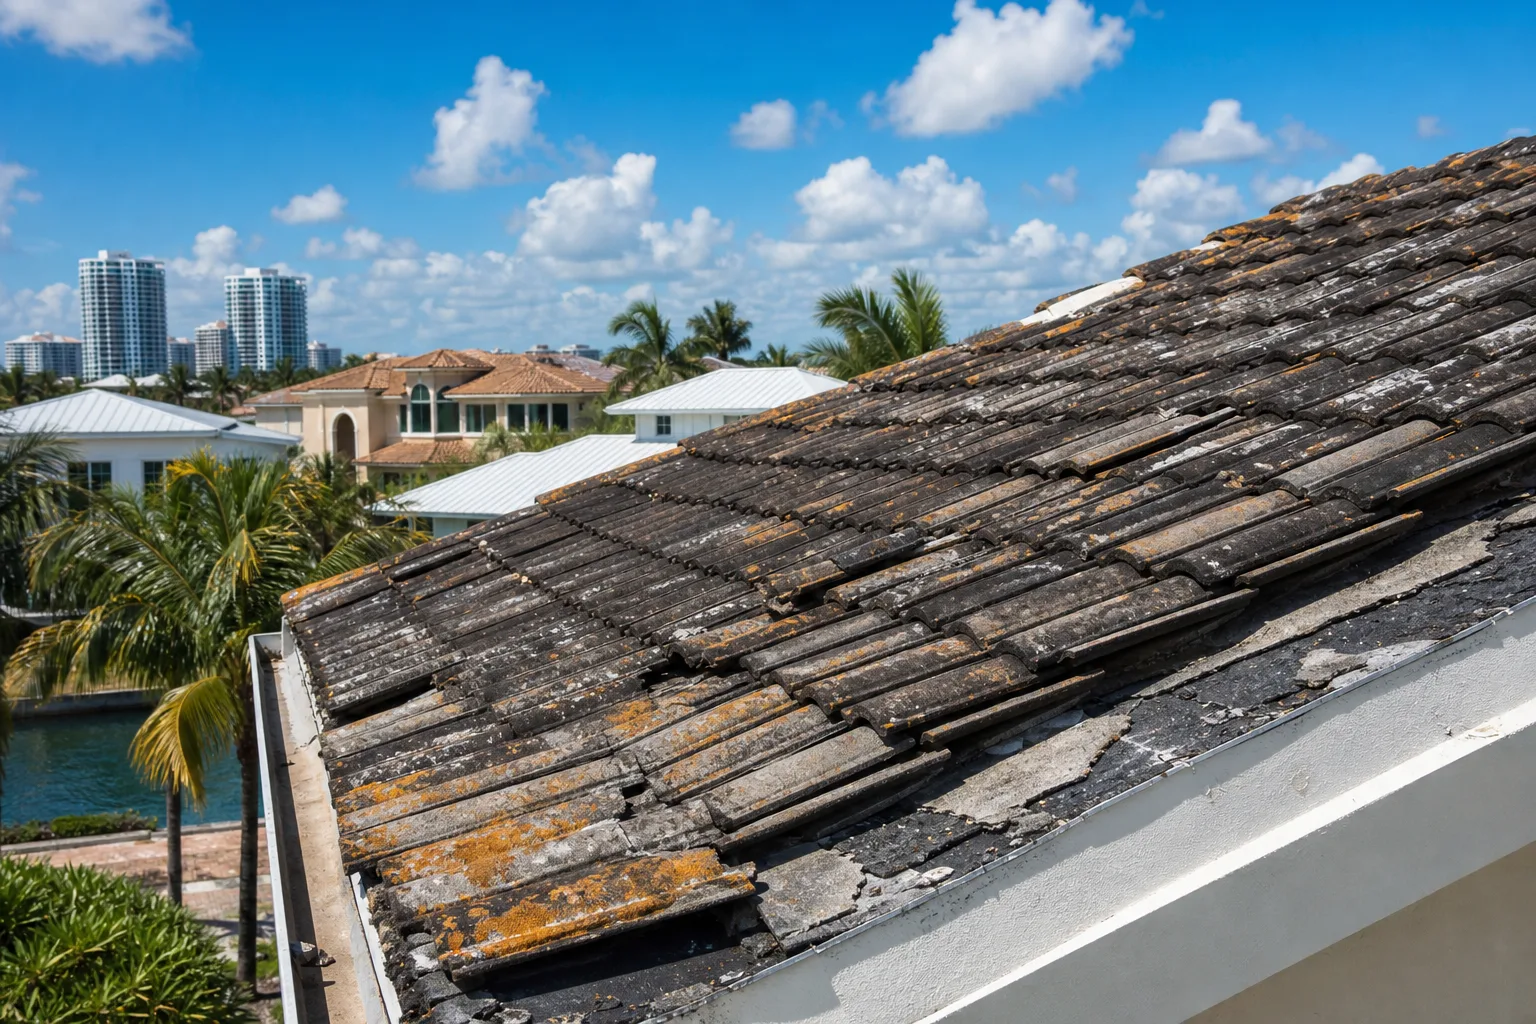
An estimator worth their fee walks the existing field, checks for soft decking, probes the fascia, and notes how the existing courses run. If the existing roof is near the end of its life, the conversation needs to happen now, not after the addition is framed and the new section is half-installed.
For Florida homes, wind uplift ratings on the existing roof also matter. If the existing fastening pattern does not meet current code, the tie-in is an opportunity, and sometimes a requirement, to address that. See what fastener patterns mean for hurricane resistance for context.
Step 2: Expose the Tie-In Zone on the Existing Roof
The crew removes existing material back far enough to give clean working room, typically at least two to three courses beyond where the new roof will meet the old. This exposes the decking so that new underlayment can be lapped correctly under, not over, existing material.
For shingle roofs, this usually means carefully lifting and temporarily setting aside courses that will be re-used, or replacing them outright if they are brittle or granule-stripped. Tile roofs require removing whole tiles around the perimeter of the new opening, which is slower and requires more staging.
Decking repairs happen at this stage, before underlayment goes down.
Step 3: Install Underlayment With Correct Overlap at the Transition
New underlayment runs from the low edge of the addition up and under the existing underlayment at the high side. The goal is a shingle-style lap: upper layer always over lower, so any water that gets under a course drains onto, not under, the layer below.
At transition points, self-adhering underlayment is the right call in most South Florida applications. It bonds to the deck and bridges the seam where old meets new. Standard felt alone at this joint is a common shortcut that leads to callbacks.
Want to know what your roof actually needs? Get a free estimate
Step 4: Install Valley and Step Flashing Before Any Field Material
Flashing is installed before the field roofing material, not after. This is the step where shortcuts show up years later as leaks.
At a valley (where two roof planes meet), open or closed-cut valley flashing goes in first. Metal valley flashing laps the underlayment, and field shingles or tiles are cut or laid to leave a clear water channel.
At a wall (where the new addition roof runs into an existing vertical surface), step flashing is woven into each course. Each piece of step flashing overlaps the one below it and is covered by the next course of field material. Counter flashing, set into the wall, caps the step flashing from above. If you want to see how that plays out against a stucco wall specifically, this article on flashing a second-story roof against stucco covers it in detail.
At a ridge or hip tie-in, new ridge cap material must integrate with existing ridge cap. This often requires removing and replacing a section of existing ridge.
Step 5: Install Field Material and Weave or Step the Courses
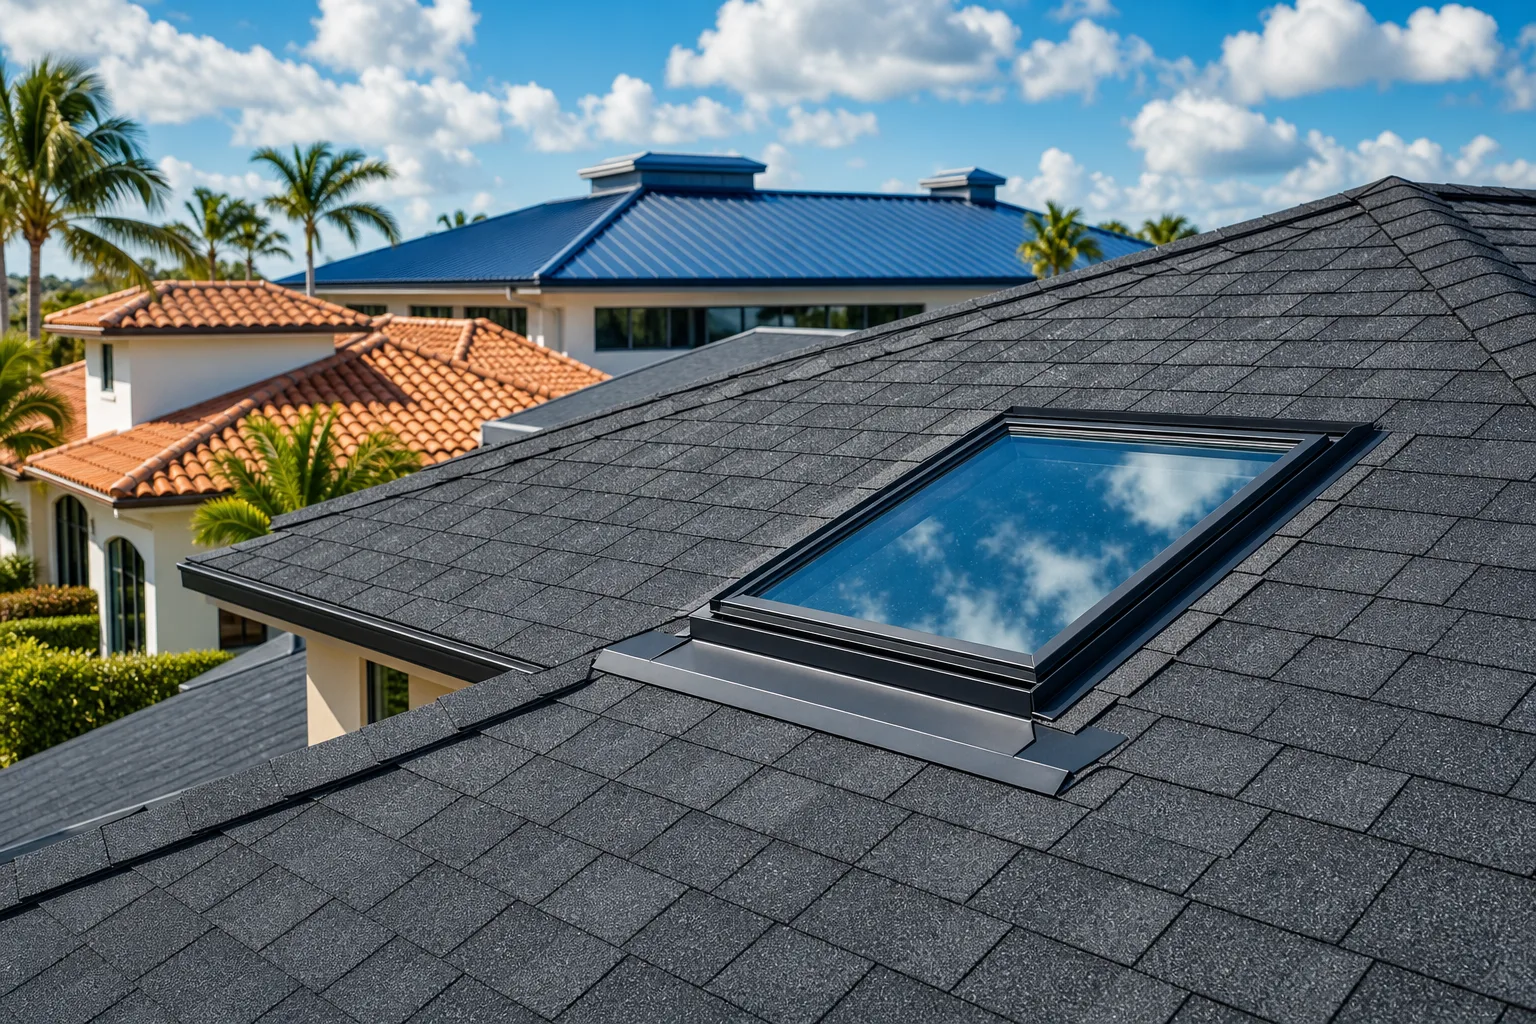
This is where material matching becomes visible. For shingle roofs, new courses are woven into existing ones at the tie-in edge so no single vertical seam runs up the roof. The weave distributes water across courses rather than channeling it into one joint.
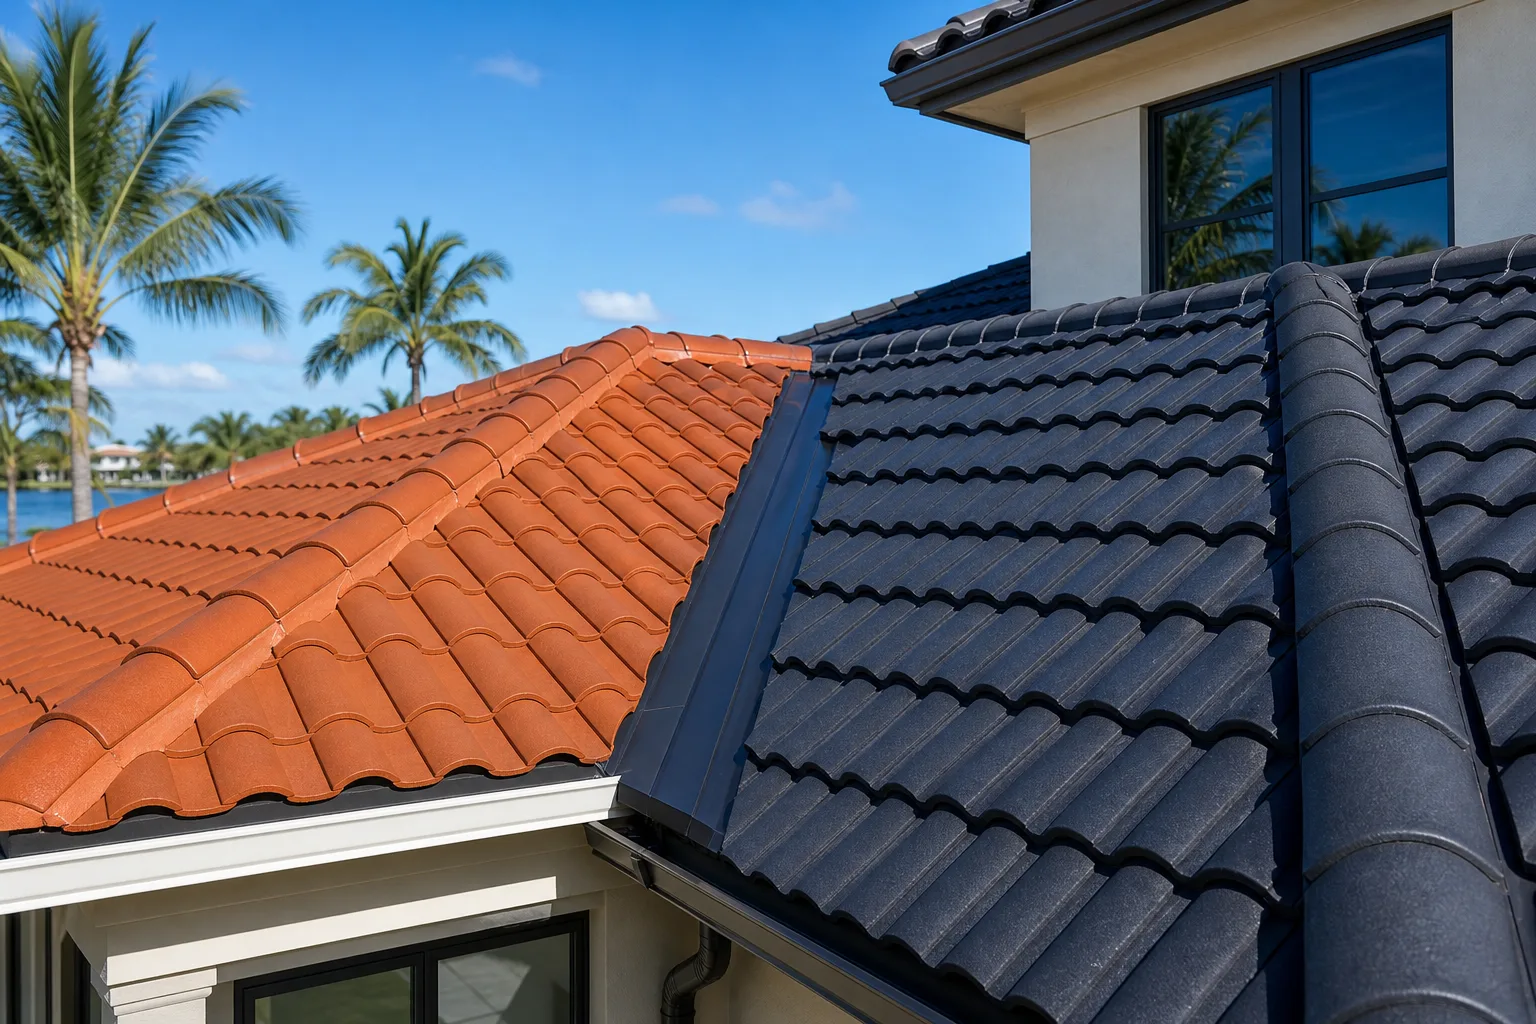
For tile roofs, the tie-in is a step rather than a weave. New tile is laid up to and alongside existing tile, with flashing handling the transition where the planes meet. Color and profile matching is harder with tile; discontinued profiles may require sourcing salvage tile or accepting a visible transition line.
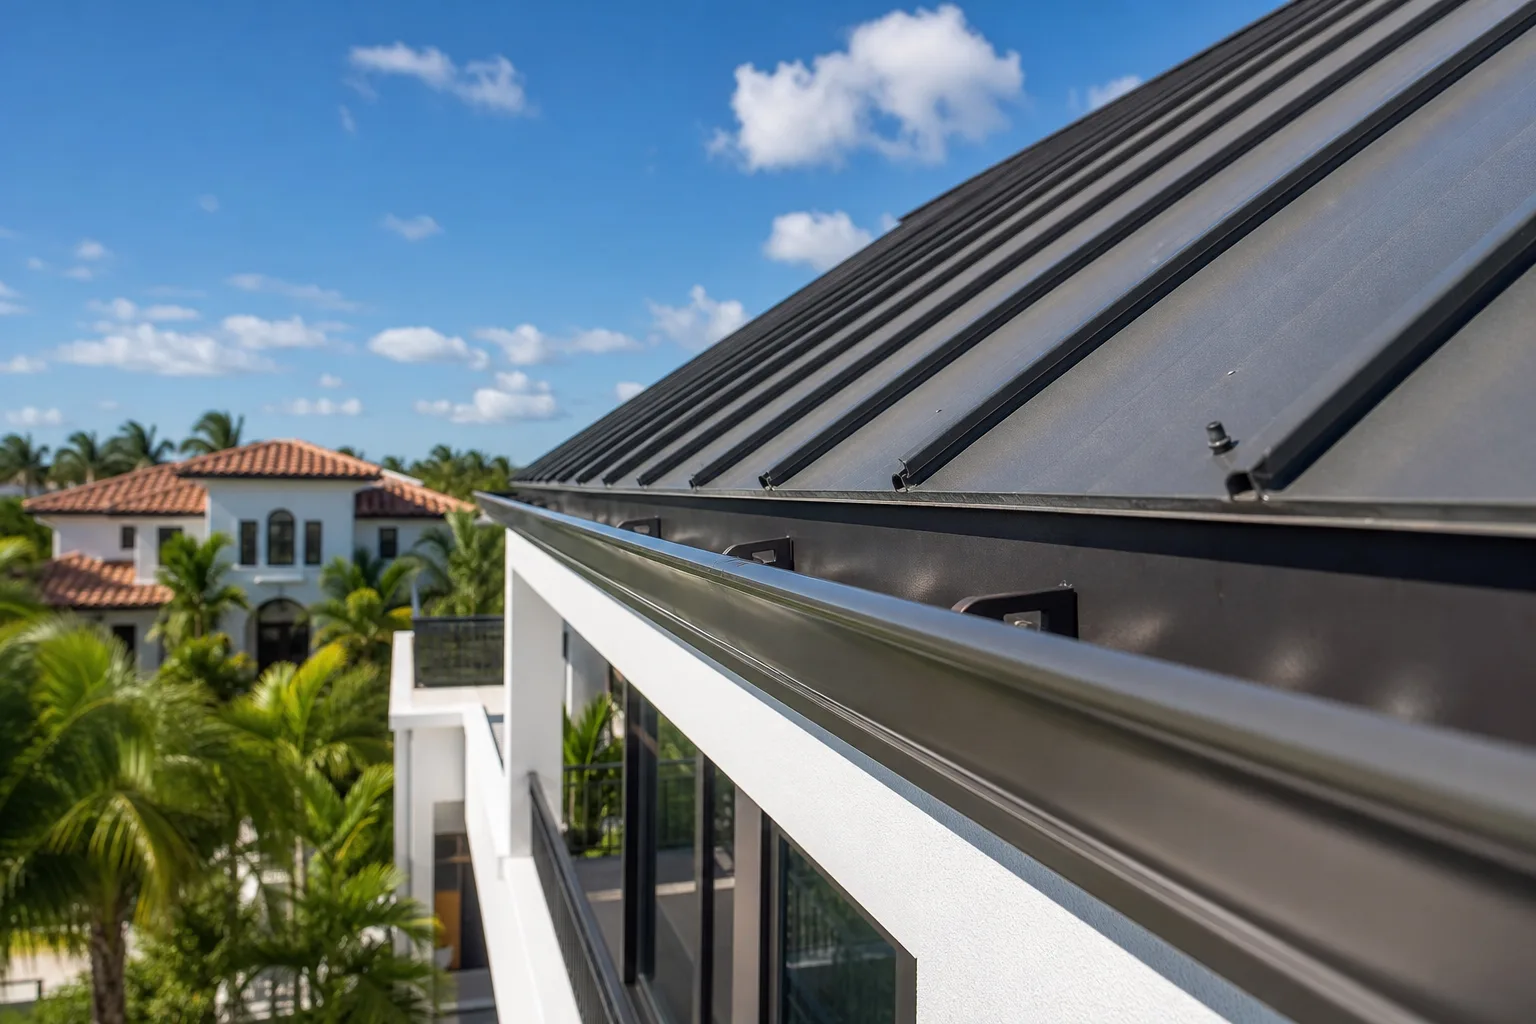
For metal roofs, panels are typically cut to length and the standing seam or exposed fastener system is extended from the new section into the existing field, with a proper closure strip or sealant at the seam. Thermal movement has to be accounted for in the panel overlap.
Step 6: Inspect Every Transition Before Signing Off
A proper final check covers:
- All flashing laps running in the correct direction
- No exposed fasteners in water-flow zones
- Valley channels clear and unobstructed
- Underlayment fully lapped at the tie-in seam, visible from the rake edge
- No lifted or improperly seated tiles or shingles at the transition
- Gutters repositioned or extended if the new addition changes drainage patterns (see gutter services)
This is also the point where a homeowner should walk the job with the contractor and ask to see the flashing before it is covered.
Common Mistakes
Installing flashing over the field material instead of under it. Caulk is not a substitute for properly lapped flashing. It fails. The flashing goes in first, then the field material laps over it.
Skipping self-adhering underlayment at the seam. Standard felt at a transition point leaves a gap that wind-driven rain can enter. Self-adhering membrane seals the seam mechanically, not just physically.
Not matching fastener patterns to current code. Adding a new section and tying it into an old roof that was nailed to a prior wind zone standard can create a code compliance issue at permit close-out. Florida's wind uplift requirements have tightened significantly since 2005.
Mismatched materials without a transition plan. Ordering new shingles from a different dye lot, or substituting a tile profile, without planning how the visual line will be handled looks poor and can affect resale appraisals.
Rushing the existing roof assessment. Finding soft decking after the addition framing is complete is expensive. Finding it before costs almost nothing extra.
Bottom Line
A roof addition tie-in is a sequence-dependent job. Each step, from exposure through underlayment, flashing, and field material, depends on the previous one being correct. The work that prevents leaks is mostly hidden once the job is done, which is why asking to see the flashing before it is covered is a reasonable and legitimate request.
If you have a home addition in progress or are planning one in Boynton Beach, Delray Beach, or anywhere in South Florida, request a quote or use the instant estimate tool to get a clear picture of what the tie-in scope involves before construction starts.
Want to know what your roof actually needs?
Millennium Makeover has been roofing South Florida homes and businesses since 2005. Get a straight, no-pressure estimate from a licensed local crew (CCC1326328).
Frequently asked questions
Does a roof addition tie-in always require a permit in South Florida?
Most structural additions that change the roofline do require a permit in South Florida municipalities. The permit triggers an inspection that confirms flashing and underlayment were installed correctly. Check with your local building department before work begins, as requirements vary by city and county.
Can the new roof section use a different material than the existing roof?
It is possible but requires a deliberate transition plan. Different materials expand and contract at different rates, which affects how flashing is detailed at the seam. Aesthetics are also a factor, particularly with tile, where discontinued profiles can make matching difficult or impossible.
How do I know if my existing roof is too old to tie into?
If the existing roof is within five years of its expected service life, or if the decking shows widespread soft spots or the underlayment is dried out and cracking, a full replacement is often the more cost-effective path. A good estimator will flag this during the initial assessment rather than after the addition is framed.
What causes leaks specifically at roof addition tie-ins?
The most common causes are flashing installed in the wrong order, self-adhering underlayment omitted at the seam, and caulk used as a substitute for mechanical flashing. These failures often do not show up immediately and may take one or two wet seasons to become visible inside the home.