How Roofing Contractors Handle Active Leaks Before a Full Repair

In this article
TL;DR: Contractors stop the immediate water intrusion first using temporary measures, then diagnose the true source before scheduling full repairs. Interior protection and documentation are steps you can handle right now. A temporary fix is not a permanent repair, so follow-up scheduling matters.
What you need
- Buckets or containers for dripping water
- Plastic sheeting or tarps (at least 6 mil thickness)
- A camera or phone to document damage
- Access to your attic if it is safe to enter
- A licensed roofing contractor's contact number
Step 1: Protect the interior while you wait
Before anyone gets on the roof, water damage inside the home keeps accumulating. Place buckets under active drips. Lay towels or plastic sheeting over flooring and furniture. If water is pooling in a ceiling and causing it to bow, carefully puncture the lowest point with a screwdriver to let it drain into a bucket rather than spread across a wider area.
Document everything with photos and video before moving or drying anything. Your insurance adjuster will want that evidence.
Step 2: The contractor assesses the leak source from the inside first
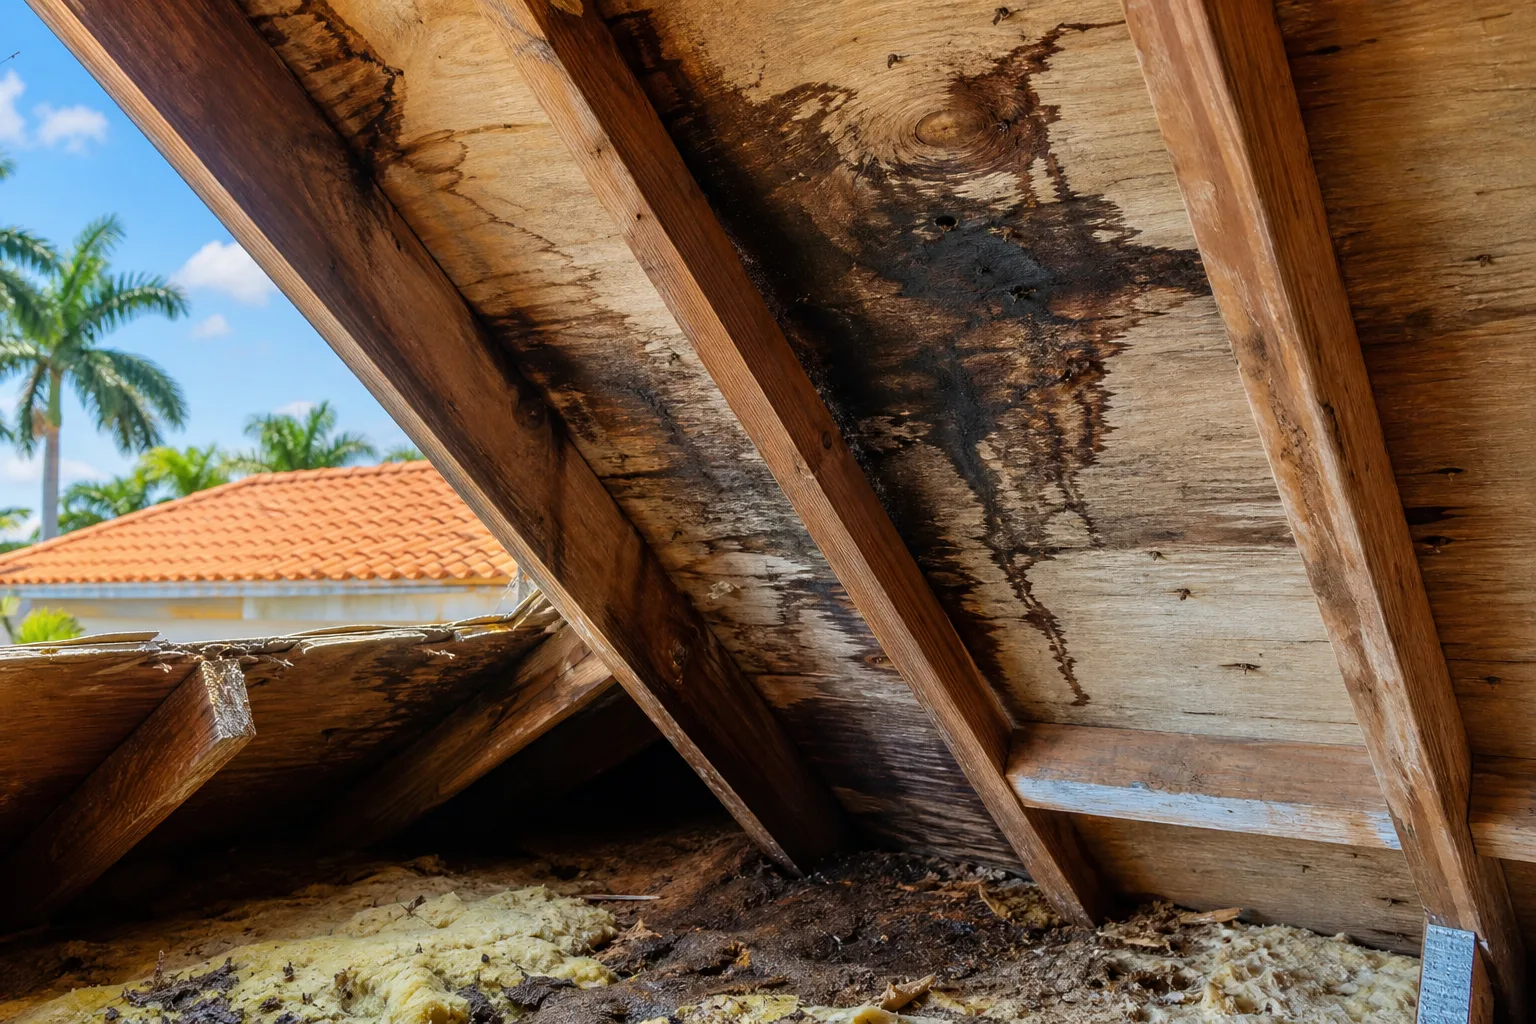
A good estimator or repair tech does not start on the roof. The first stop is usually the attic or the ceiling cavity, where active water travel leaves clues. Water almost never drips through exactly where it enters the roof surface. It runs along rafters, sheathing, or insulation before dropping.
Look for wet insulation, stained sheathing, or daylight coming through gaps. The wet trail points back toward the entry point. This interior read shapes where the crew focuses on the exterior.
If you have a flat or low-slope roof, check out what signs a flat roof membrane shows before a leak becomes visible for context on what the tech is looking for overhead.
Step 3: Exterior inspection to pinpoint the entry point
Once the interior gives a direction, the crew goes topside. Common entry points in South Florida include:
- Roof valleys where two slopes meet and water concentrates (see why roof valleys are vulnerable)
- Ridge caps that have cracked or lifted
- Pipe boot flashings around plumbing vents that have separated or deteriorated
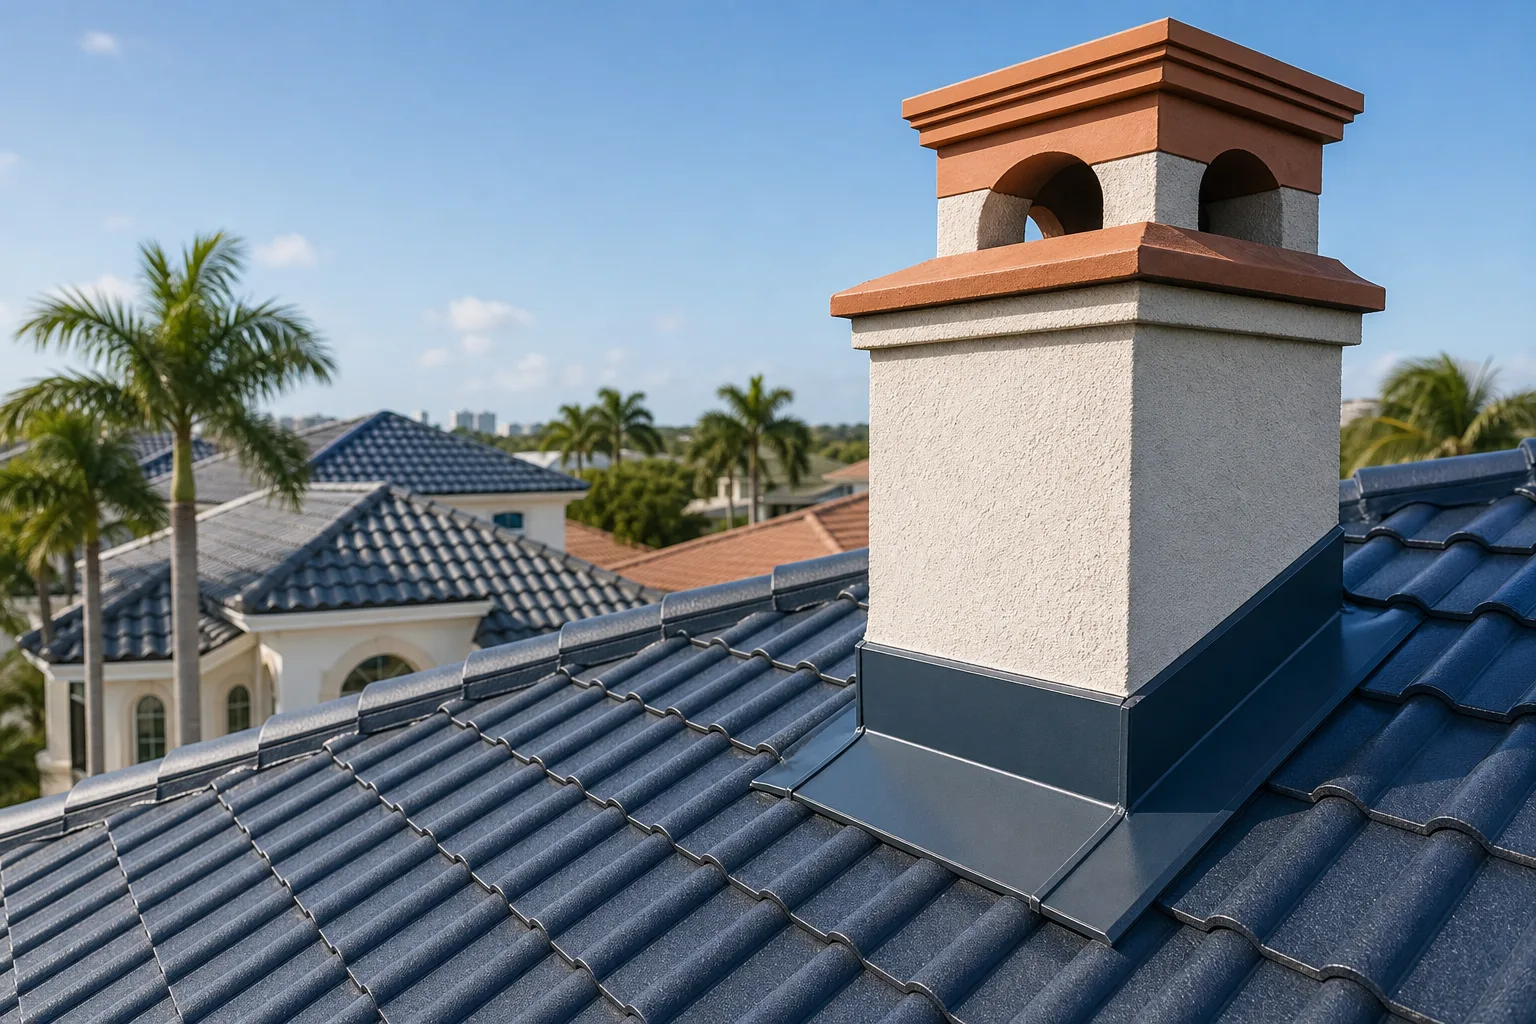
- Step flashings along walls, dormers, or chimneys
- Lifted or cracked tiles on tile roofs after wind events
The tech probes these areas carefully. Spreading weight across tile or aged shingles matters here. Stepping wrong adds damage.
Spotted a leak or missing tiles? Schedule a repair visit
Step 4: Applying the temporary fix
The goal of a temporary repair is to stop water intrusion until a full assessment and material order can happen. Contractors use several methods depending on roof type and the size of the breach.
Tarp installation is the most common. A properly secured tarp runs up and over the ridge so wind cannot lift it and water cannot channel underneath. Tarps weighted down only at the edges often blow off in Florida weather. The crew uses wood battens and screws to secure it properly.
Roof cement or sealant handles smaller point failures like a separated pipe boot, a cracked flashing seam, or a lifted ridge cap. This is a stop-gap, not a permanent fix.
Peel-and-stick membrane patches work on low-slope and flat roofs where a defined membrane failure is visible. The area is dried and cleaned before application.
For tile roofs, a cracked or broken tile may be temporarily replaced with a spare or covered with a compatible underlayment patch until matching tiles are sourced. Learn more about how tile roofing systems are assessed and repaired.
Step 5: Written documentation before you sign anything
Before any temporary work begins, a reputable contractor notes the current condition in writing or photos. This matters for two reasons: your insurance claim and the scope of the eventual permanent repair.
Make sure you get a written description of what was applied, where, and what it covers. That document should also state clearly that the temporary fix does not constitute a completed repair and that a follow-up inspection is required. If a contractor skips this step, that is a flag worth noting when you compare bids later. For help reading the paperwork, how to read a roofing estimate line by line breaks down what each line item should mean.
Step 6: Schedule the full diagnostic and repair
A temporary fix buys time, not a solution. Once the immediate crisis is controlled, schedule the full inspection. The contractor should re-examine the interior and exterior together to confirm the breach location, check for secondary damage to decking or framing, and scope the complete repair.
In South Florida, rain can return within days. Do not let a temporary fix sit through multiple weather events without follow-up. For storm-related leaks, the Hurricane Storm Center is a useful resource for tracking response timelines and what to expect from an emergency repair.
You can also request a roof repair quote or get an instant estimate to start that follow-up process.
Common mistakes
Assuming the drip location is the leak source. Water travels. A drip in the middle of a room may trace back to a flashing failure six feet away on the roof surface.
Using duct tape or expanding foam as a patch. These materials do not bond reliably to roofing surfaces under UV exposure and heat. They fail quickly and can mask the real problem during the next inspection.
Skipping attic documentation. If you do not photograph wet insulation or stained sheathing before it dries, you lose evidence for your insurance claim and for the contractor's scope of work.
Letting a temporary tarp substitute for a repair quote. A tarp that survives one rain event is not a repaired roof. Get the permanent scope in writing while the problem is fresh and visible.
Ignoring soffit and fascia after a major leak. Water that runs down the roof deck often saturates the soffit area. This can create a secondary entry point for pests. See how soffit damage lets pests and water into your roof system.
Bottom line
Contractors handle active leaks in a clear sequence: stop the water inside, trace it to the source, apply a documented temporary fix, then schedule the full repair. The temporary step is necessary, but it is not the endpoint. If your roof is actively leaking right now, contact Millennium Makeover or request a quote to get a licensed crew on site.
Spotted a leak or missing tiles?
Small problems get expensive fast in the Florida sun. Get it looked at by a local crew before the next storm.
Frequently asked questions
How long can a temporary roof tarp last in South Florida weather?
A properly installed tarp secured with wood battens can hold through several rain events, but UV exposure and wind degrade standard poly tarps within weeks to a few months. It should never be treated as a long-term solution. Schedule the permanent repair as soon as materials and crew availability allow.
Will my homeowner's insurance cover a temporary roof repair?
Most homeowner's policies cover sudden and accidental damage, which can include emergency temporary repairs to prevent further loss. Document everything before the work begins and keep all receipts. Contact your insurer promptly after securing the temporary fix, because delayed reporting can complicate a claim.
Can I apply roof cement or sealant myself while waiting for the contractor?
A small tube of roof cement applied carefully around a visible flashing gap or cracked sealant joint can slow water entry as a short-term measure. However, DIY patching on a steep or wet roof carries fall risk, and improper application can trap moisture or mask the real entry point. Limit any self-help to ground-level interior protection and leave the roof surface work to a licensed crew.
What information should I have ready when I call a roofing contractor about an active leak?
Be ready to describe where the interior drip or staining is located, when you first noticed it, and whether there was recent storm activity. A photo or short video sent ahead of the call helps the estimator gauge urgency and bring the right materials. Also have your address and roof age handy if you know it.