What Actually Happens During a Professional Roof Inspection
In this article
TL;DR: A professional roof inspection covers the exterior surface, flashings, penetrations, decking condition, attic, and drainage system, in a specific order for good reason. Knowing what each step involves helps you judge whether the inspector did a real job or a rushed one. The written report you receive at the end should tell a clear story.
What You Need
- Allow time based on roof size, access, and inspection scope
- Access to your attic interior, if you have one
- Any prior inspection reports, permit history, or insurance correspondence you can find
- A copy of your current homeowner's insurance declarations page (useful context for the inspector)
- Comfortable shoes if you plan to follow along outside
- A list of anything you've already noticed, leaks, stains, missing pieces, anything
You do not need to be on the roof yourself. A good inspector will describe what they found in plain language when they come down.
Step 1: The Ground-Level Survey
Before anyone touches a ladder, I walk the full perimeter of the house. This initial view can reveal useful clues.
I'm looking at the roofline from every angle. Is it straight, or does it dip or bow somewhere in the middle? A sagging ridge line often points to decking or structural issues underneath, not just a surface problem. I check the fascia and soffit boards while I'm down here too, because rotting wood at the roofline edge usually means water has been sitting somewhere it shouldn't.
I note the roof pitch, the material type, and roughly how many squares we're dealing with. I'm also looking at the gutters from the ground. Are they pulling away from the fascia? Full of granules? Those granules washing off asphalt shingles are one of the clearest signs of age. If you're curious about how gutter condition connects to overall roof health, our gutters service page explains what we look for when we're up close.
Step 2: Getting on the Roof
This is where a lot of rushed inspections cut corners. The inspector should walk the field of the roof, not just peek over the edge.
Here's what I'm checking systematically:
Shingles, Tile, or Metal Panels
Depending on your material, I'm looking for different things.
On asphalt shingles, I check for granule loss, cracking, curling at the edges, blistering, and any tabs that are lifting or missing. Shingles that have lost most of their granules are nearing the end of their useful life even if they haven't leaked yet. Our shingle roofing page goes into what a healthy shingle system should look like.
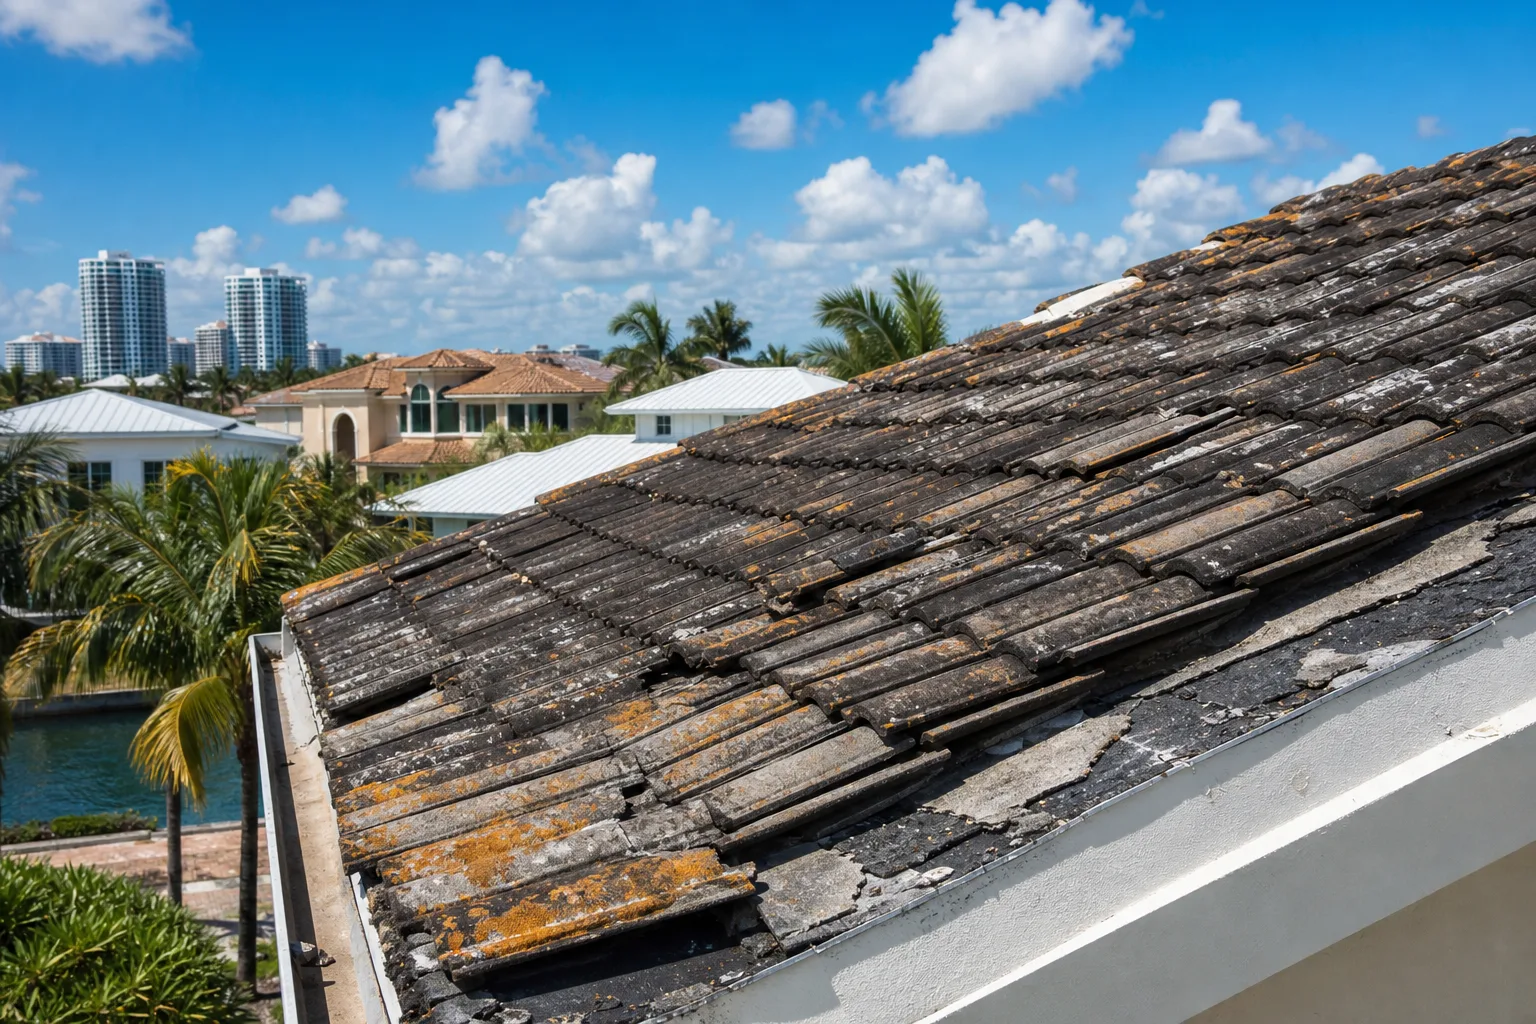
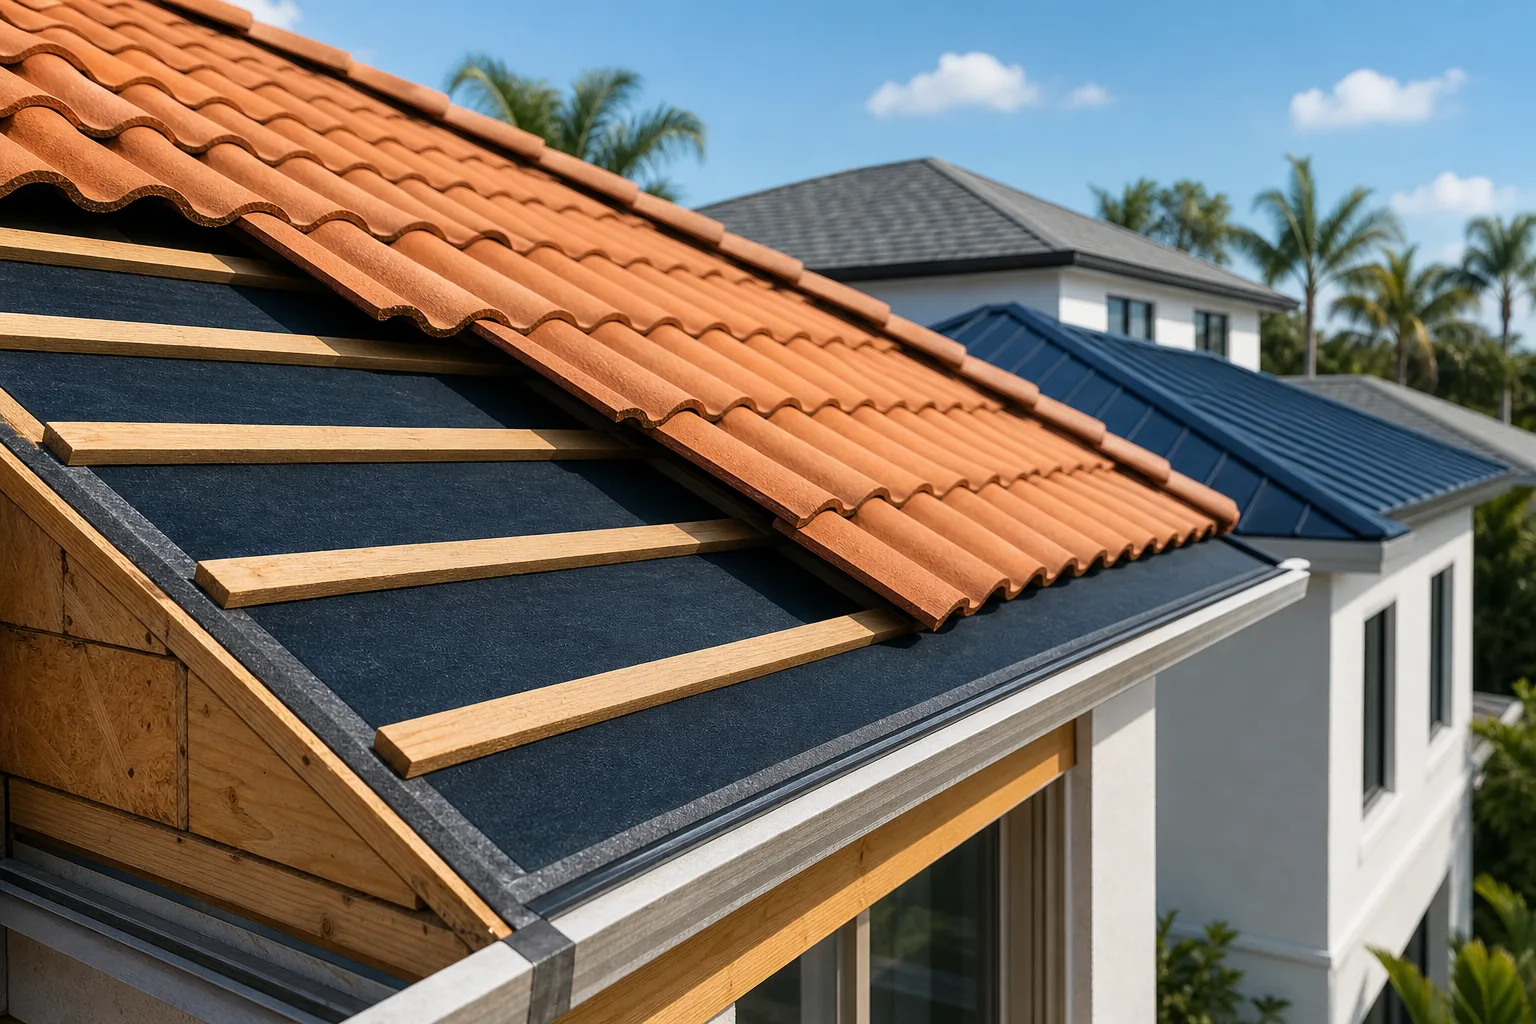
On tile, I'm walking carefully (tile roofs need specific foot placement to avoid cracking the field tiles) and checking for cracked or slipped tiles, missing mortar at the ridge caps and hips, and whether the tiles themselves are hollow-sounding when tapped, which calls for closer assessment of the tile and attachment. More on that at our tile roofing guide.
On metal, I look at the seams and fastener heads. Exposed fastener systems need to have intact washers at every screw. Standing seam panels need to be checked for oil-canning stress and any separation at the seams.
Flashings
Flashings are the metal pieces that seal the joints where the roof meets walls, chimneys, skylights, vents, and valleys. This is where a disproportionate number of leaks originate.
I check that step flashings along walls are properly integrated with the roofing material and not just caulked over. Counter flashing should be installed using a method appropriate to the roof, wall, and applicable code; a surface-mounted detail is not automatically defective. Valley metal should be full and undamaged. In South Florida, we see a lot of old roofs where the flashing was installed correctly but has since been painted over, buried under a second layer, or simply corroded through.
Penetrations
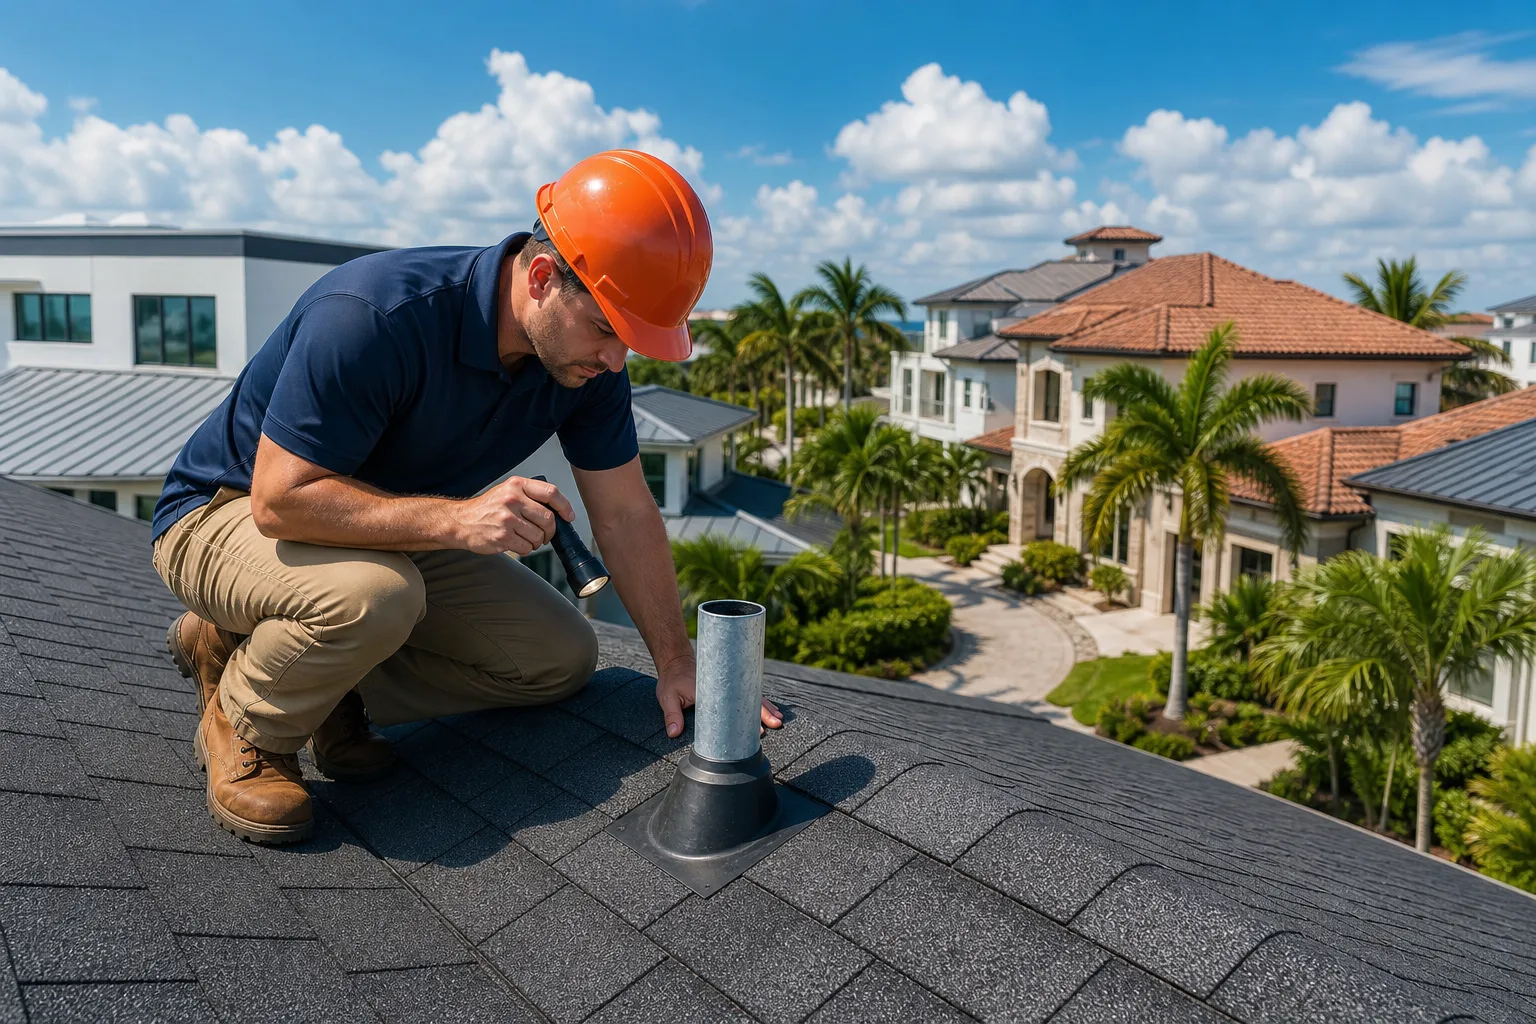
Every pipe boot, vent collar, and exhaust cap is a potential entry point for water. I check that the rubber boots around plumbing vents are not cracked or split, which is very common on older roofs after years of UV exposure. Cracked pipe boots can be a source of active leaks.
Ridge and Hip Caps
Ridge caps take the most UV and wind exposure of any part of the roof. On shingle roofs, I check whether they're lifting or cracking. On tile roofs, I check the mortar bed and the condition of the cap tiles themselves.
Step 3: The Attic Inspection
This step gets skipped more often than it should. The attic is where the roof tells the truth.
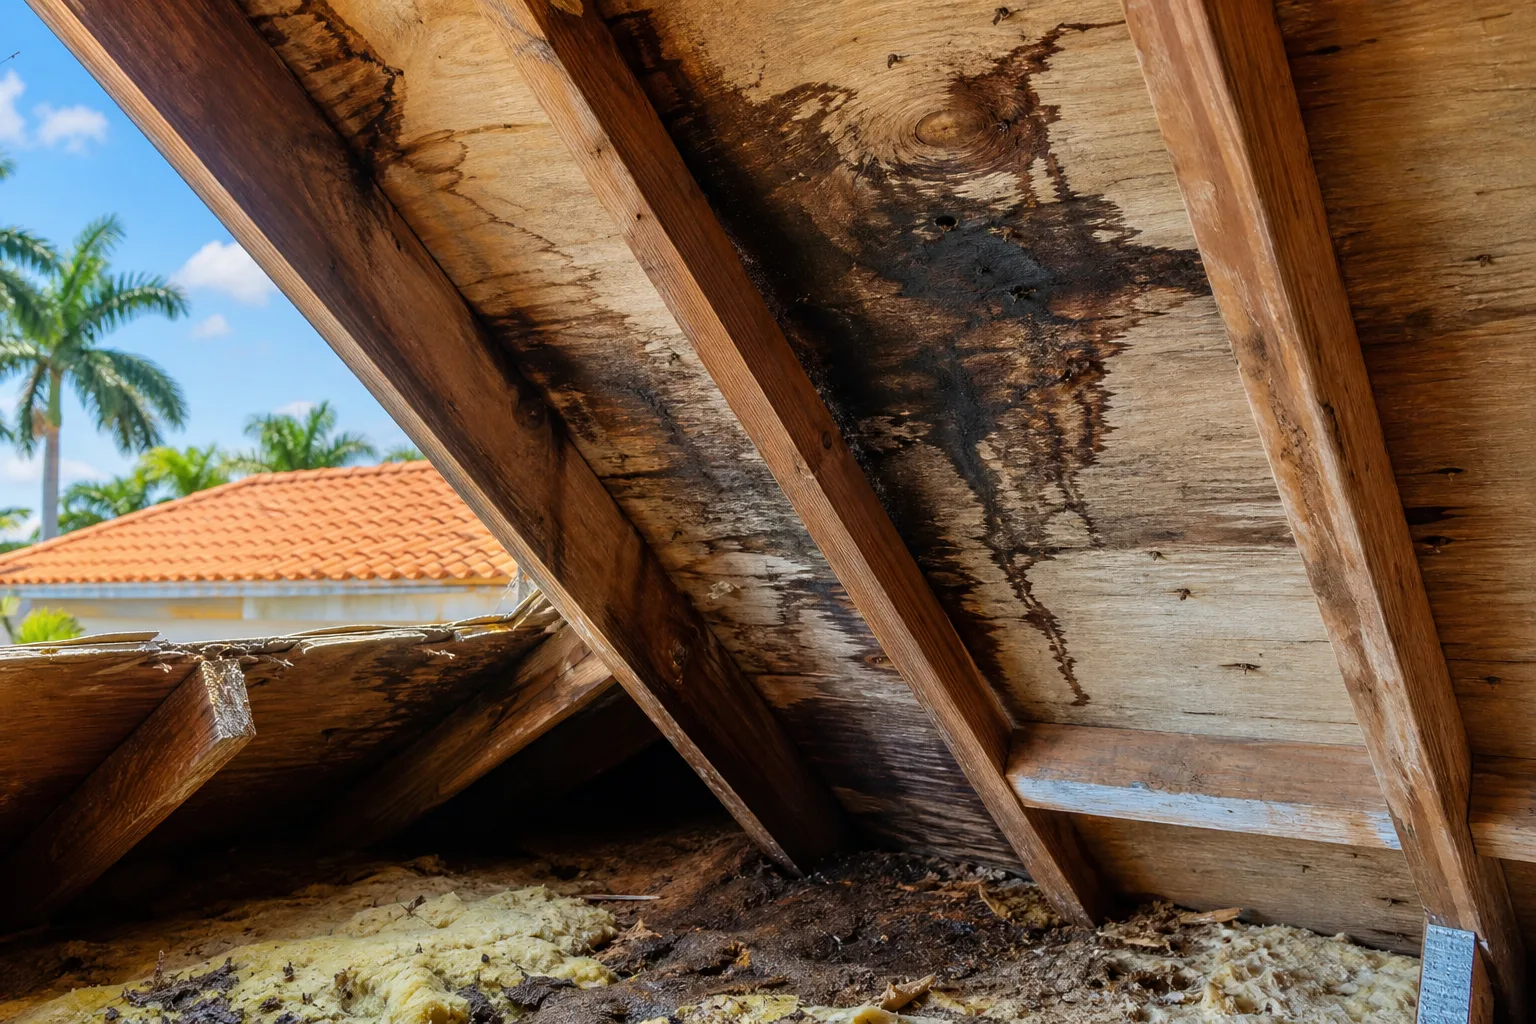
I'm looking for daylight coming through the decking, which means there are holes or gaps. I'm checking the decking for soft spots, staining, or active mold growth. Dark staining on the wood doesn't always mean there's a current leak, but it does mean there was one at some point, and I want to understand whether it's been addressed or just dried out temporarily.
I also check attic ventilation. Florida's heat and humidity create serious condensation problems in under-ventilated attics, and that moisture can deteriorate decking from the inside even when the exterior roofing looks fine. The ratio of intake to exhaust ventilation matters, and it's something a surface-only inspection will never catch.
If there's insulation, I note its condition. Saturated or compressed insulation is another sign of historical or ongoing water intrusion.
Want to know what your roof actually needs? Get a free estimate
Step 4: Drainage Assessment
Water management is the whole job. A beautiful roof that drains poorly will fail early.
I come back to the gutters and downspouts at this stage. Are they sized correctly for the roof area? Are the downspout extensions moving water far enough away from the foundation? Are there low spots on the roof where water can pond? Flat or low-slope commercial roofs especially need careful drainage review. If you're managing a commercial property, our commercial roofing services page covers what we assess differently for flat systems.
I also note any areas where debris accumulates, valleys that collect leaves, for example, because standing organic material accelerates shingle and metal deterioration faster than almost anything else in this climate.
Step 5: The Written Report
Everything I observed gets documented. Ask for a written report describing the inspected areas, photos where useful, any limitations, and reasons for repair, monitoring, or replacement recommendations.
If the recommendation is repair, the report should specify exactly what. If it's replacement, you should understand why. This report is also what you'll reference when comparing contractor bids. Speaking of which, our post on new roof costs in Palm Beach County explains how to read a bid line by line so you're not comparing apples to oranges.
For properties that may have storm-related damage, documentation from the inspection is also the foundation of any insurance claim. A written inspection report can help document condition for a later claim; check your policy and Florida law for actual notice and documentation requirements.
Common Mistakes
Accepting a drive-by inspection. A roof walk or attic visit may be unsafe or impossible; the report should disclose access limits and the methods used. You have an opinion from the driveway.
Skipping the inspection before buying a home. A general home inspector checks the roof briefly. A roofing contractor's inspection is more detailed and more specific. They're not the same thing.
Using the inspection to fish for a specific answer. Some homeowners want an inspector to confirm replacement so they can file an insurance claim. Some want confirmation of repair so they can avoid the cost of replacement. A good inspector gives you what they actually found, not what you're hoping for.
Not asking for the written report in advance of signing anything. If a contractor inspects your roof and immediately hands you a contract without a report, slow down. The report should come first.
Ignoring how long ago the inspection was. After a major storm event, a roof that was fine in January can look very different in September. If you want your home truly storm-ready heading into hurricane season, our hurricane prep guide covers how often to schedule inspections relative to storm season.
Overlooking frequency. Florida's UV, heat, and storm exposure mean roofs age faster here than in most of the country. Choose inspection timing based on roof condition, storms, warranty terms, and insurer requests. Our post on how often to inspect your roof in Florida breaks down the reasoning.
Bottom Line
A useful roof inspection examines the accessible roof, transitions, drainage, and interior clues, then documents limits and findings; the sequence depends on safety and access. Each step exists for a reason, and skipping any of them leaves gaps in what you actually know about your roof's condition.
If you want an honest assessment from someone who will tell you what they found without pushing you toward unnecessary work, that's exactly what we do. You can start with a free instant estimate or request a full inspection quote and we'll walk your roof properly, take photos, and give you a report that actually means something.
Licensed roofing contractor CCC1326328. Serving Boynton Beach, Delray Beach, West Palm Beach, Boca Raton, Lake Worth, and surrounding Palm Beach County communities since 2005.
Want to know what your roof actually needs?
Millennium Makeover has been roofing South Florida homes and businesses since 2005. Get a straight, no-pressure estimate from a licensed local crew (CCC1326328).
Frequently asked questions
How long does a professional roof inspection take?
Inspection duration varies with size, complexity, access, and purpose. Larger homes, multiple roof sections, or roofs with significant damage can take longer. Budget extra time if your home has a hip-and-valley system or multiple penetrations.
Do I need to be home during the roof inspection?
You don't need to be present for the exterior portion, but you should plan to be home for the attic access portion and for the walkthrough when the inspector reviews findings with you. That conversation at the end is where the real value is, so don't schedule it for a time when you'll have to leave early.
Should I get a roof inspection before buying a home in South Florida?
Absolutely, and not just from the general home inspector. A roofing contractor's inspection goes deeper into material condition, flashing integrity, and attic health than a standard home inspection does. In Palm Beach County's climate, knowing the true condition of the roof before closing can affect your negotiating position significantly.
What's the difference between a roof inspection and an estimate?
An inspection documents the condition of your roof as it currently exists. An estimate prices specific work, whether repair or replacement, based on what the inspection found. The two are related but not the same thing. A trustworthy contractor will give you the inspection findings before asking you to sign anything.
Can a roof inspection help with an insurance claim?
Yes, photos and written condition notes can help document a storm or wind claim; ask the insurer what it requires. A professional written report can provide useful evidence of roof condition, but ask your insurer what documentation it requires for a claim.
How often should I have my roof inspected in Florida?
Set inspection timing based on condition, warranty and insurer requirements, and suspected storm damage. A named storm alone does not establish damage at your property.