How to Spot Hidden Roof Damage Before It Gets Expensive

In this article
TL;DR: Most roof damage hides in places homeowners never think to check. A systematic look at your attic, gutters, flashing, and roof surface two or three times a year catches the problems that turn a $400 repair into a $12,000 replacement. You don't need to climb on the roof yourself. You need to know where to look from the ground and inside your home.
What You Need
Before you start, gather a few basics:
- A good flashlight (a cheap one won't cut it in a dark attic)
- Binoculars for ground-level roof inspection
- A ladder tall enough to safely look into your gutters, not onto the roof itself
- A notepad or your phone camera to document what you find
- About 45 to 60 minutes of uninterrupted time
You do not need to walk on your roof. In South Florida, most roofs are either tile or steep-slope shingle systems, and walking on them without training causes more damage than you started with. A good look from the ground and a thorough attic inspection will tell you 80 percent of what you need to know.
Step 1: Start in the Attic
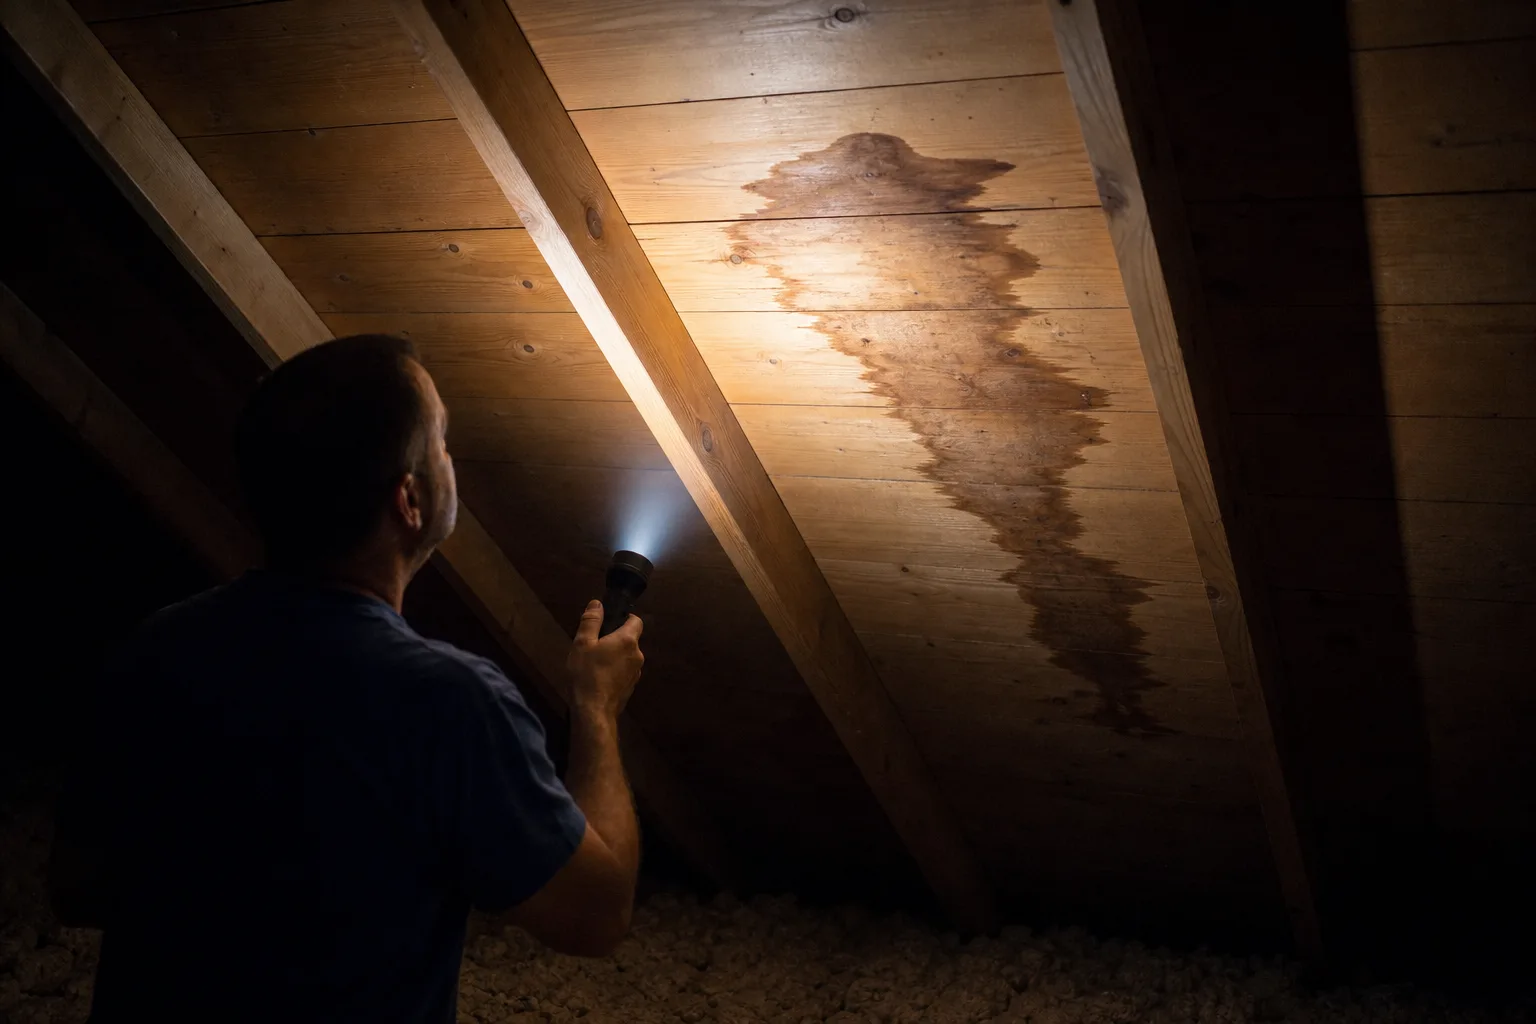
This is the single most overlooked step, and it's the most valuable one. Your attic is where roof problems announce themselves long before they show up on your ceiling.
Go up there during daylight with your flashlight. Look for these specific things:
Daylight coming through the decking. Any pinhole or streak of light means there's a gap somewhere in the roof system. That gap is letting in water, humidity, and insects.
Staining on the sheathing or rafters. Dark streaks or blotchy discoloration on the wood decking are water stains, even if the wood feels dry now. Active leaks dry out between rainstorms but the staining stays. Follow the stain toward the ridge or toward the eaves to get a rough idea of where water entered.
Soft or spongy sheathing. Press lightly on the underside of the decking boards. If any section feels soft or gives slightly, the wood has absorbed enough moisture to start rotting. That board needs replacing before new roofing materials go over it.
Mold or mildew smell. Sometimes you smell the problem before you see it. A musty attic with no obvious staining can still signal a slow moisture intrusion from poor ventilation or a small flashing leak.
Insulation that's wet, compressed, or discolored. Wet insulation loses its effectiveness and holds moisture against the decking. It also adds weight. If your blown-in insulation is clumped or matted in one spot, look directly above it for the source.
If you find anything in the attic, take photos and document where it is relative to a roof feature like a vent, chimney, or valley. That information matters when you're describing the problem to a contractor. For questions specific to South Florida roof construction, our Florida roofing FAQ covers a lot of common attic and ventilation issues.
Step 2: Check Your Gutters and Downspouts
Gutters are a diagnostic tool, not just a drainage system. What's sitting in them tells you a lot about what's happening on the roof surface above.
Get your ladder and look into the gutters. Here's what matters:
Granule accumulation. Asphalt shingles shed granules as they age. A moderate amount is normal after a major storm. But if you're scooping out cups of granules after every rain, your shingles are past their useful life and the bare spots are absorbing UV and moisture. This shows up before the shingles start cracking or curling.
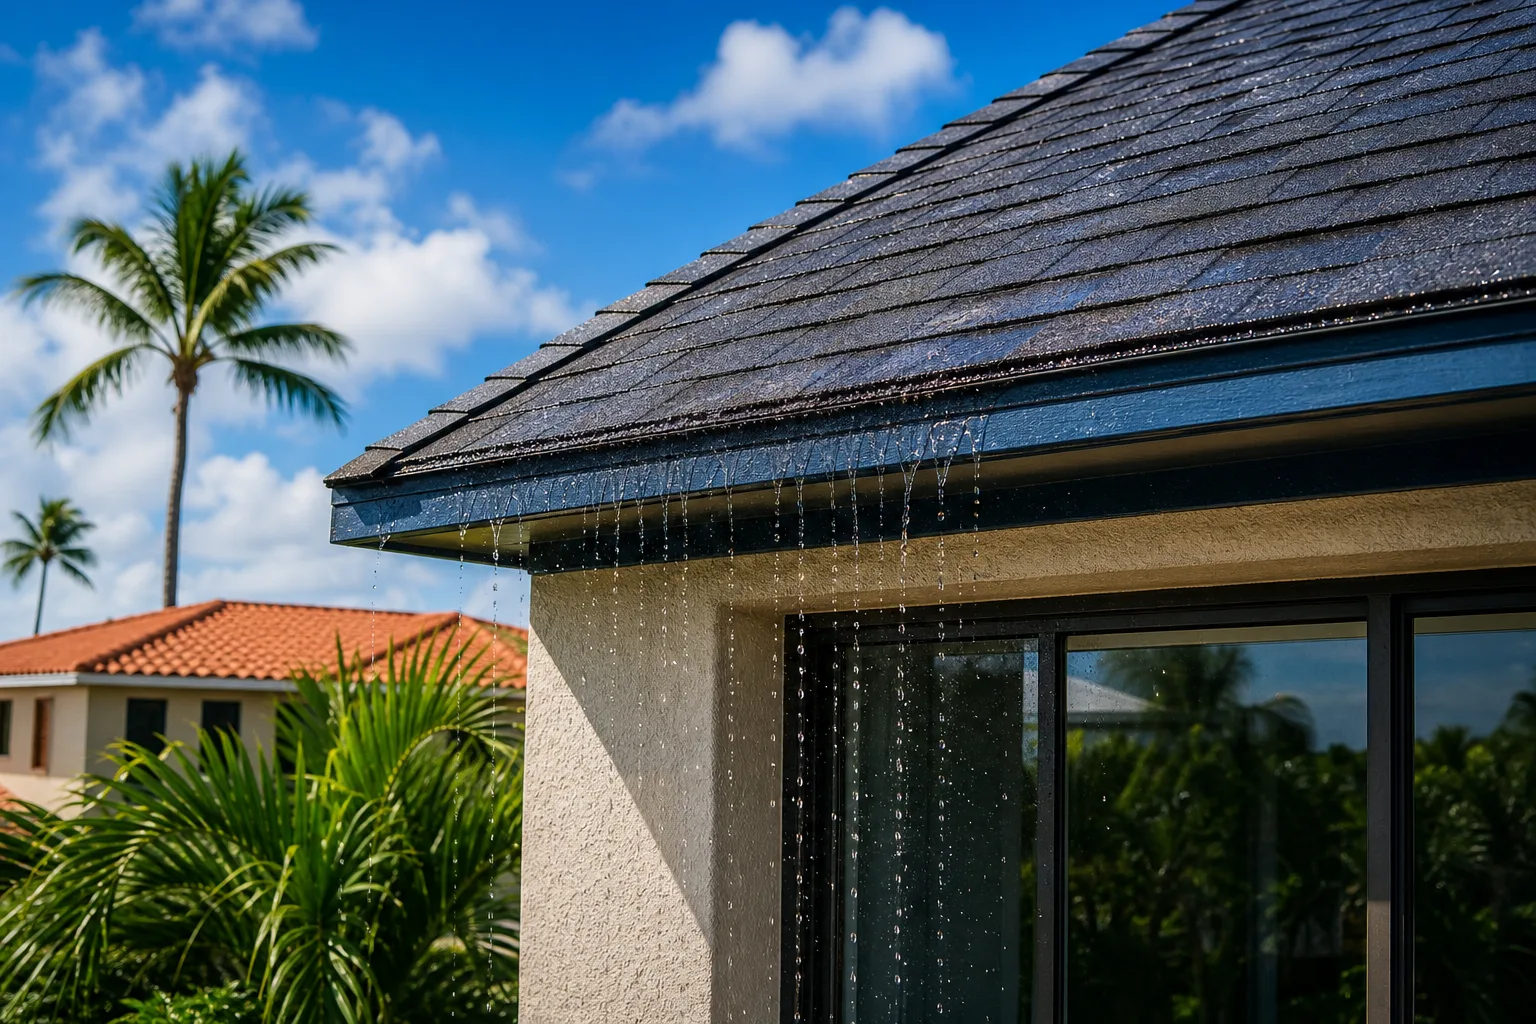
Rust, sagging, or separation at the seams. Gutters that are pulling away from the fascia are usually signaling that the fascia board behind them is rotting. Fascia rot often starts with a roofline drip issue, which traces back to the roof's drip edge or the last few inches of the shingle edge.
Downspouts that drip when it hasn't rained. If a downspout is weeping moisture in dry weather, you may have a condensation issue inside the gutter system, which often points to a ventilation problem on the roof itself.
If your gutters are overflowing regularly despite being clean, the pitch or placement may need adjustment. Our gutter services page explains the options for South Florida homes where heavy afternoon rain is the norm, not the exception.
Step 3: Inspect the Roof Surface From the Ground
Stand back from each elevation of your home with binoculars. You're looking for visual changes in the roof surface, not counting shingles. Take your time.
On shingle roofs, look for:
- Curling or cupping at shingle edges
- Missing shingles or shingles that have slid out of position
- Dark, bare patches where granules have worn off
- Shingles that look buckled or lifted in the field
- Any visible gaps near ridge caps or hip caps
If you've got a shingle roof and it's showing these signs, the shingle roofing page gives context on what different stages of wear actually mean for remaining service life.
On tile roofs, look for:
- Cracked, chipped, or visibly broken tiles
- Tiles that have shifted and are no longer sitting flush with their neighbors
- Missing tiles exposing the underlayment beneath
- Ridge and hip tiles that look like they've separated from the body tiles below
Cracked tiles matter less than broken ones with exposed underlayment underneath, but any tile damage that exposes what's below it needs attention. The underlayment is your real waterproofing layer on a tile roof, and it doesn't last forever. Our tile roofing page covers the specifics of how South Florida tile systems are built.
On metal roofs, look for:
- Rust staining running down the panel face from fasteners or seams
- Panels that appear to have lifted or buckled at the edges
- Visible gaps at ridge caps or wall flashings
Spotted a leak or missing tiles? Schedule a repair visit
Step 4: Examine All Flashings Closely
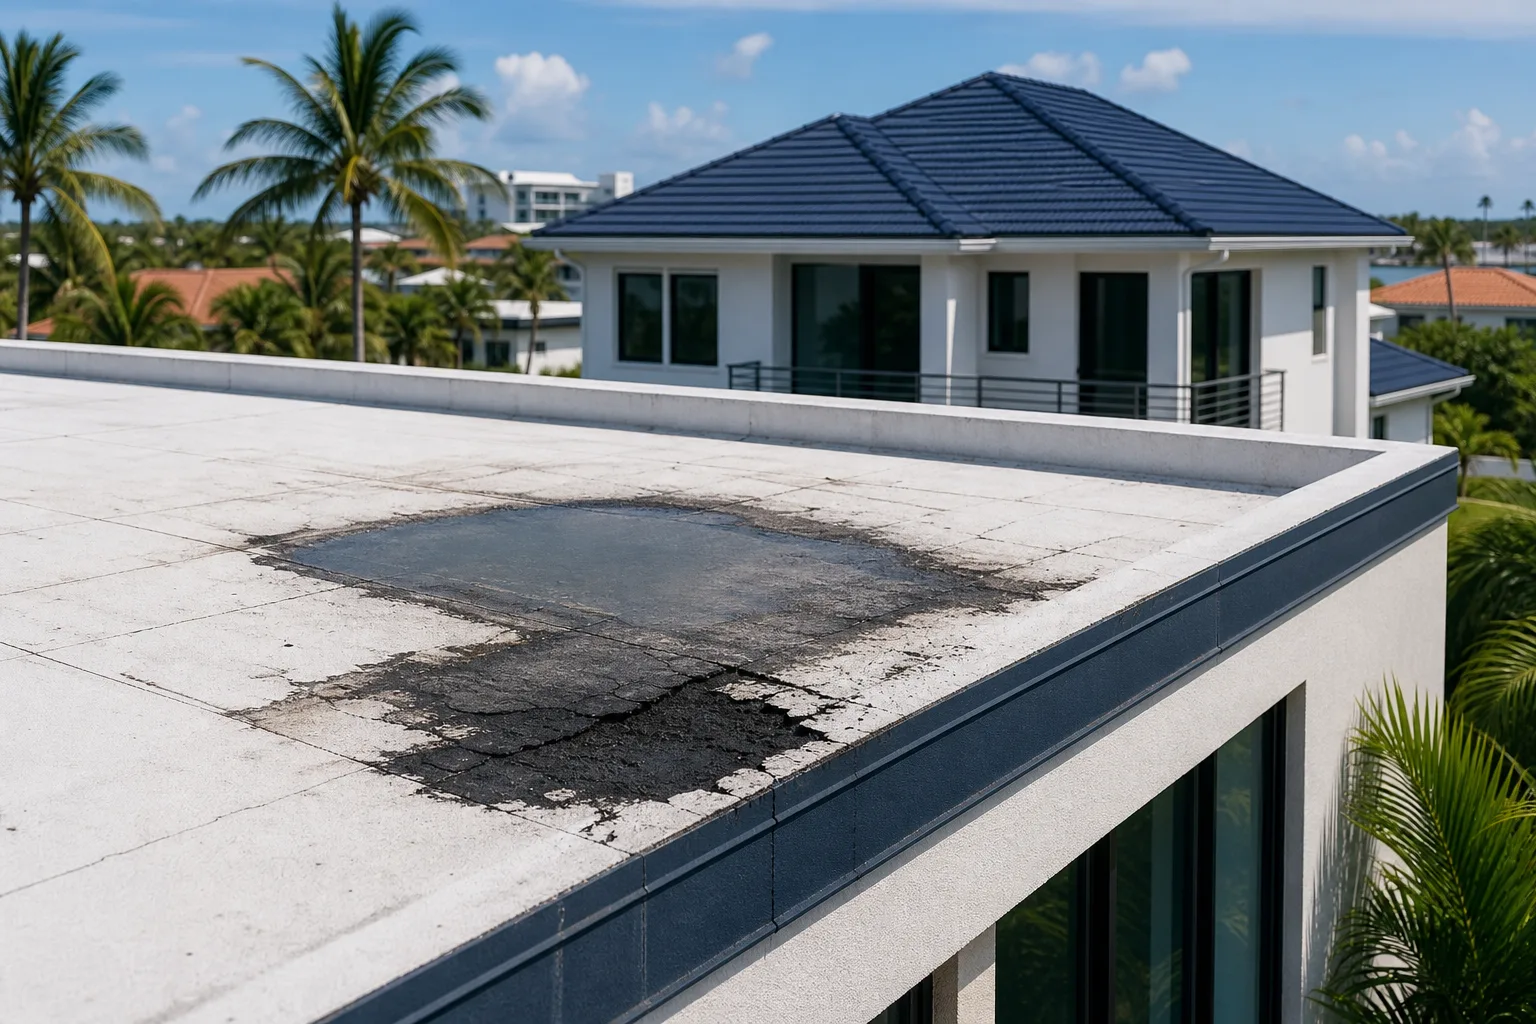
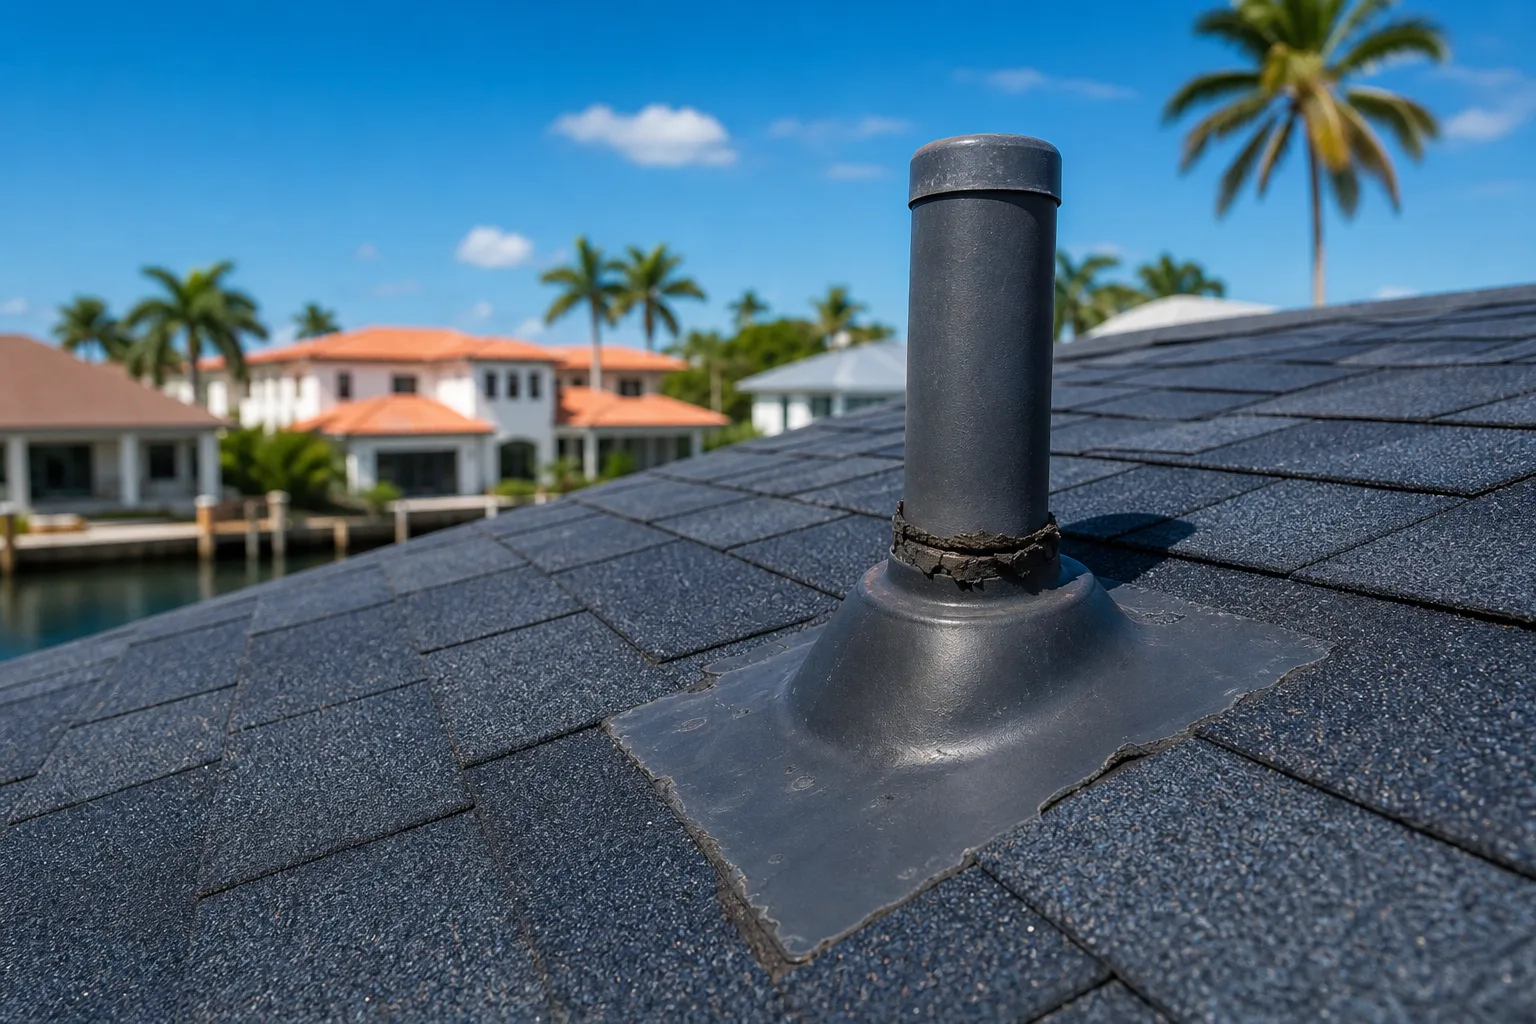
Flashing is where most leaks start. Full stop. Flashing is the metal that bridges any point where the roof surface meets something else: a wall, a chimney, a vent pipe, a skylight, a valley between two roof planes.
From the ground with binoculars, look at every flashing location you can see:
- Is the metal still tight against the surface it's meant to seal?
- Do you see lifted edges, rust, or gaps in sealant?
- Has caulk or roofing cement cracked and pulled away from the joint?
South Florida sun destroys sealant faster than most homeowners expect. Caulk around flashing can fail in as little as three to five years in direct exposure. If your flashing sealant looks chalky, cracked, or is pulling back from the joint, it's open to water.
For a deeper look at why flashing failures cause so many of the leaks we see on roof repairs, including situations where the roof looks fine but the interior is wet, check our post on why your roof leaks even without heavy rain.
Step 5: Walk the Interior Ceiling and Walls
Come back inside and look up. Don't just check the rooms directly under the roof. Check every ceiling in the house, including closets, hallways, and rooms that share a wall with the exterior.
Look for:
- Water stains, even light yellow or brown rings that look old
- Paint that's bubbling, peeling, or blistering
- Drywall that appears swollen or has a texture change
- Any soft spot when you gently press on the ceiling surface
Old stains matter. They tell you that water has been in the system at some point. If the stain is dry but the source was never fixed, the next big rain will activate it again. Don't ignore it just because it looks old.
Also check exterior walls near the roofline. Efflorescence (white mineral deposit streaking on stucco) along a roofline can indicate water running behind the wall cladding from a flashing gap.
Common Mistakes Homeowners Make
Only checking after a storm. South Florida damage accumulates between storms too. UV degradation, thermal cycling, and humidity work on your roof every single day. Check twice a year regardless of weather.
Assuming no ceiling stain means no leak. Slow leaks can travel horizontally along roof decking or insulation for several feet before they find a low point to drip through. The wet spot on your ceiling may be nowhere near the actual entry point.
Walking on the roof to inspect it. Unless you're a trained roofer, stay off tile and steep shingle roofs. Breaking a tile or cracking a shingle during a self-inspection creates the damage you were trying to find.
Patching and forgetting. A patch bought time, not a solution. If you or a previous contractor applied roofing cement or caulk to a problem area, that area needs to be re-evaluated periodically. Sealant-only repairs have a limited lifespan.
Hiring whoever shows up after a hurricane. After any major storm, out-of-town contractors flood South Florida looking for quick work. If someone knocks on your door the day after a storm with a cash offer and no local license number, walk away. We've written specifically about how storm-chaser roofing companies operate if you want to know the warning signs.
Skipping the attic because it's hot. Yes, South Florida attics are brutal in summer. But skipping the inspection because it's uncomfortable is how a $600 repair turns into a full deck replacement. Go up there. Take five minutes. Bring water.
Bottom Line
Hidden roof damage is manageable when you catch it early. The inspection process above takes less than an hour and can be done by any homeowner willing to take it seriously. Attic first, gutters second, surface third, flashing fourth, ceilings last. That order works because it follows the path water takes into your home.
If you find something during your inspection and aren't sure how serious it is, the right move is to get a professional opinion before committing to any repair. A legitimate local contractor will tell you honestly whether it's a monitor situation, a repair, or something more involved.
We've been on South Florida roofs since 2005. If you find something that concerns you, you can request a quote or use our instant estimate tool to get a conversation started. No pressure, no storm-chaser tactics. Just straight answers about what your roof actually needs.
Spotted a leak or missing tiles?
Small problems get expensive fast in the Florida sun. Get it looked at by a local crew before the next storm.
Frequently asked questions
How often should I inspect my roof for hidden damage in South Florida?
Twice a year is the practical minimum for South Florida homes, typically in late spring before hurricane season and again in November after it ends. If a named storm or major hail event passes through, add a third inspection. The combination of UV, heat, humidity, and storm activity means damage accumulates faster here than in most of the country.
Can I do a roof inspection myself, or do I need a professional?
Homeowners can do a meaningful inspection from the ground, from inside the attic, and along the gutters without ever stepping onto the roof. That kind of inspection will catch most developing problems. A licensed roofer adds value when you find something questionable, when you're approaching the end of your roof's expected lifespan, or after a significant storm event.
What is the most common place hidden roof leaks start?
Flashing failures cause the majority of leaks we see on South Florida roofs. Any point where the roof surface transitions to a wall, vent, chimney, or valley is a potential entry point. The leak usually shows up inside the home well away from the actual failure point, which is why tracing the water path from your attic outward is the most reliable method.
My ceiling stain looks old and dry. Do I still need to worry about it?
Yes. An old stain means water has been in that part of the structure at some point, and unless you know for certain the source was repaired, the next significant rain can reactivate it. Dry stains can also hide ongoing slow moisture intrusion that simply hasn't built up enough to drip yet. Get the source identified before the next storm season.
How do I know if my roof damage is covered by insurance?
That depends on your policy and the cause of the damage. Wind and storm damage from a named event is typically covered, while general wear and UV degradation usually isn't. Document everything you find with photos and contact your insurer promptly if you suspect storm-related damage. A licensed local contractor can help you understand what they're seeing on the roof before you file a claim.