What Roof Replacement Looks Like Day by Day in South Florida

In this article
TL;DR: A standard residential roof replacement in South Florida typically runs two to four days depending on size, material, and weather. Knowing what happens each day helps you prepare your household, avoid surprises, and confirm the crew is doing things right.
What You Need Before the Job Starts
Before any shingles, tiles, or metal panels come off your roof, a few things need to be in place. Getting these sorted ahead of time keeps the project moving and protects you if something goes sideways.
A signed contract with clear scope. It should spell out the material being installed, the underlayment spec, what happens if decking damage is found, and the payment schedule. If you're still comparing proposals, the guide on how to compare roofing estimates in South Florida walks through what to look for line by line.
A pulled permit. In Palm Beach County and most South Florida municipalities, a roof replacement requires a permit. Your contractor pulls it. If they suggest skipping it, that's a red flag. Permitted work gets inspected. Uninspected work can create problems when you sell the home or file an insurance claim.
Cleared access around the house. Move vehicles out of the driveway and garage. Secure or bring inside anything stored under the eaves, on the lanai, or near the roofline. Debris and nails fall, and they don't discriminate.
Someone who knows the plan. You don't have to be home, but make sure someone reachable knows the crew's arrival window and has a contact number for the foreman.
Step 1: Pre-Job Delivery and Setup (Day 1, Morning)
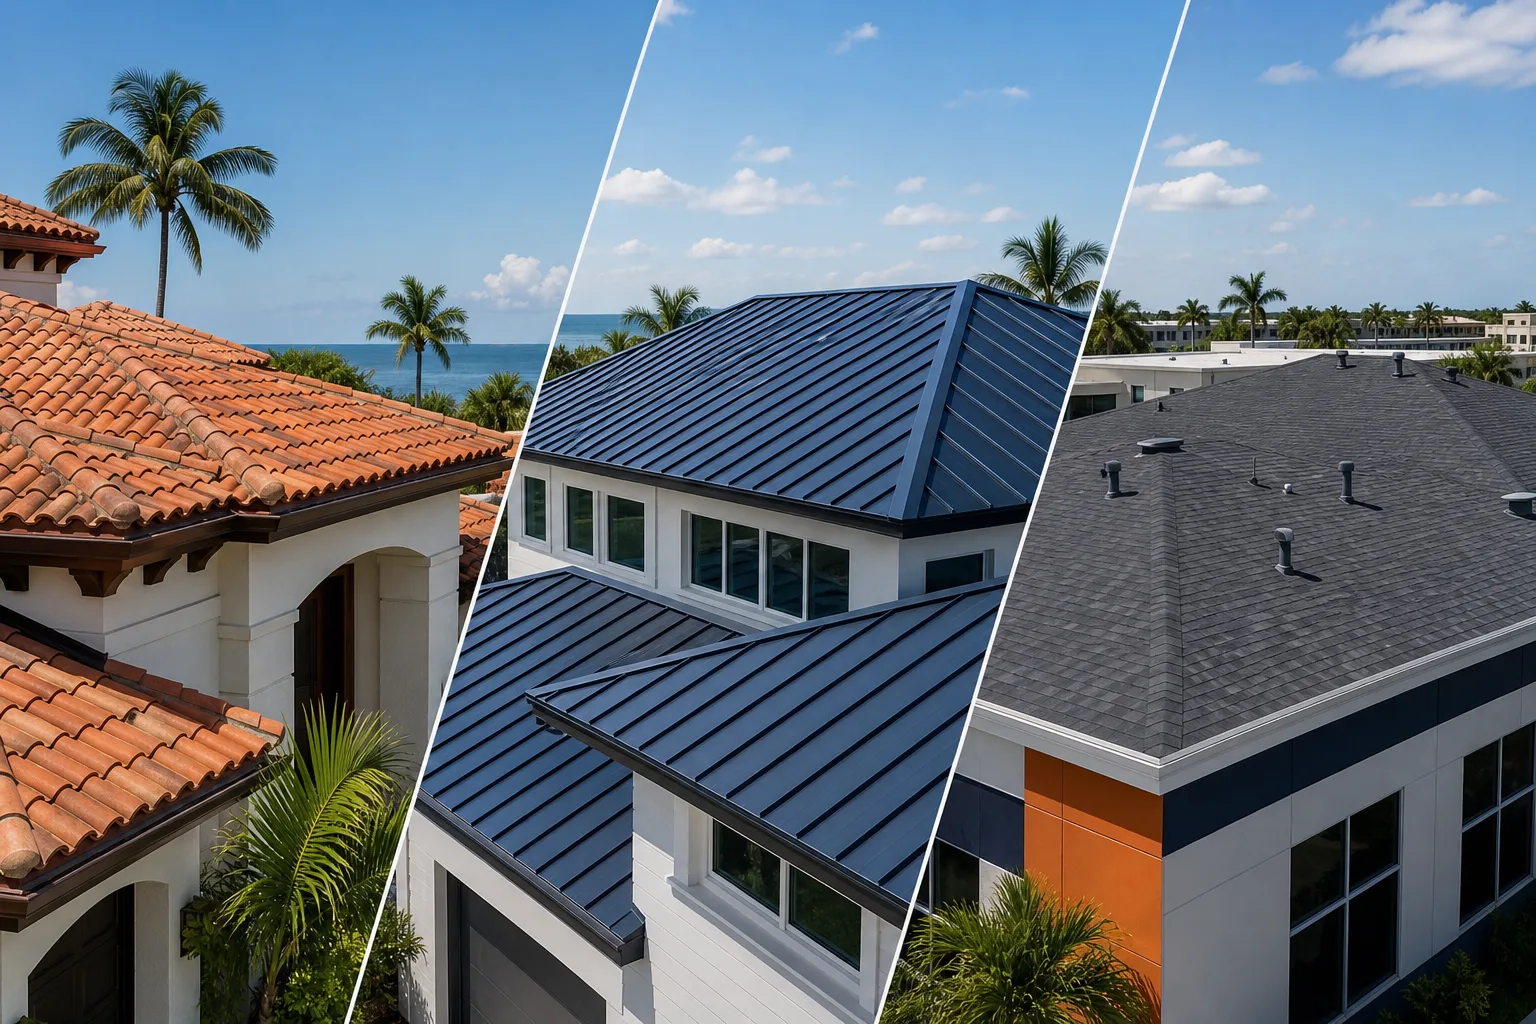
The first thing you'll usually see is a materials delivery, often a flatbed truck dropping off pallets of shingles, tiles, or metal, along with underlayment rolls, fasteners, and accessories. On steep-slope roofs, the crew will stage materials directly on the roof. On flat or low-slope work, materials typically stay on the ground or a dumpster is brought in.
The crew also sets up equipment: ladders, safety harnesses, nail guns, and protective tarps over landscaping and HVAC equipment below the work zone. A reputable crew treats your yard as part of the job site.
This is a good time to ask the foreman for a quick walkthrough of the plan. Which section goes first? Where will debris drop? When will the dumpster or trailer be emptied?
Step 2: Tear-Off (Day 1, Main Event)
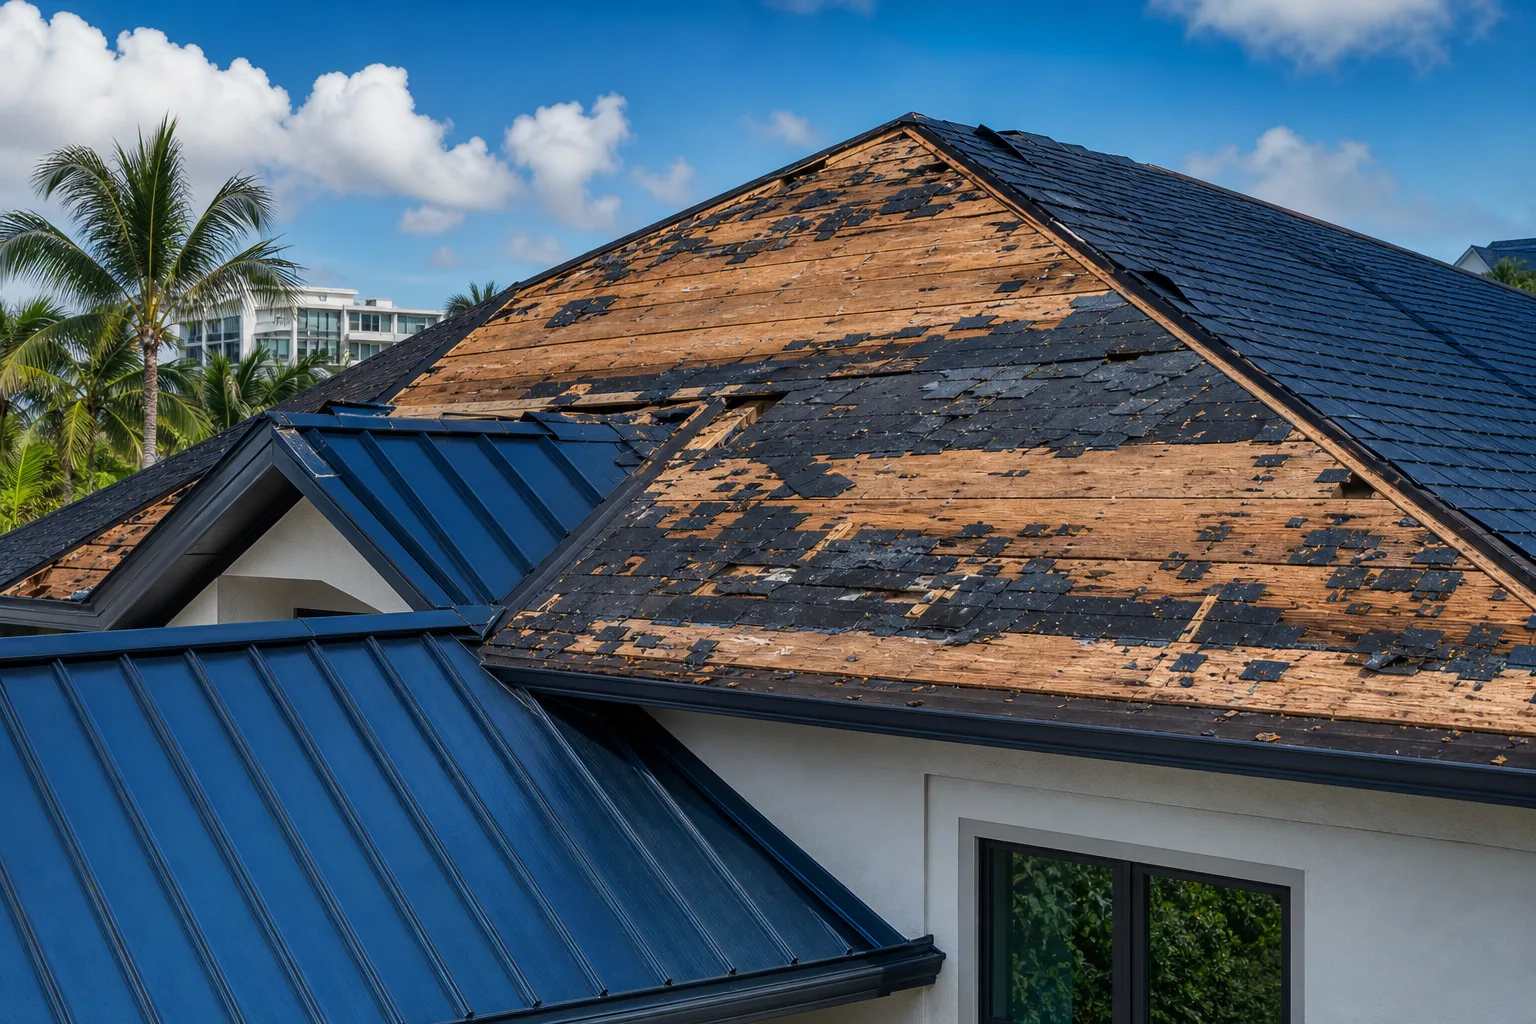
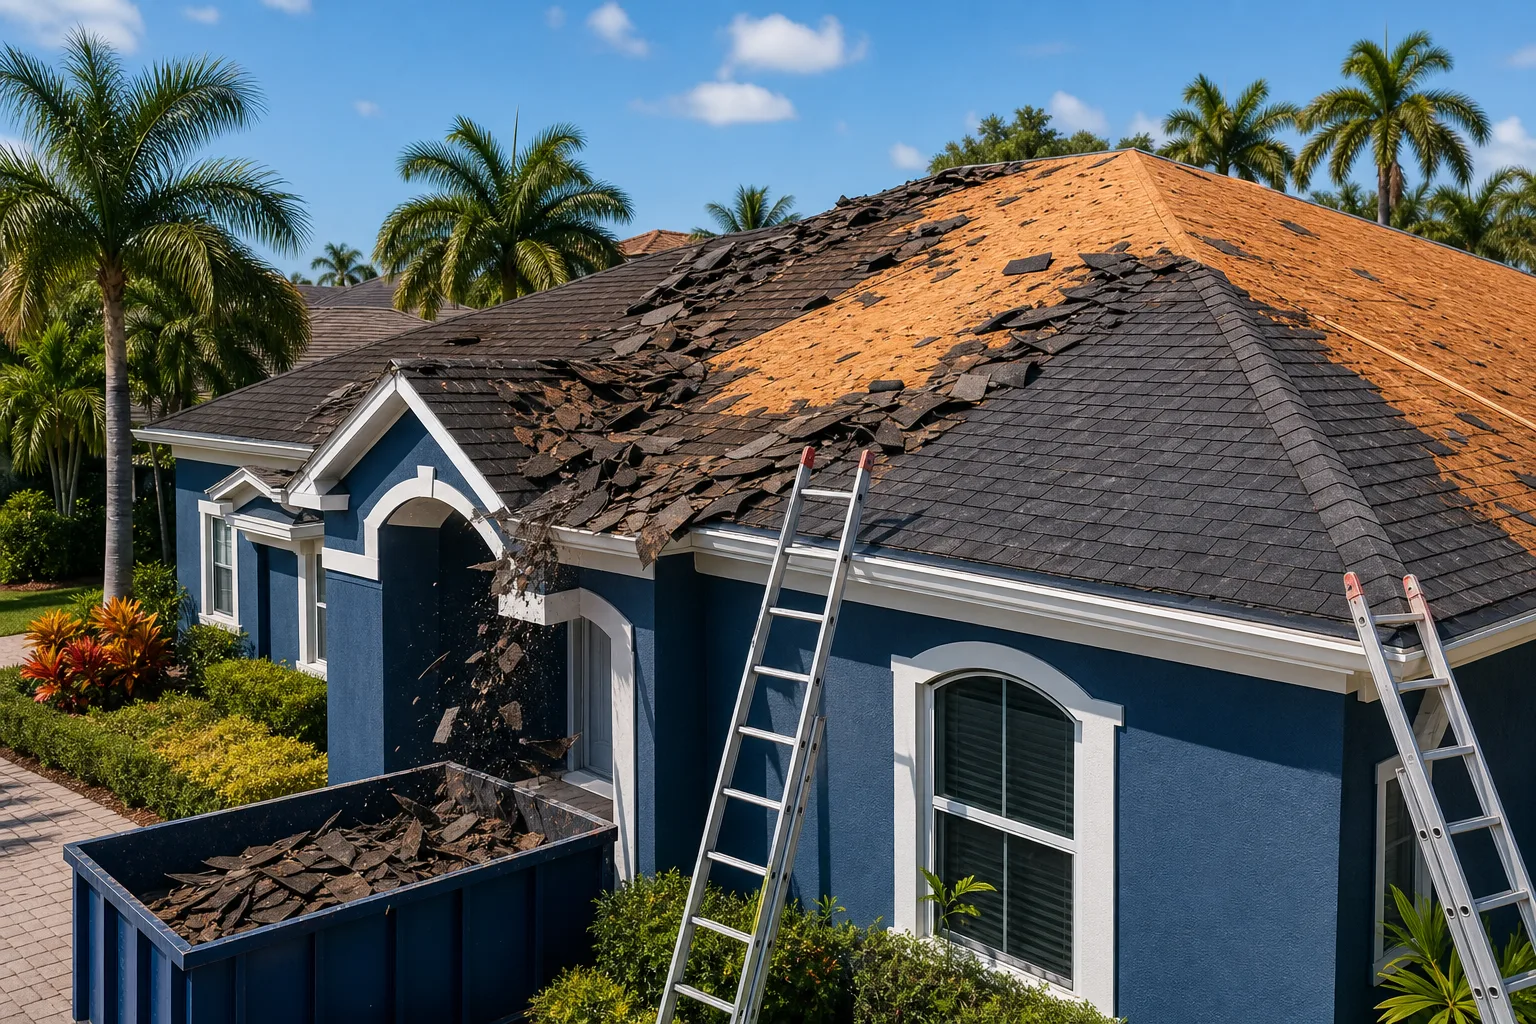
Tear-off is the loudest, messiest part of the whole job. The existing roofing material, whether that's old shingles, deteriorated tile, or worn flat membrane, gets removed down to the roof deck.
For tile roofs, this includes removing the tiles, the old underlayment, and in many cases the mortar or adhesive. For shingle roofs, it's typically a faster process. For metal roofs, the tear-off method depends on whether it was a standing seam system or a screw-down panel.
Once the deck is exposed, the crew inspects it. This is where hidden rot, soft spots, or damaged sheathing shows up. A good contractor documented this expectation in your contract already, with a per-sheet price for any decking that needs replacement. If damaged decking appears and nobody tells you until they hand you a surprise invoice, that's a process failure on their end.
By end of Day 1, in most cases the deck is fully exposed and tarped if the job won't continue into the afternoon.
Step 3: Deck Inspection and Repair (Day 2, First Hour)
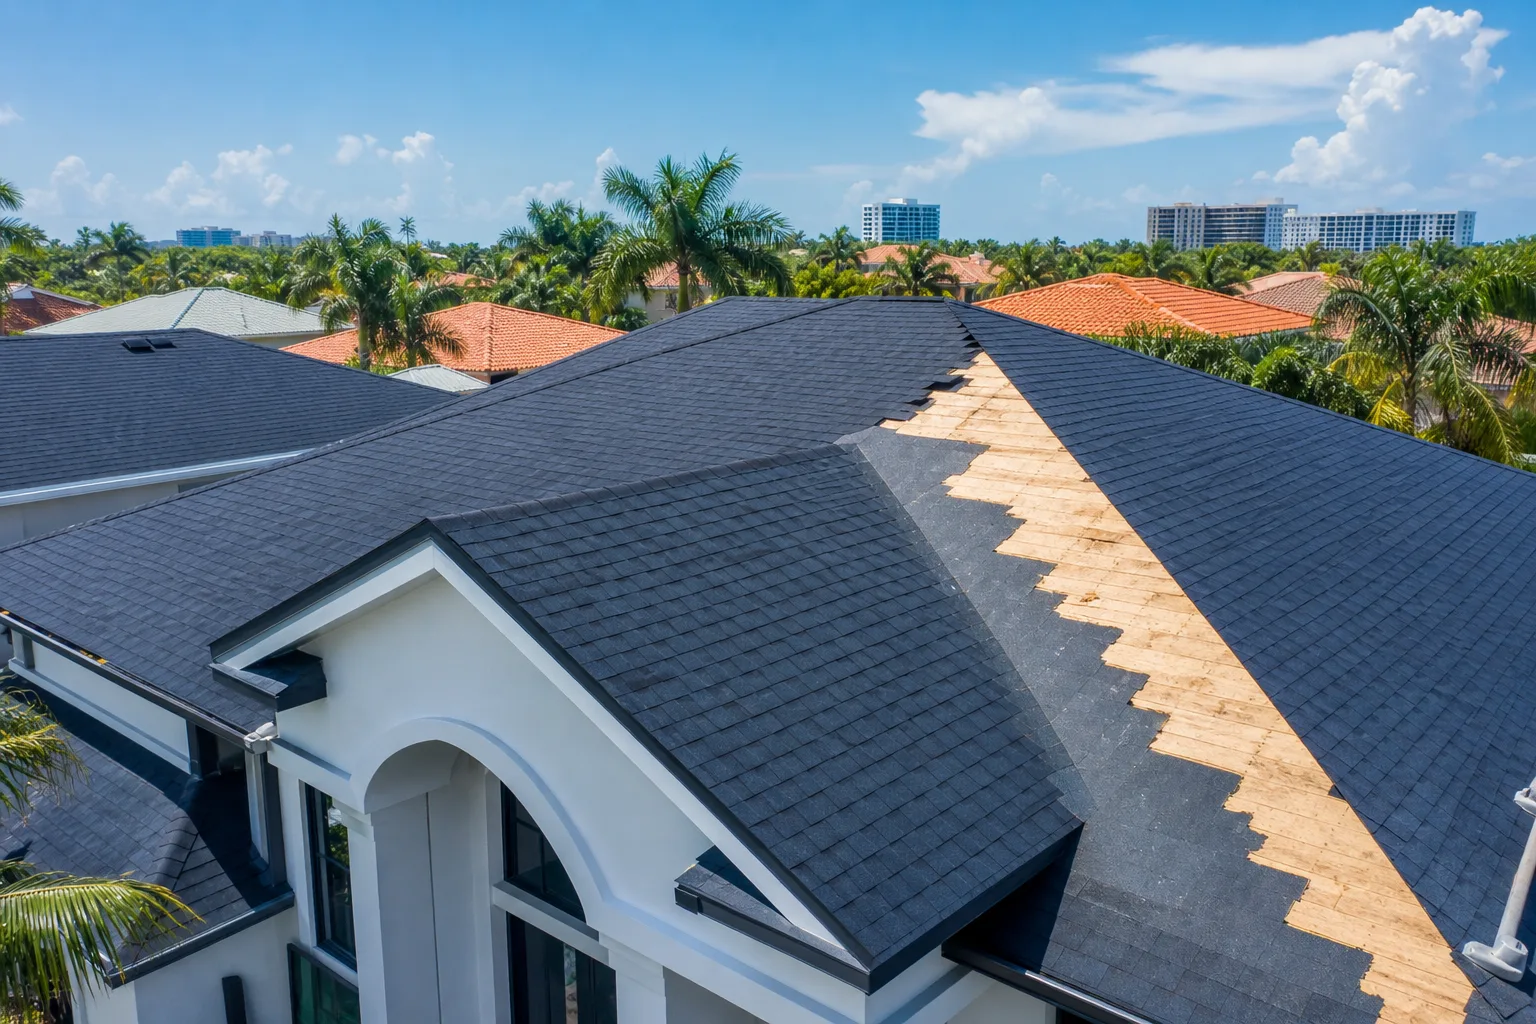
Before any new material goes on, the crew walks the deck. They're looking for soft or spongy areas, delaminated plywood, missing fasteners, and anything that would compromise the new roof's substrate.
If you want to understand exactly what a thorough inspection covers, the post on what happens during a professional roof inspection goes into that detail.
Any bad decking gets cut out and replaced with matching-thickness plywood or OSB. In South Florida, this often means half-inch or five-eighths-inch sheathing to meet current wind-load requirements under the Florida Building Code.
This step is not optional. Skipping deck repair to save time is one of the most common shortcuts that leads to premature roof failure.
Step 4: Underlayment Installation (Day 2, Mid-Morning)
Underlayment goes down before any primary roofing material. In Florida, the code requirements for underlayment are more demanding than most other states because of hurricane exposure. You'll typically see one of the following:
- Self-adhering modified bitumen (peel-and-stick). Required in many High-Velocity Hurricane Zones. Bonds directly to the deck and creates a secondary water barrier.
- Synthetic underlayment. Lighter, faster to install, used in some applications outside HVHZ requirements.
- Rubberized or granulated cap sheets. Common on low-slope and flat sections.
The underlayment is your backup system. If a tile cracks or a shingle gets damaged in a storm, a properly installed underlayment keeps water out of your home. Do not let a crew rush or skip this step.
Want to know what your roof actually needs? Get a free estimate
Step 5: Primary Roofing Material Installation (Day 2 Afternoon Through Day 3)
This is the biggest variable in your timeline. A straightforward shingle roof on a 2,000-square-foot home might be fully installed in an afternoon. A complex tile roof with multiple hips, valleys, and penetrations could take two full days or more.
What the crew is doing during this phase:
- Installing starter strips and field material in the correct pattern and exposure
- Cutting precisely around penetrations (vents, pipes, skylights, chimneys)
- Installing step flashing at walls and kickout flashing at roof-to-wall transitions
- Properly seating ridge caps or ridge vents
- On tile systems, applying mortar or foam adhesive at hips and ridges
Flashing details are where a lot of cheap jobs cut corners. Improperly flashed penetrations are one of the top sources of post-replacement leaks. If you've ever had a roof that leaked without heavy rain, there's a real chance flashing was the culprit.
You can check progress in the project gallery to get a sense of what proper installation looks like at various stages.
Step 6: Cleanup and Punch List (Day 3 or Day 4)
A good crew does rolling cleanup throughout the job. Nails and debris should be policed from your yard, driveway, and landscaping continuously, not just dumped at the end.
On the final day, the foreman should walk the perimeter with a magnetic nail roller to pick up fasteners missed by hand. Gutters get cleared of debris. Any protective tarps over plants or equipment come down and are inspected.
This is also when any gutter work is addressed, whether that's reinstalling sections that were removed for access or installing new gutters if that was part of your scope. If you're considering upgrading your gutter system alongside the new roof, the gutters service page explains the options.
You should do your own walkthrough with the foreman before signing off. Look at the ridge line from the street. Check that all penetrations have clean flashing. Confirm no debris is sitting in valleys or around the HVAC unit.
Step 7: Permit Inspection (Day 4 or Later)
This step happens on the county or city's schedule, not yours. After the job is complete, your contractor submits for inspection. A county inspector comes out, gets on the roof, and verifies the installation meets code.
For most residential replacements in Palm Beach County, this is a final inspection. For larger or more complex jobs, there may be a mid-point inspection as well.
You should receive a copy of the passed inspection or be able to look it up through the county's permit portal. If your contractor can't provide proof of a passed inspection, something went wrong.
If your replacement was triggered by storm damage and you're navigating an insurance claim at the same time, the article on how to document roof damage for an insurance claim is worth reading before that inspection happens.
Common Mistakes to Avoid
Not asking about the decking policy upfront. Rotten decking always costs more. Know the per-sheet price before work starts, not after.
Staying home expecting to supervise every hour. Trust the crew and foreman. Hovering slows them down. Ask for a midday check-in if you want updates.
Signing off before the permit inspection passes. Final payment should be tied to a passed inspection, not just to job completion. A reputable contractor won't fight you on this.
Forgetting to protect vehicles and outdoor furniture. Debris and fasteners travel farther than you'd expect, especially in wind.
Not getting the manufacturer's warranty registered. Many shingle and tile manufacturers require contractor registration to activate the product warranty. Confirm this is handled before the crew leaves.
Bottom Line
A roof replacement is a two-to-four-day process with clear, predictable phases. Knowing what's supposed to happen each day means you can confirm the work is being done right instead of hoping for the best.
If you're at the early stage and want a sense of what your replacement might involve, you can get a free instant estimate or request a detailed quote from our team. We've been doing this in South Florida since 2005, and we're straightforward about what the process looks like from day one.
Want to know what your roof actually needs?
Millennium Makeover has been roofing South Florida homes and businesses since 2005. Get a straight, no-pressure estimate from a licensed local crew (CCC1326328).
Frequently asked questions
How long does a roof replacement take in South Florida?
Most residential replacements run two to four days. The timeline depends on the size of the home, the roofing material, deck condition, and weather. Tile roofs on larger homes with complex geometry will take longer than a straightforward shingle job on a simple ranch.
Do I need to be home during my roof replacement?
You don't have to be home, but someone reachable should have the foreman's contact number. Clear your driveway and secure outdoor items before the crew arrives. A brief walkthrough at the end of the job is worth scheduling so you can sign off in person.
What happens if the crew finds rotted decking under my old roof?
Any decking that's soft, delaminated, or otherwise compromised gets cut out and replaced before new material goes on. A good contract spells out the per-sheet price for this ahead of time so there are no surprise charges at the end.
Is a permit really required for a full roof replacement in Palm Beach County?
Yes. A full replacement requires a permit in Palm Beach County and most South Florida municipalities. The permit triggers a county inspection, which confirms the installation meets current Florida Building Code wind-load requirements. Skipping this step can create issues with insurance and resale.
When is the final payment due on a roof replacement?
Most contractors structure payments with a deposit at signing, a progress payment partway through, and a final payment on completion. It's reasonable to tie that last payment to the passed permit inspection rather than just to the day the crew packs up. A reputable contractor will agree to this.
What should I check during my final walkthrough?
Look at the ridge line from the street for uniformity. Check that all pipe boots, vents, and penetrations have clean, properly lapped flashing. Make sure valleys and gutters are clear of debris. Ask the foreman to confirm the manufacturer warranty registration has been submitted.